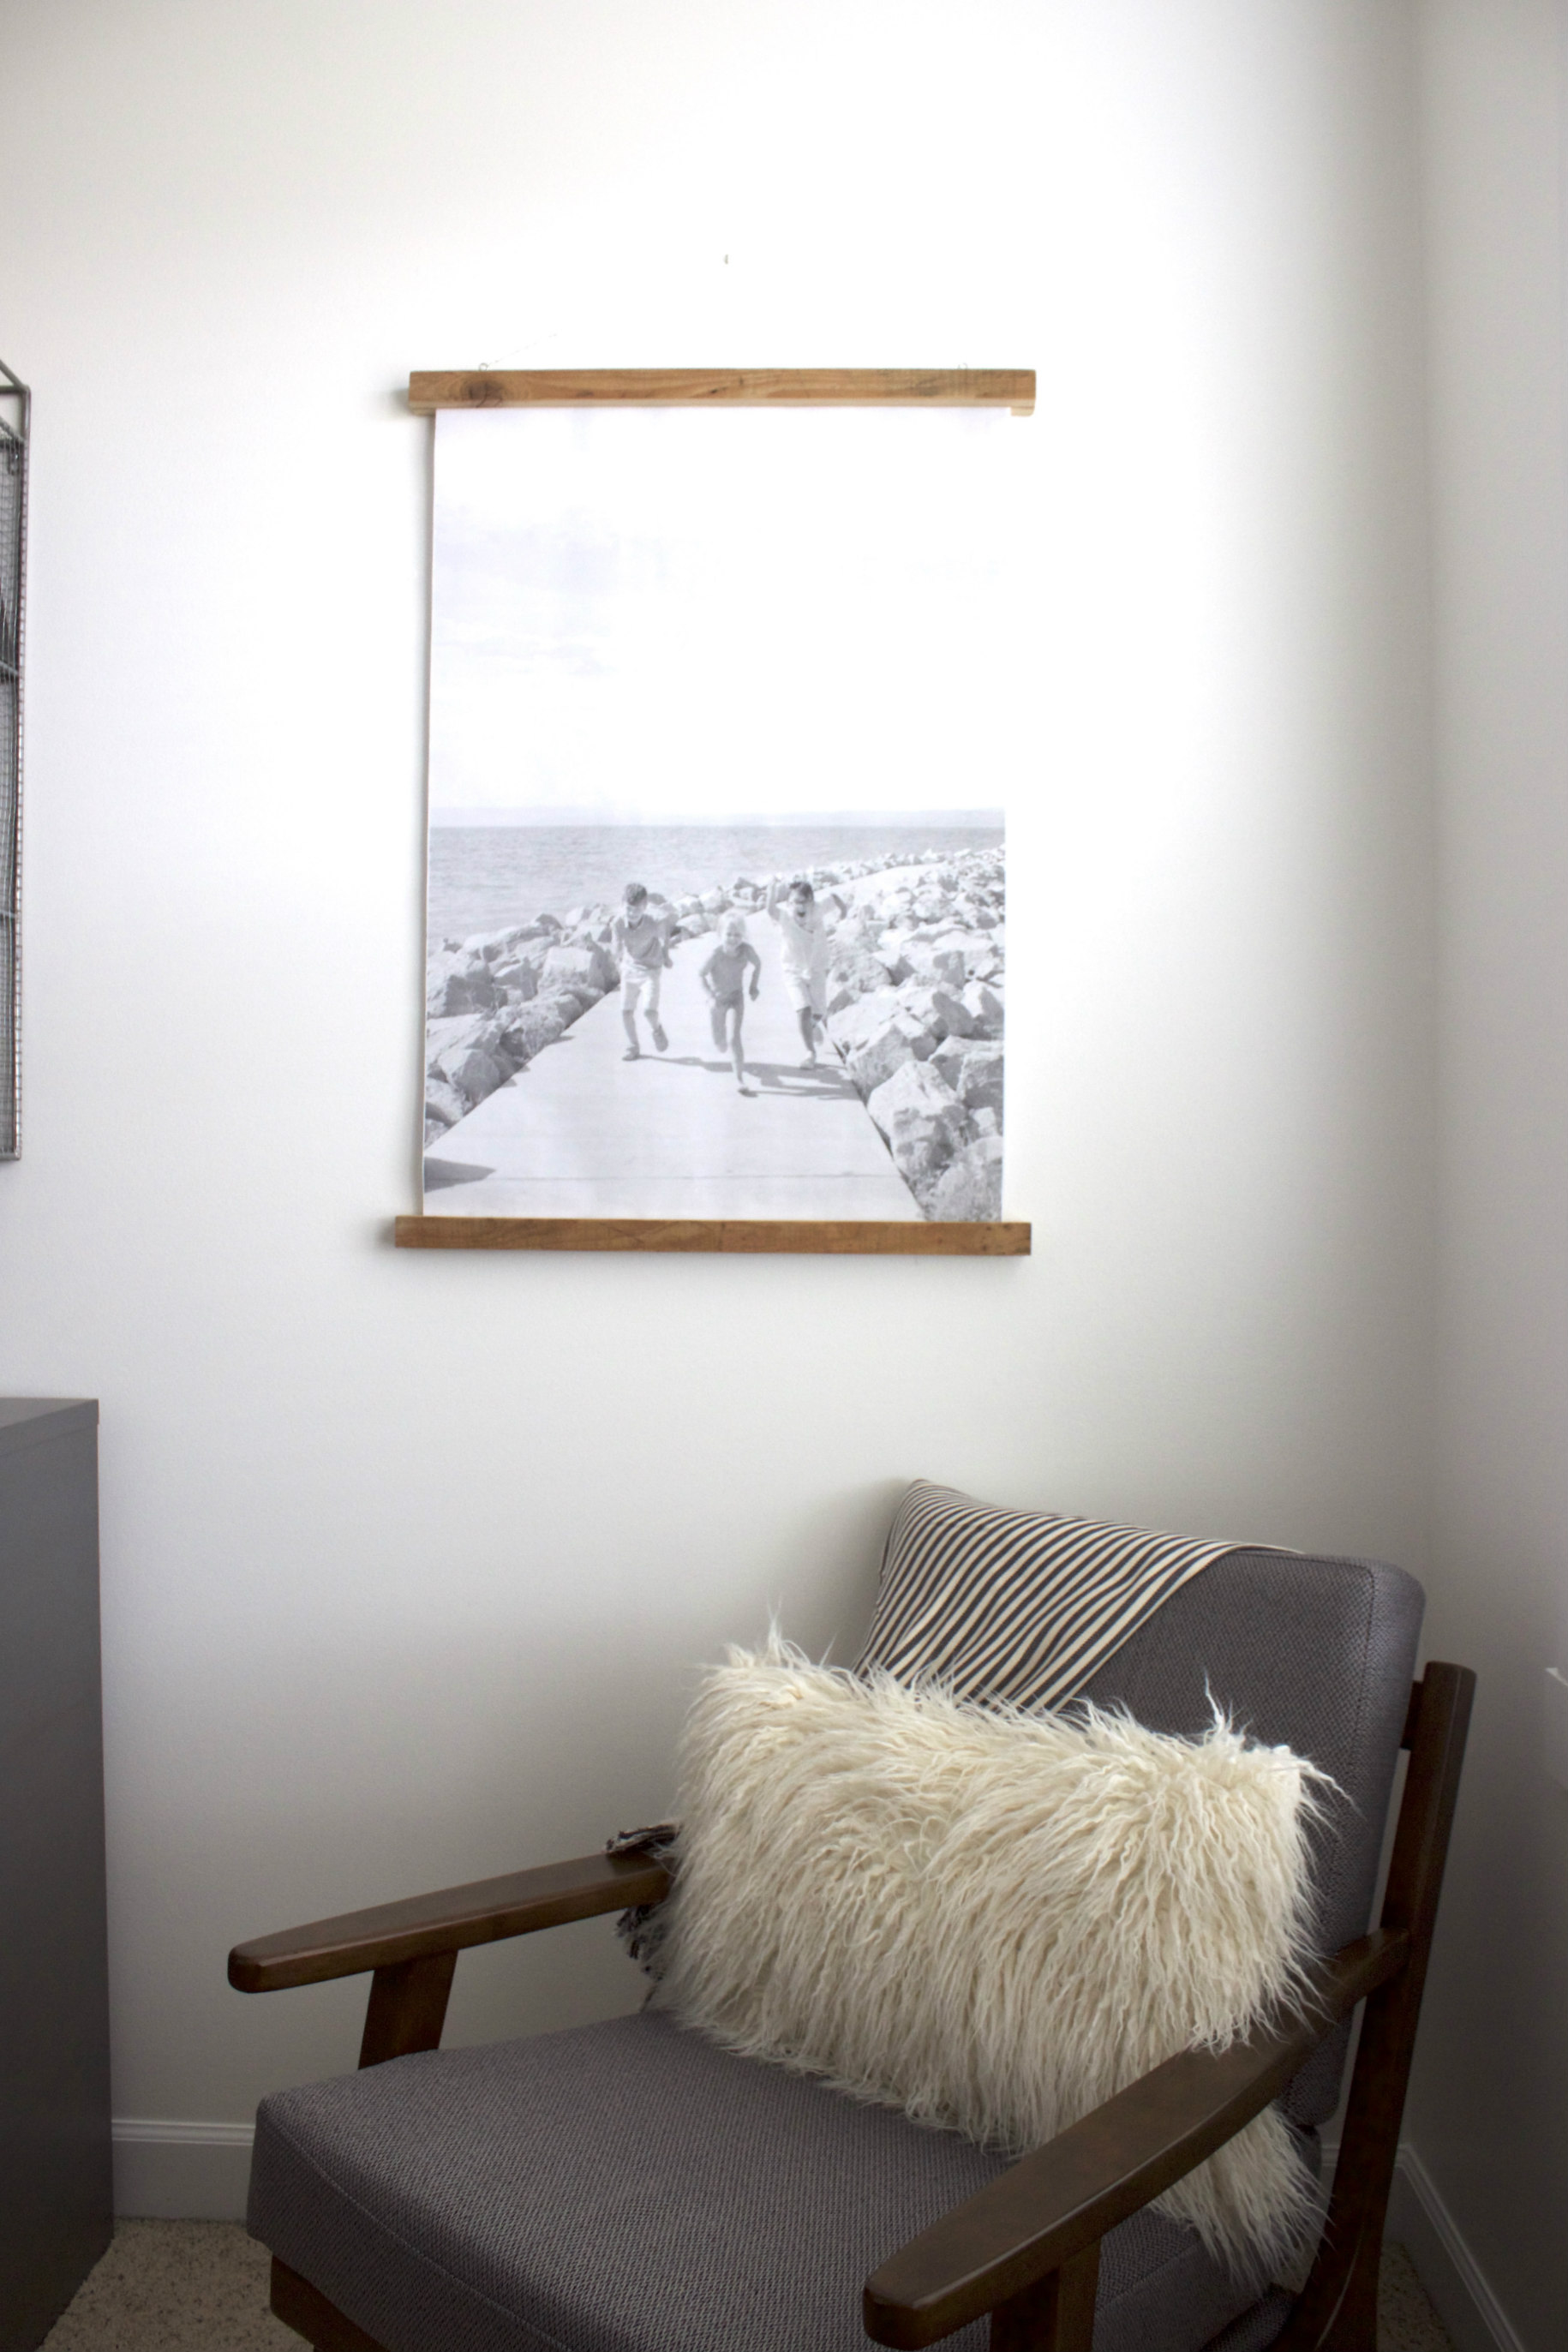
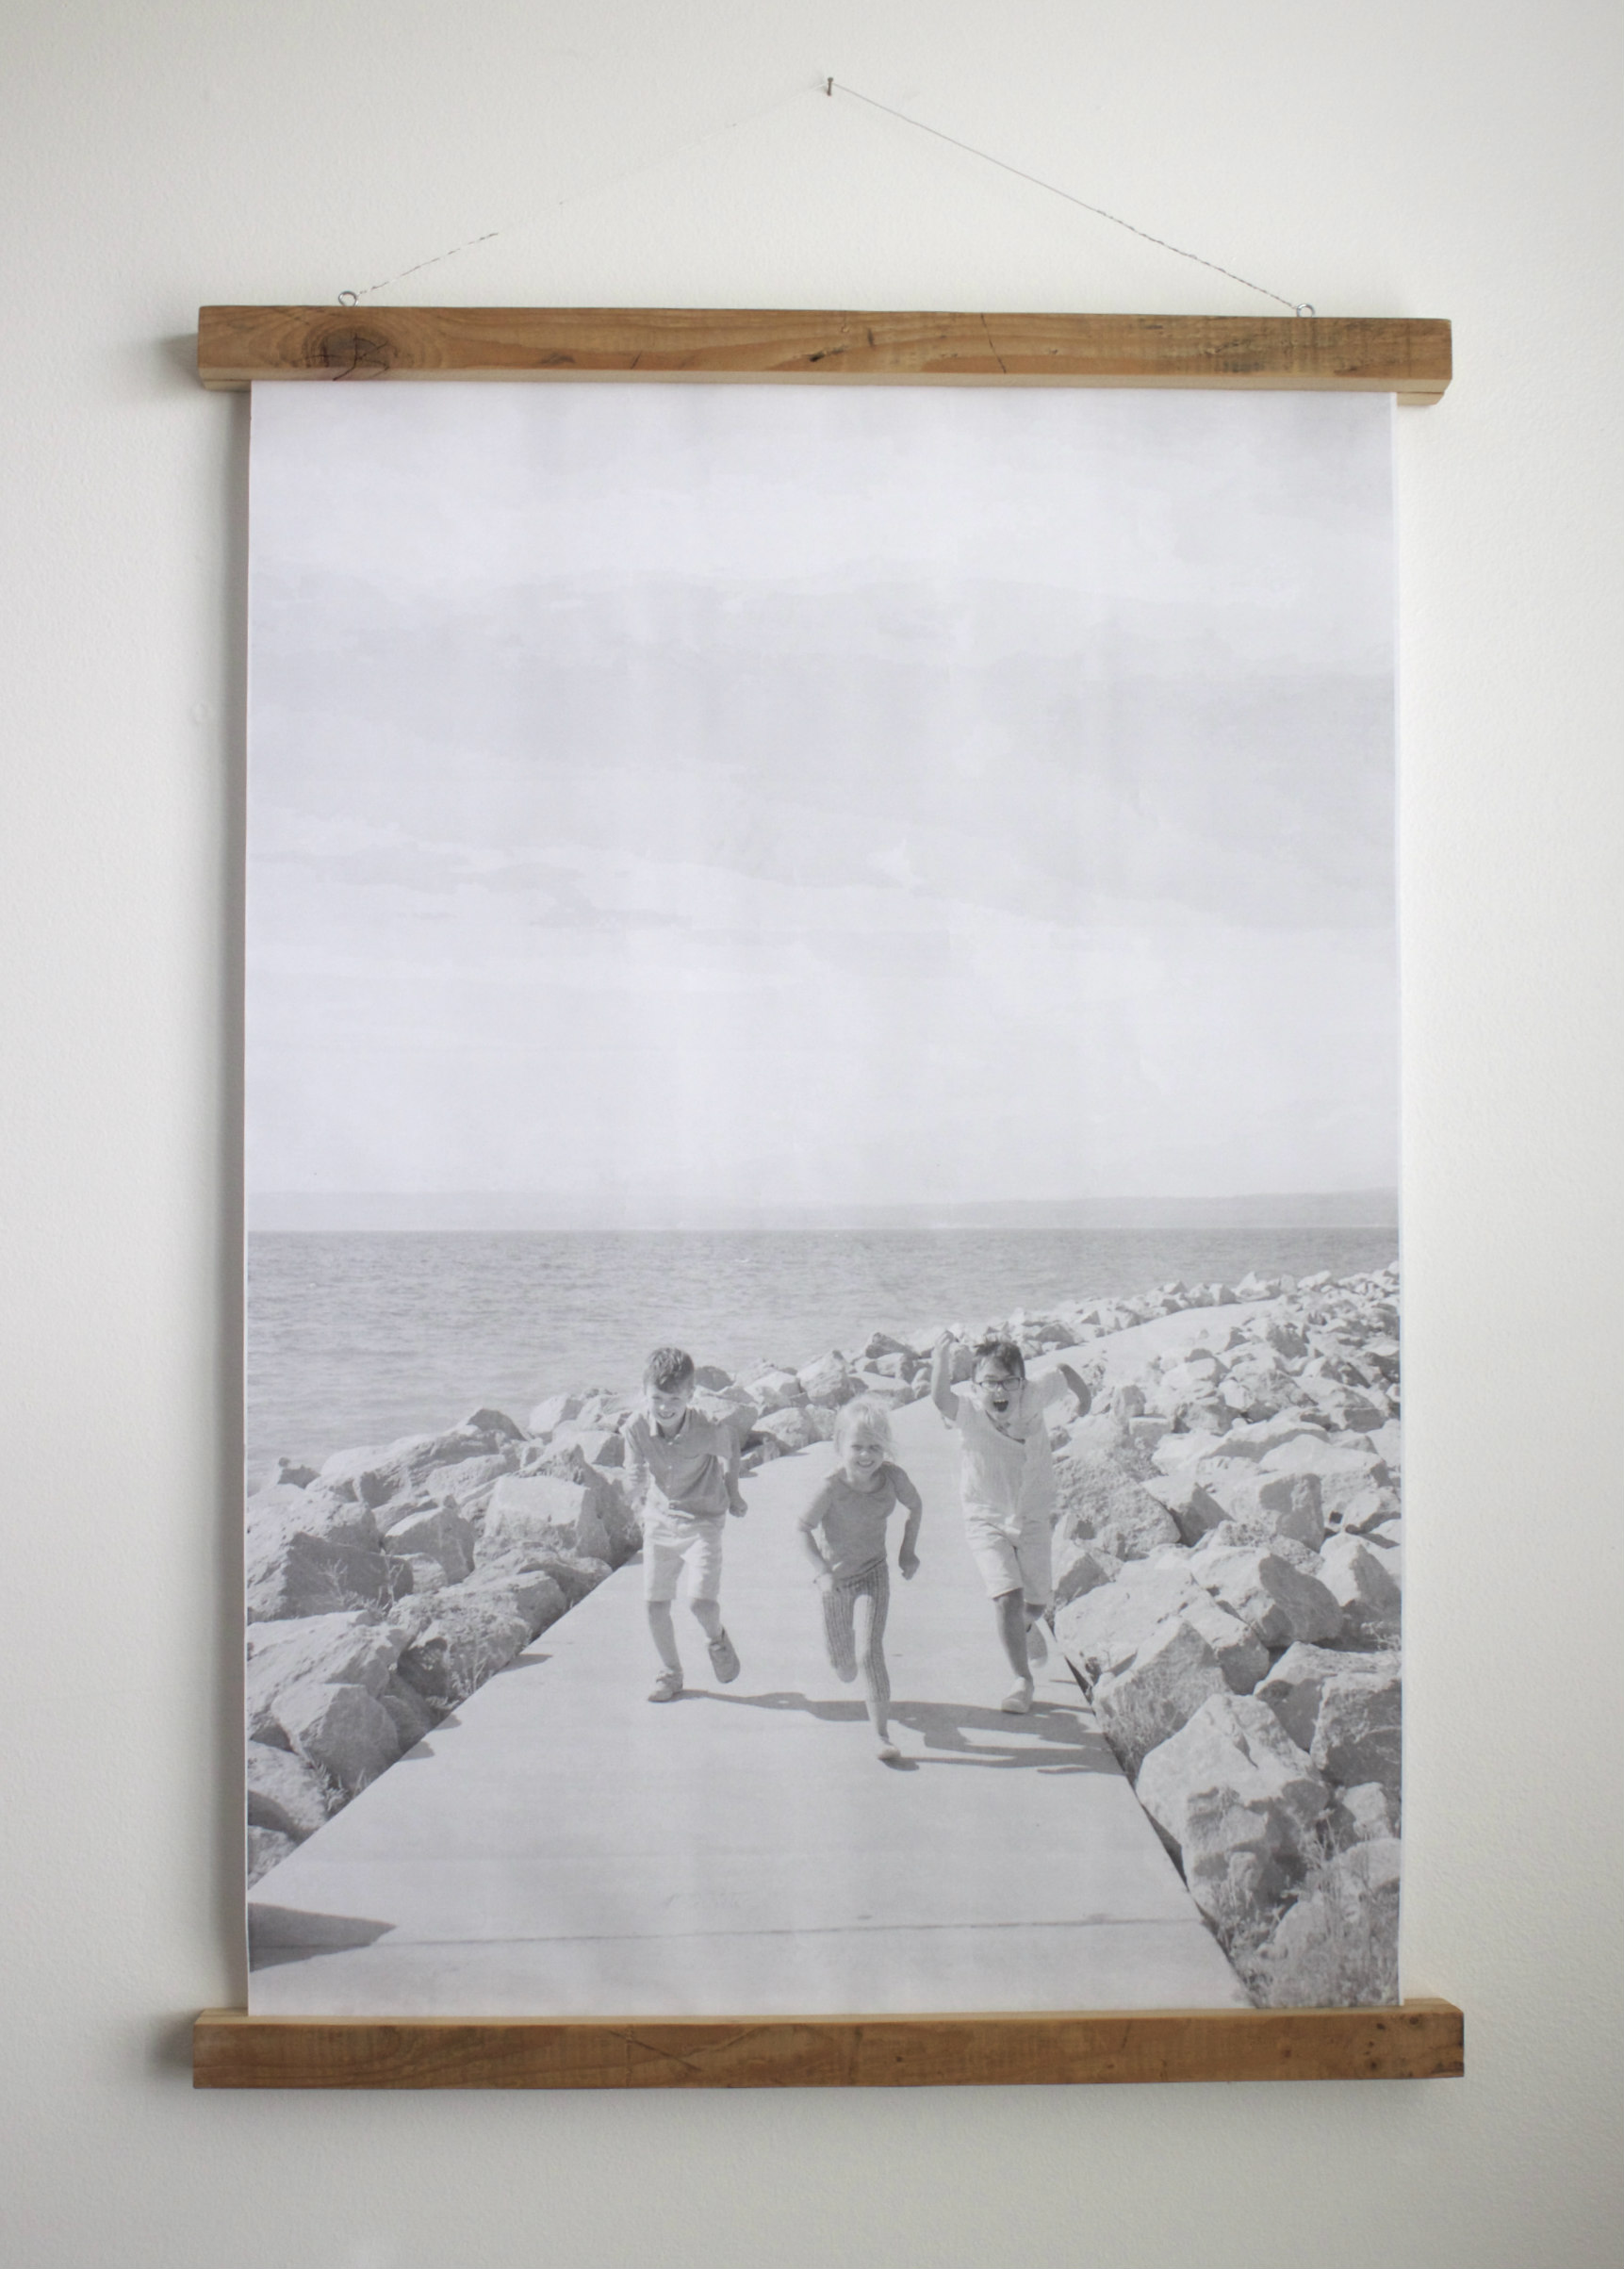
I have been wanting to make a wall hanging like this since I saw my sister make one for her dining room. I just needed the right place to hang it. When I recently made over our family office I knew that would be the perfect spot. The first thing I did was order a blueprint from Staples online. I picked the blueprint option (even though it says not for photos). I think that’s because this is literally just a thin paper. It’s $4 which is a great deal. Unfortunately, for some reason they don’t print them at my local Staples so I just had it delivered which cost $9!! More than the cheap print. I was mad and I almost didn’t buy it but just figured that $13 total for a really big paper print wasn’t too bad of a price. When it arrived it was a little wrinkly but I ironed the back side very carefully on low heat which sort of worked…but now that it’s hung, I don’t even notice the wrinkles.
D I Y B L U E P R I N T W A L L H A N G I N G
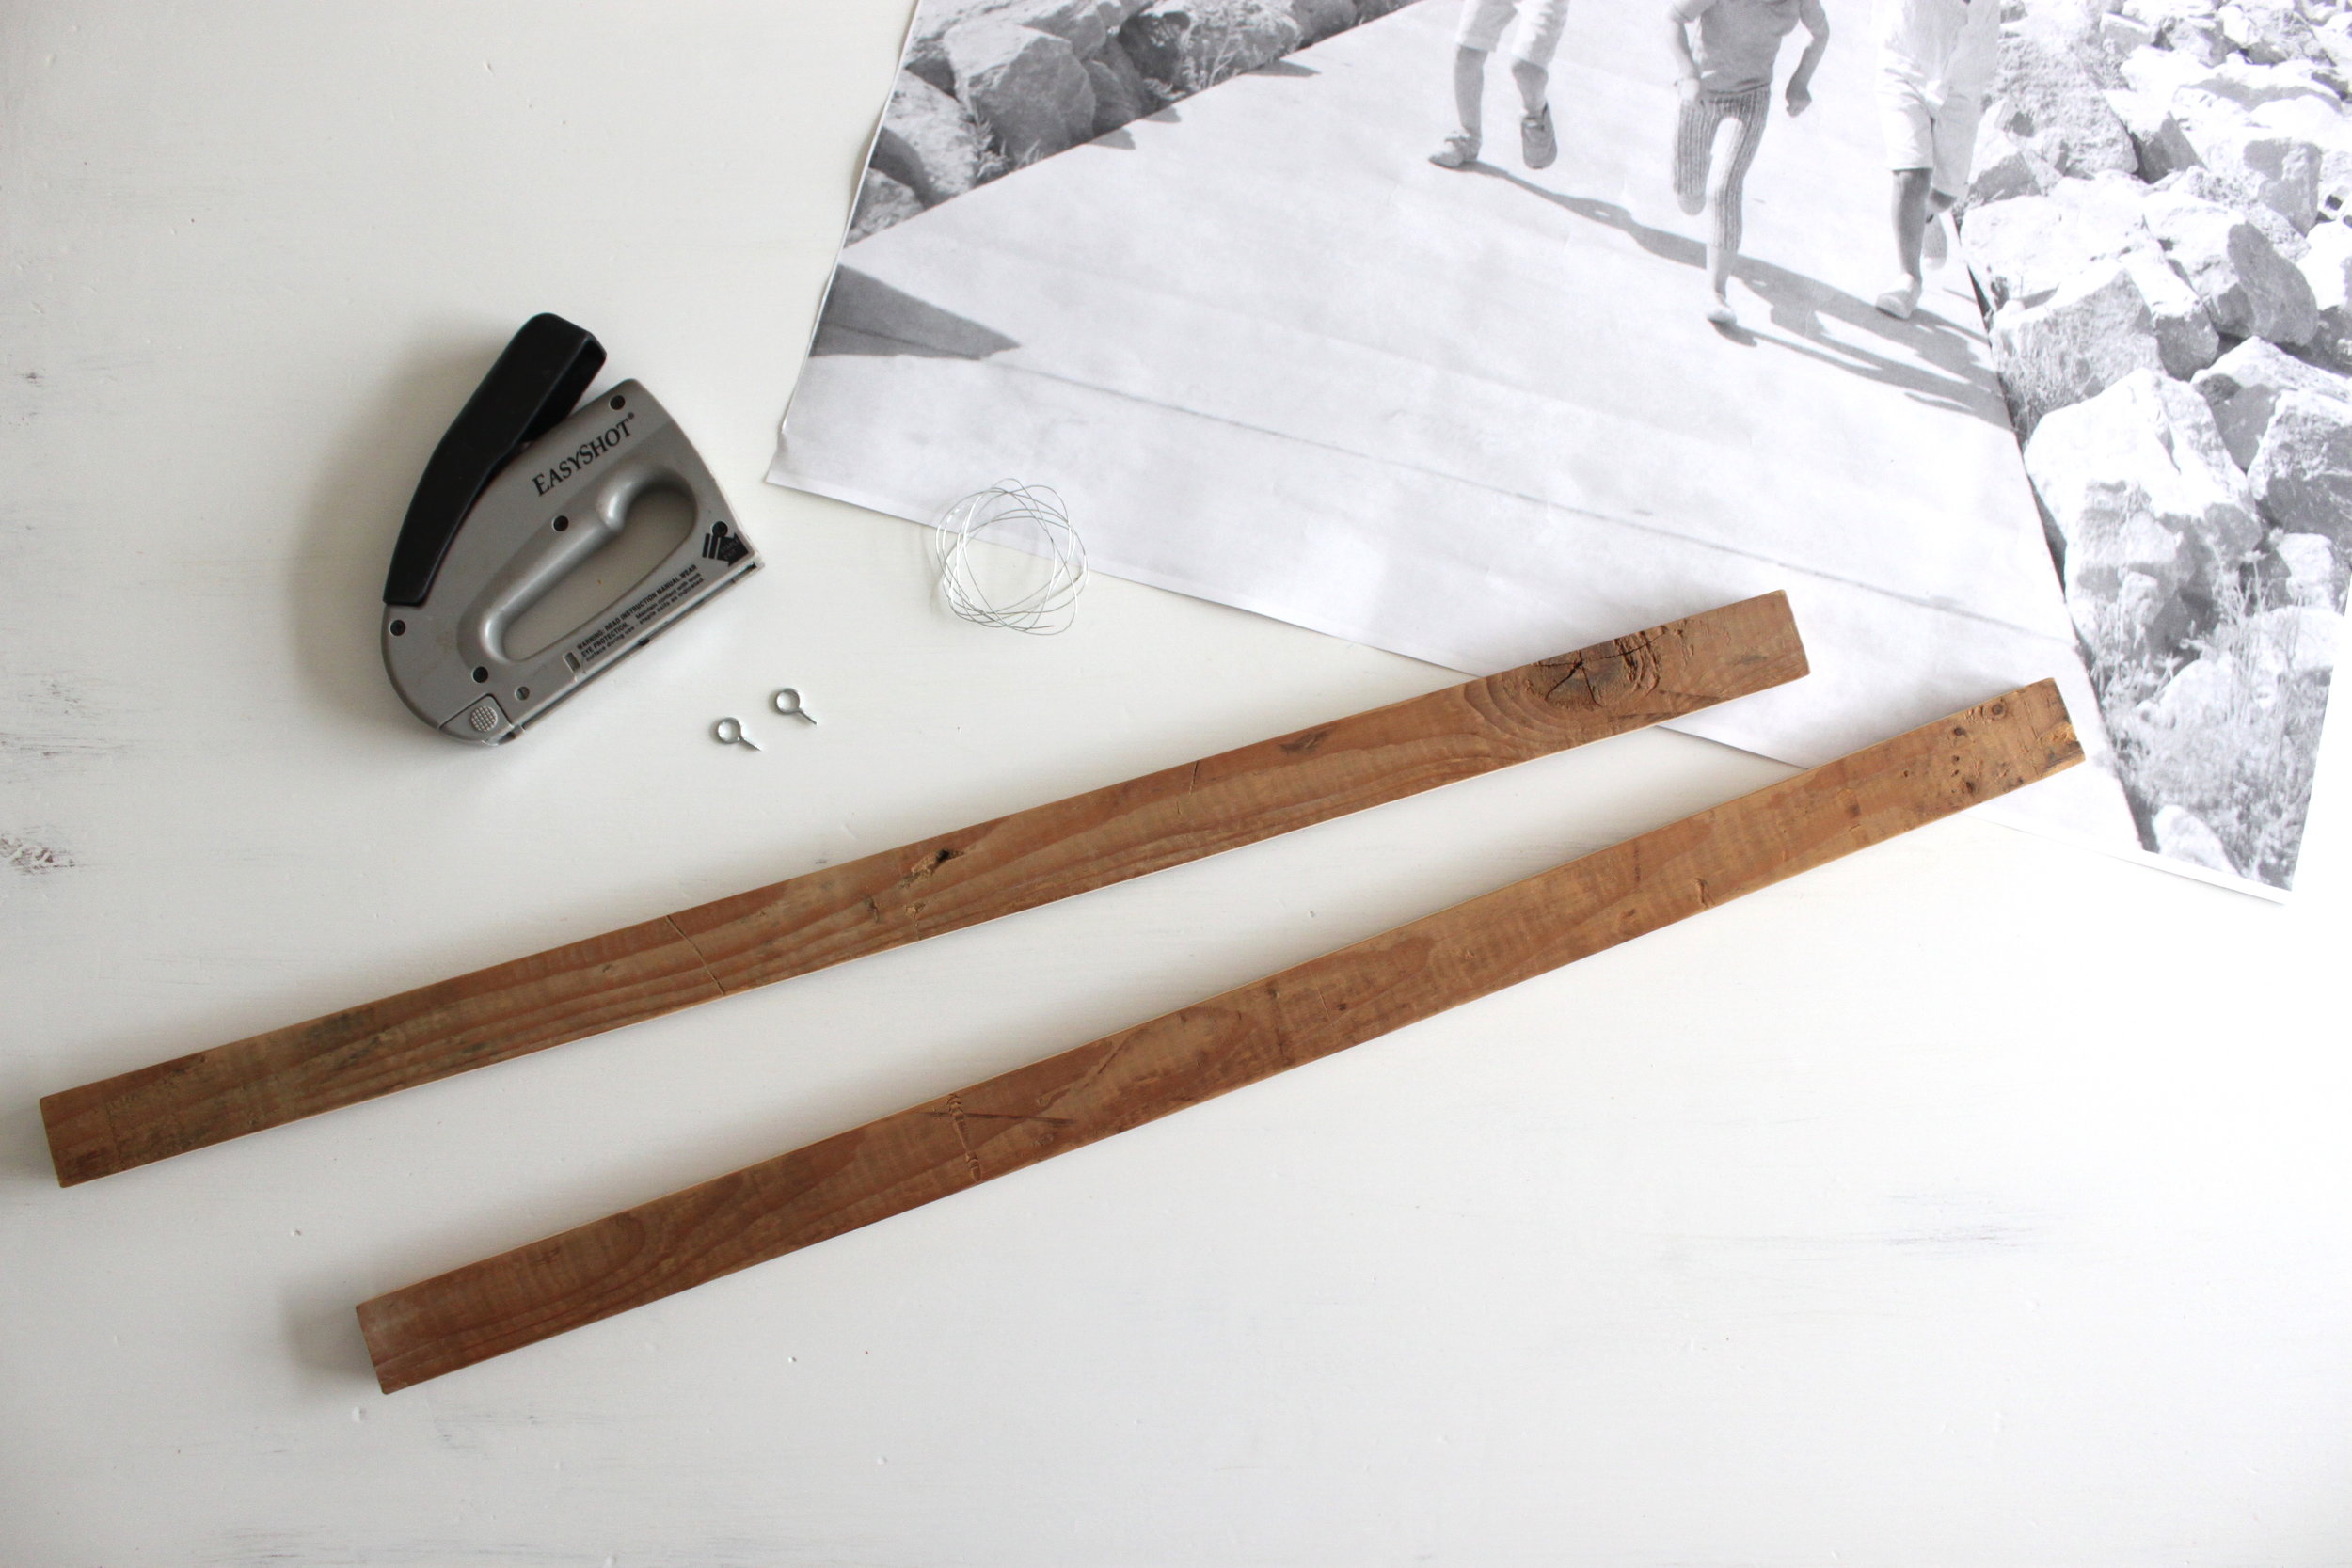
SUPPLIES:
Blueprint photo print from Staples (mine was 24 x 36)
Thin strips of wood trim or scrap wood (2 or 4, depending if you want to double them up)
Two eye hooks
Thin wire (you could use craft wire or picture hanging wire)
Staple gun
Nail gun (or hammer and nails)
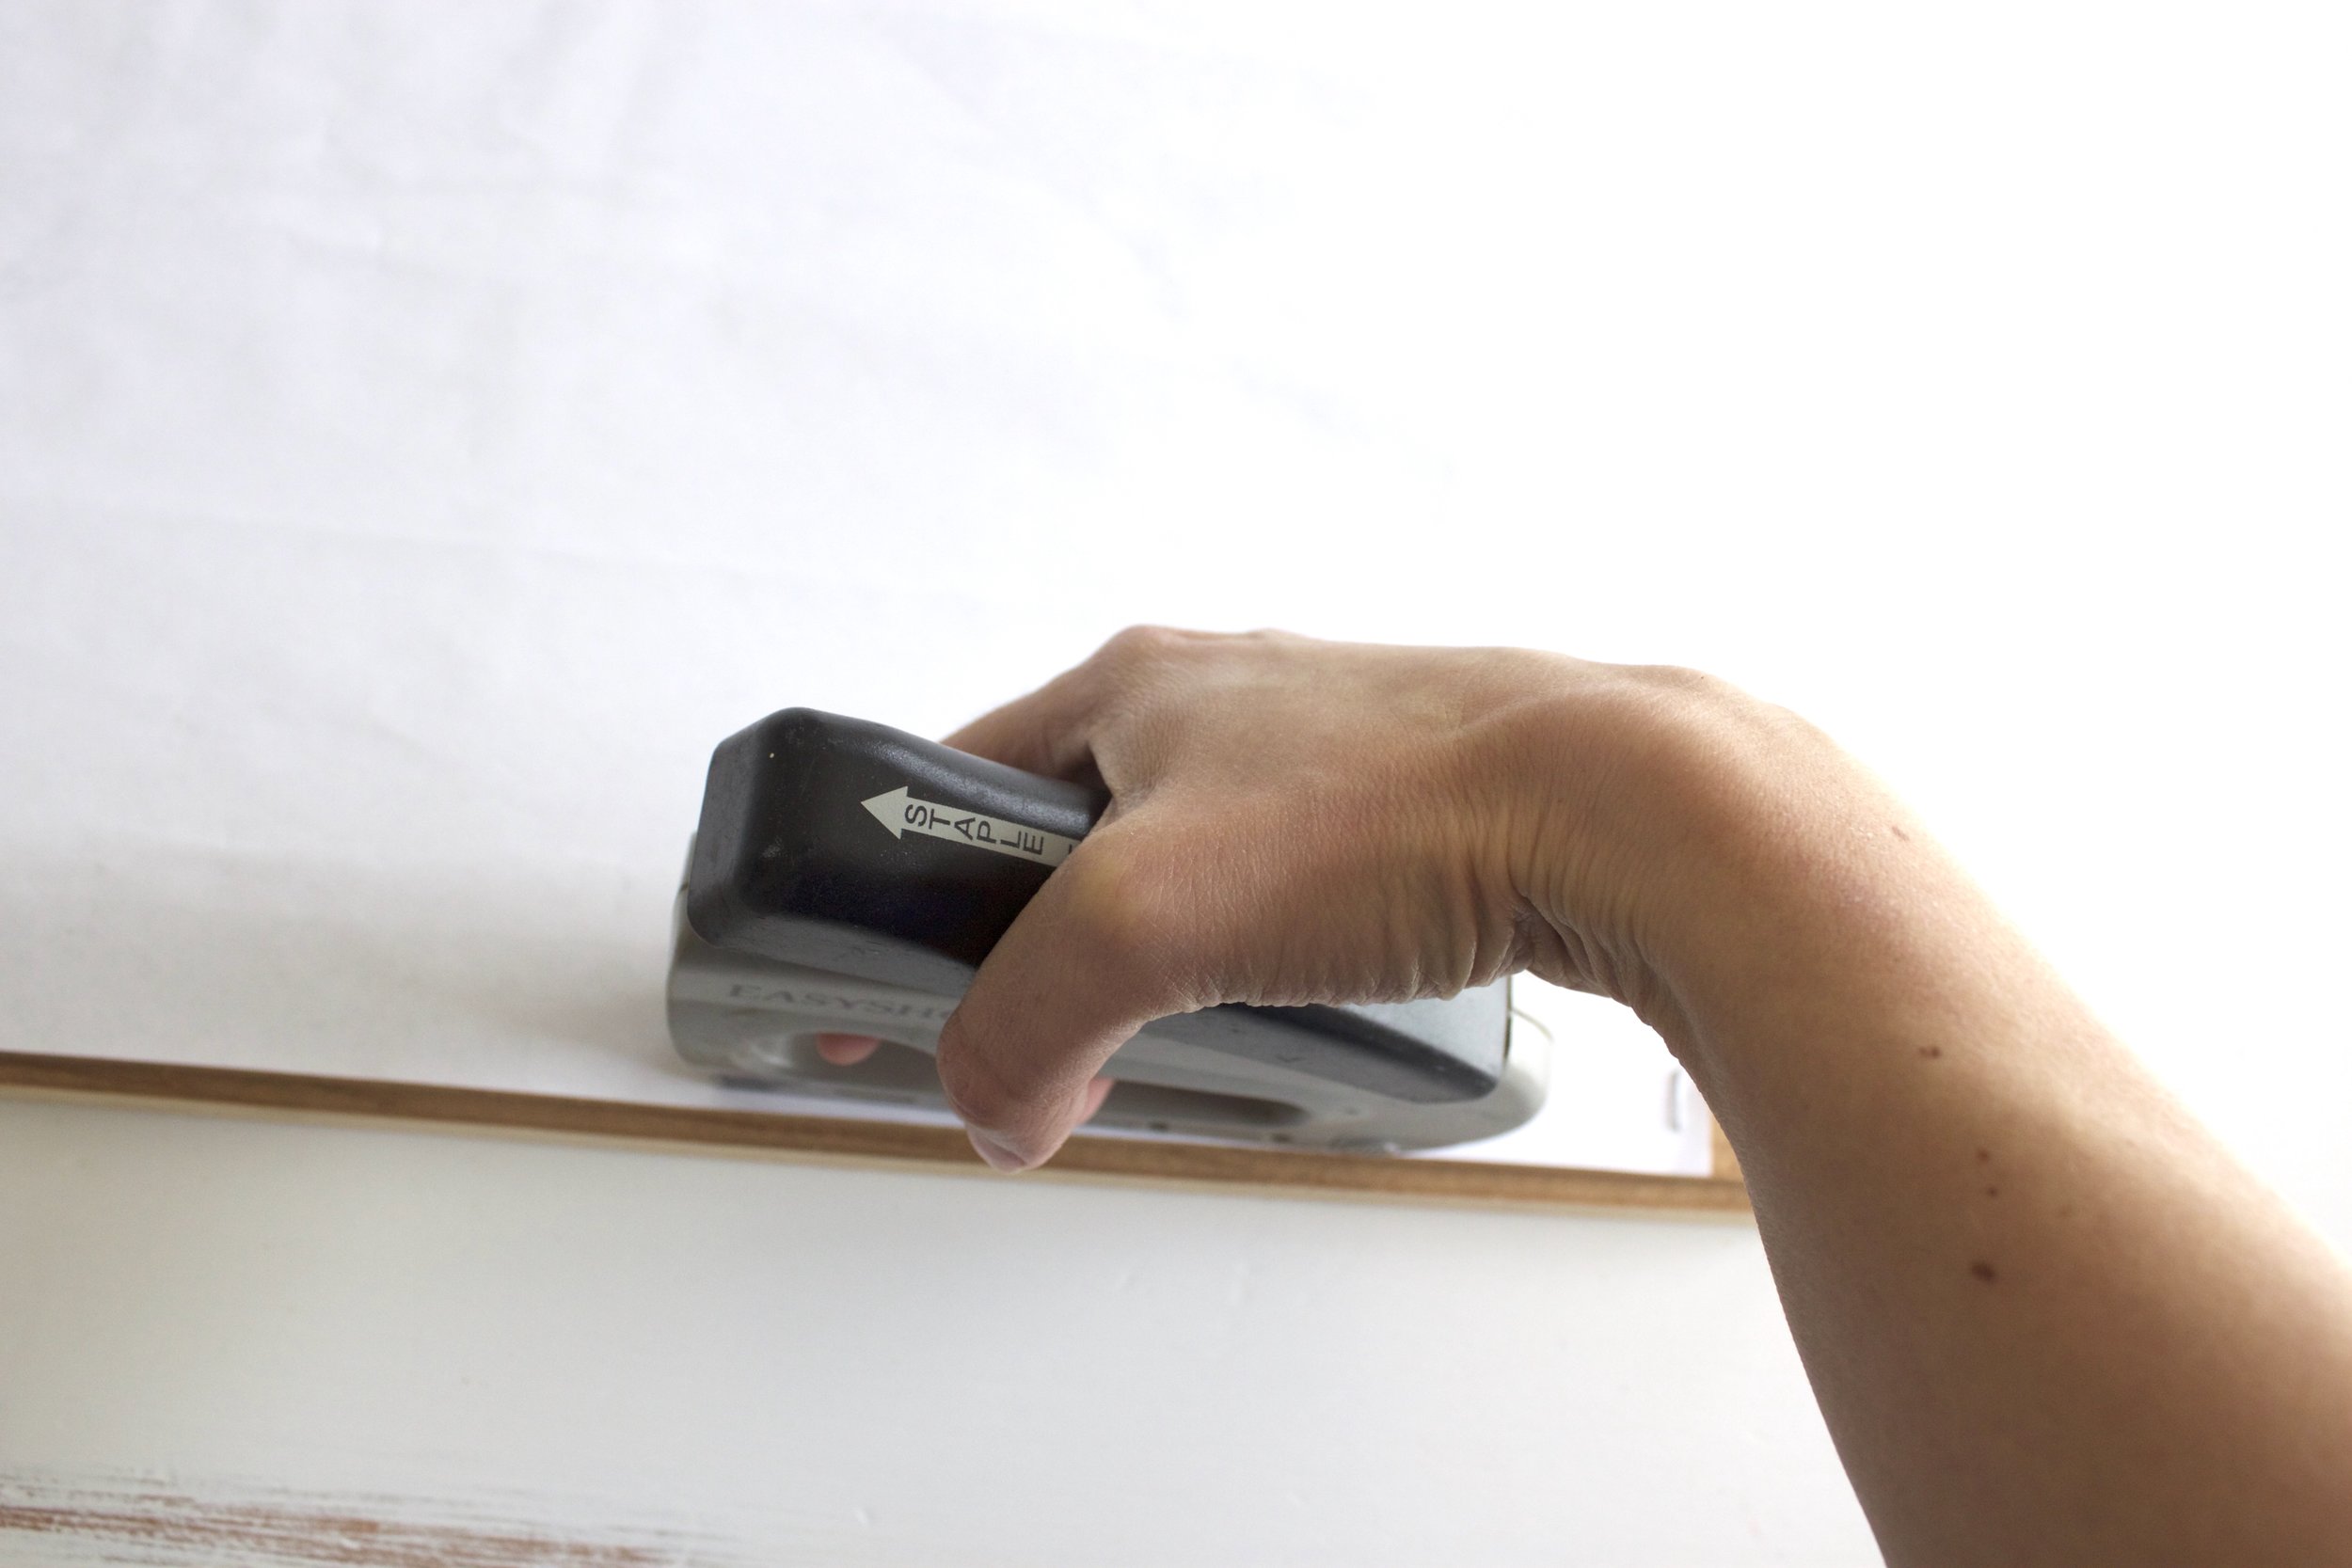
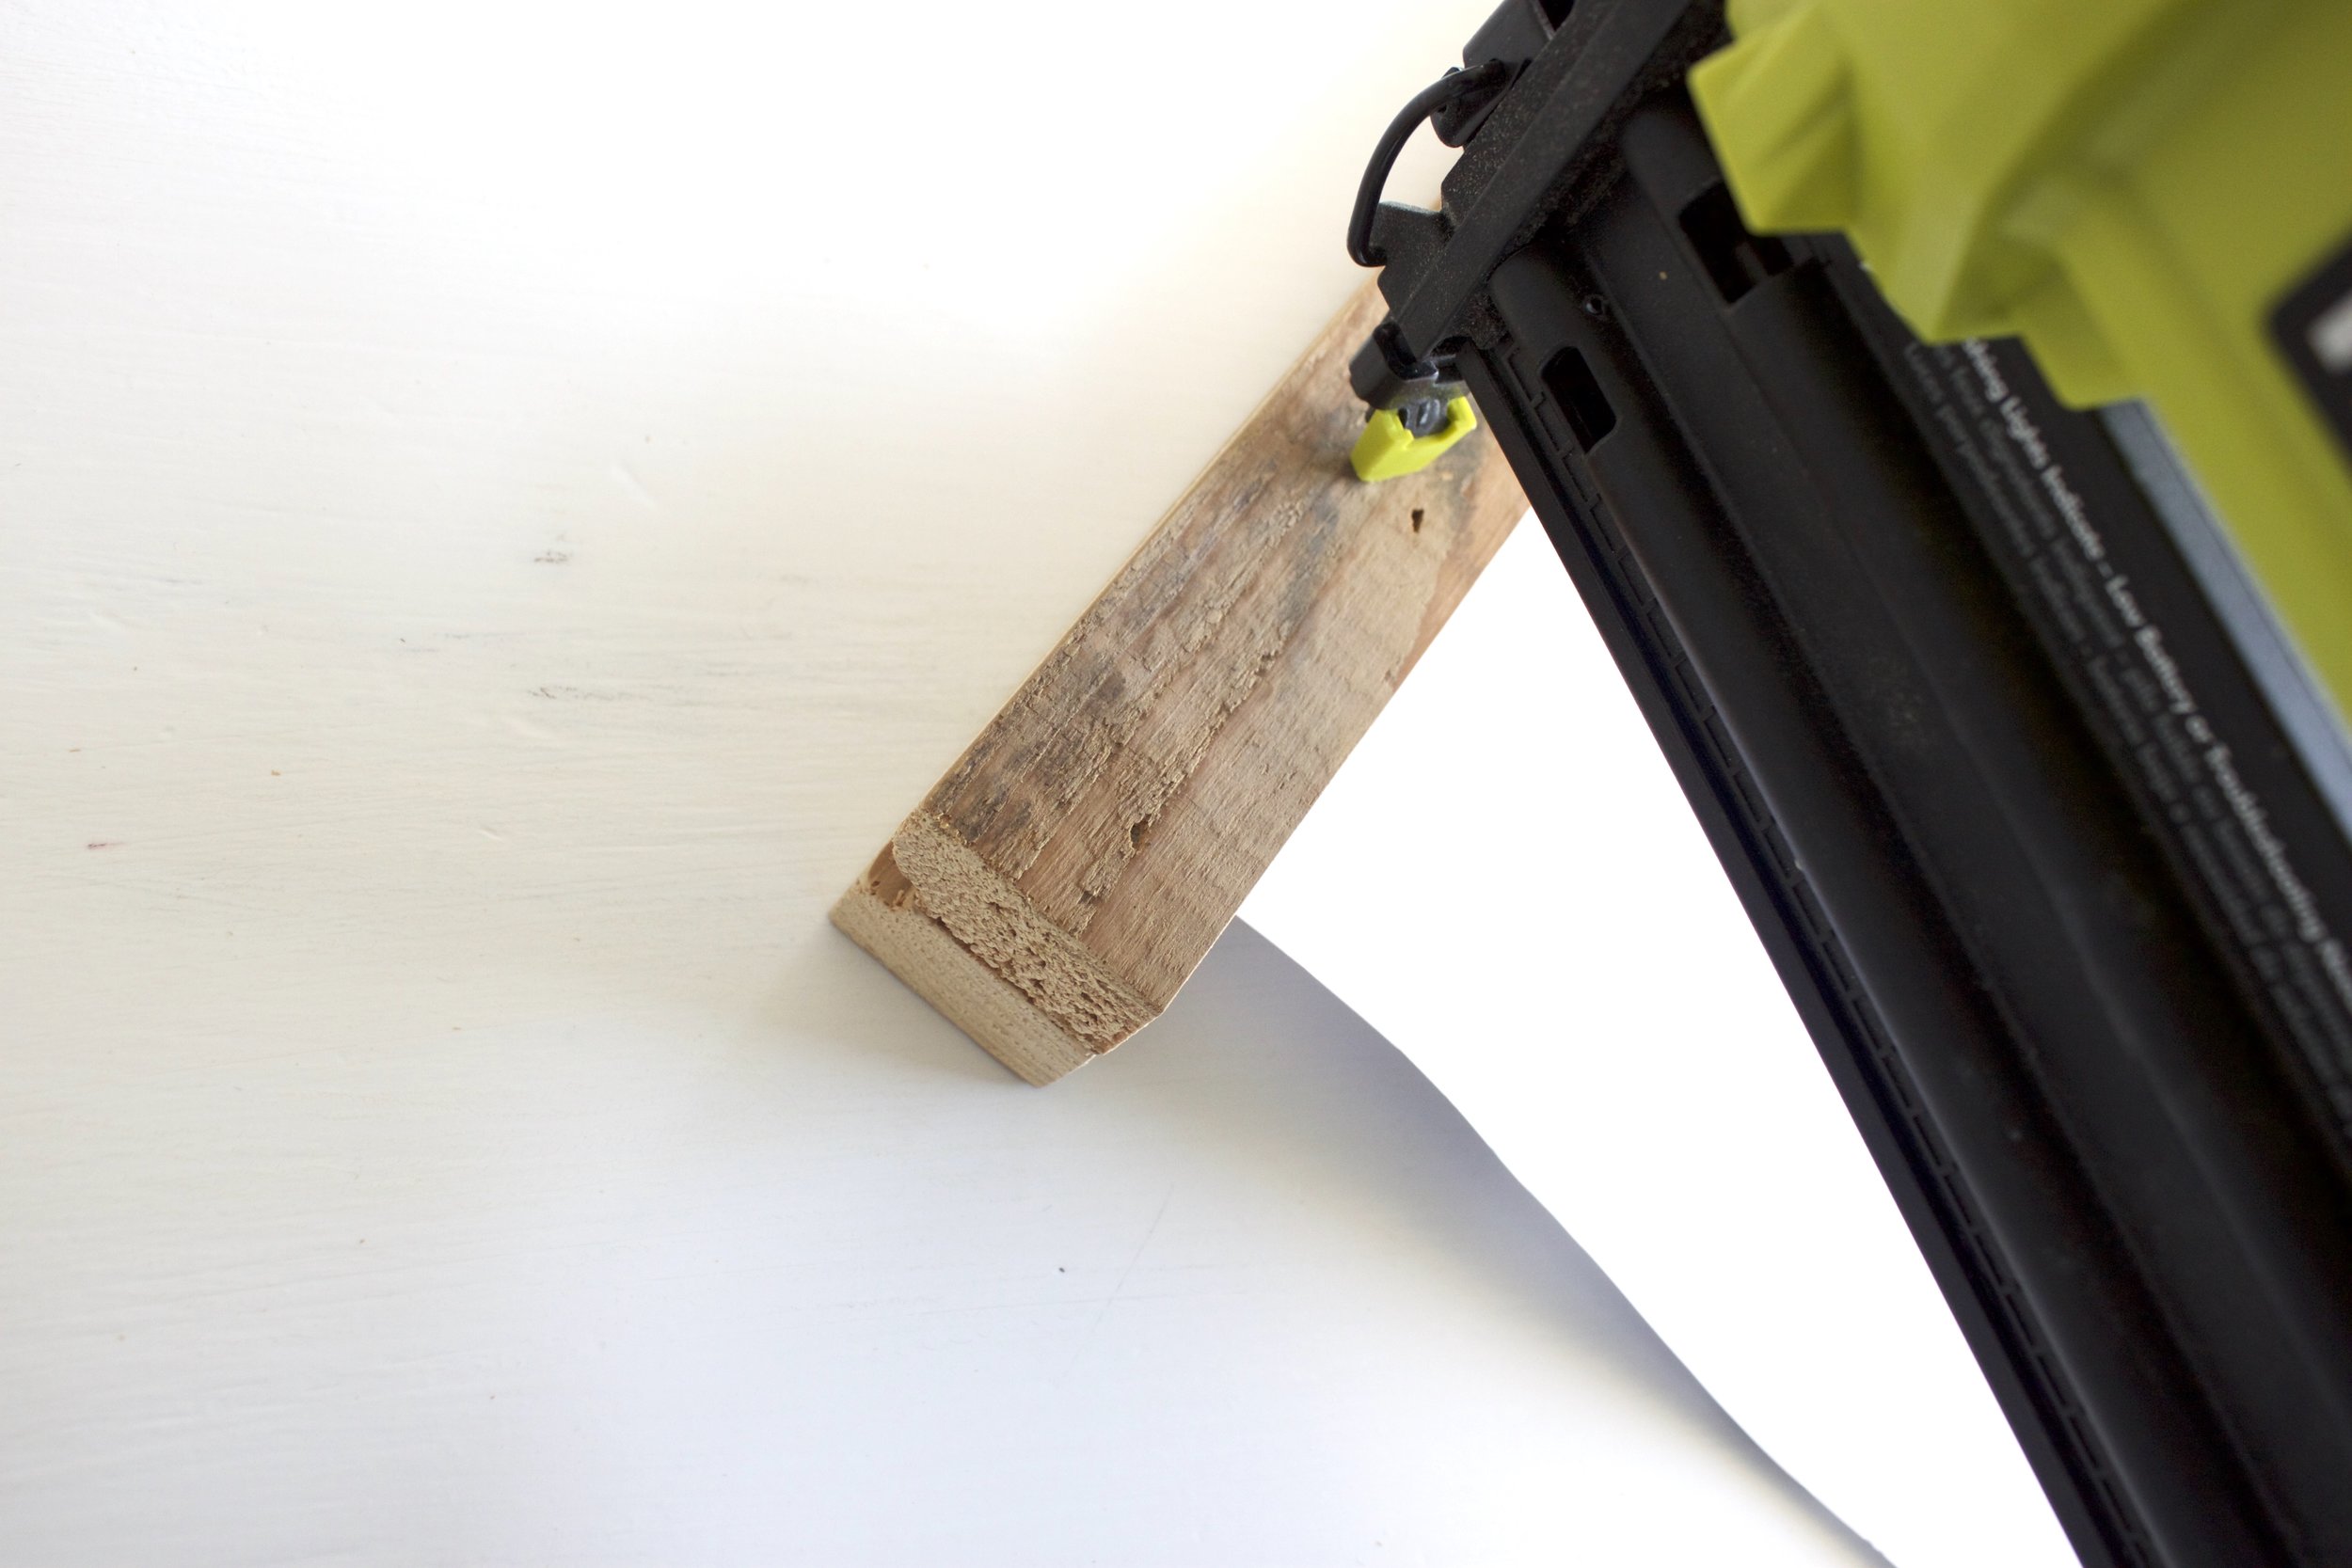
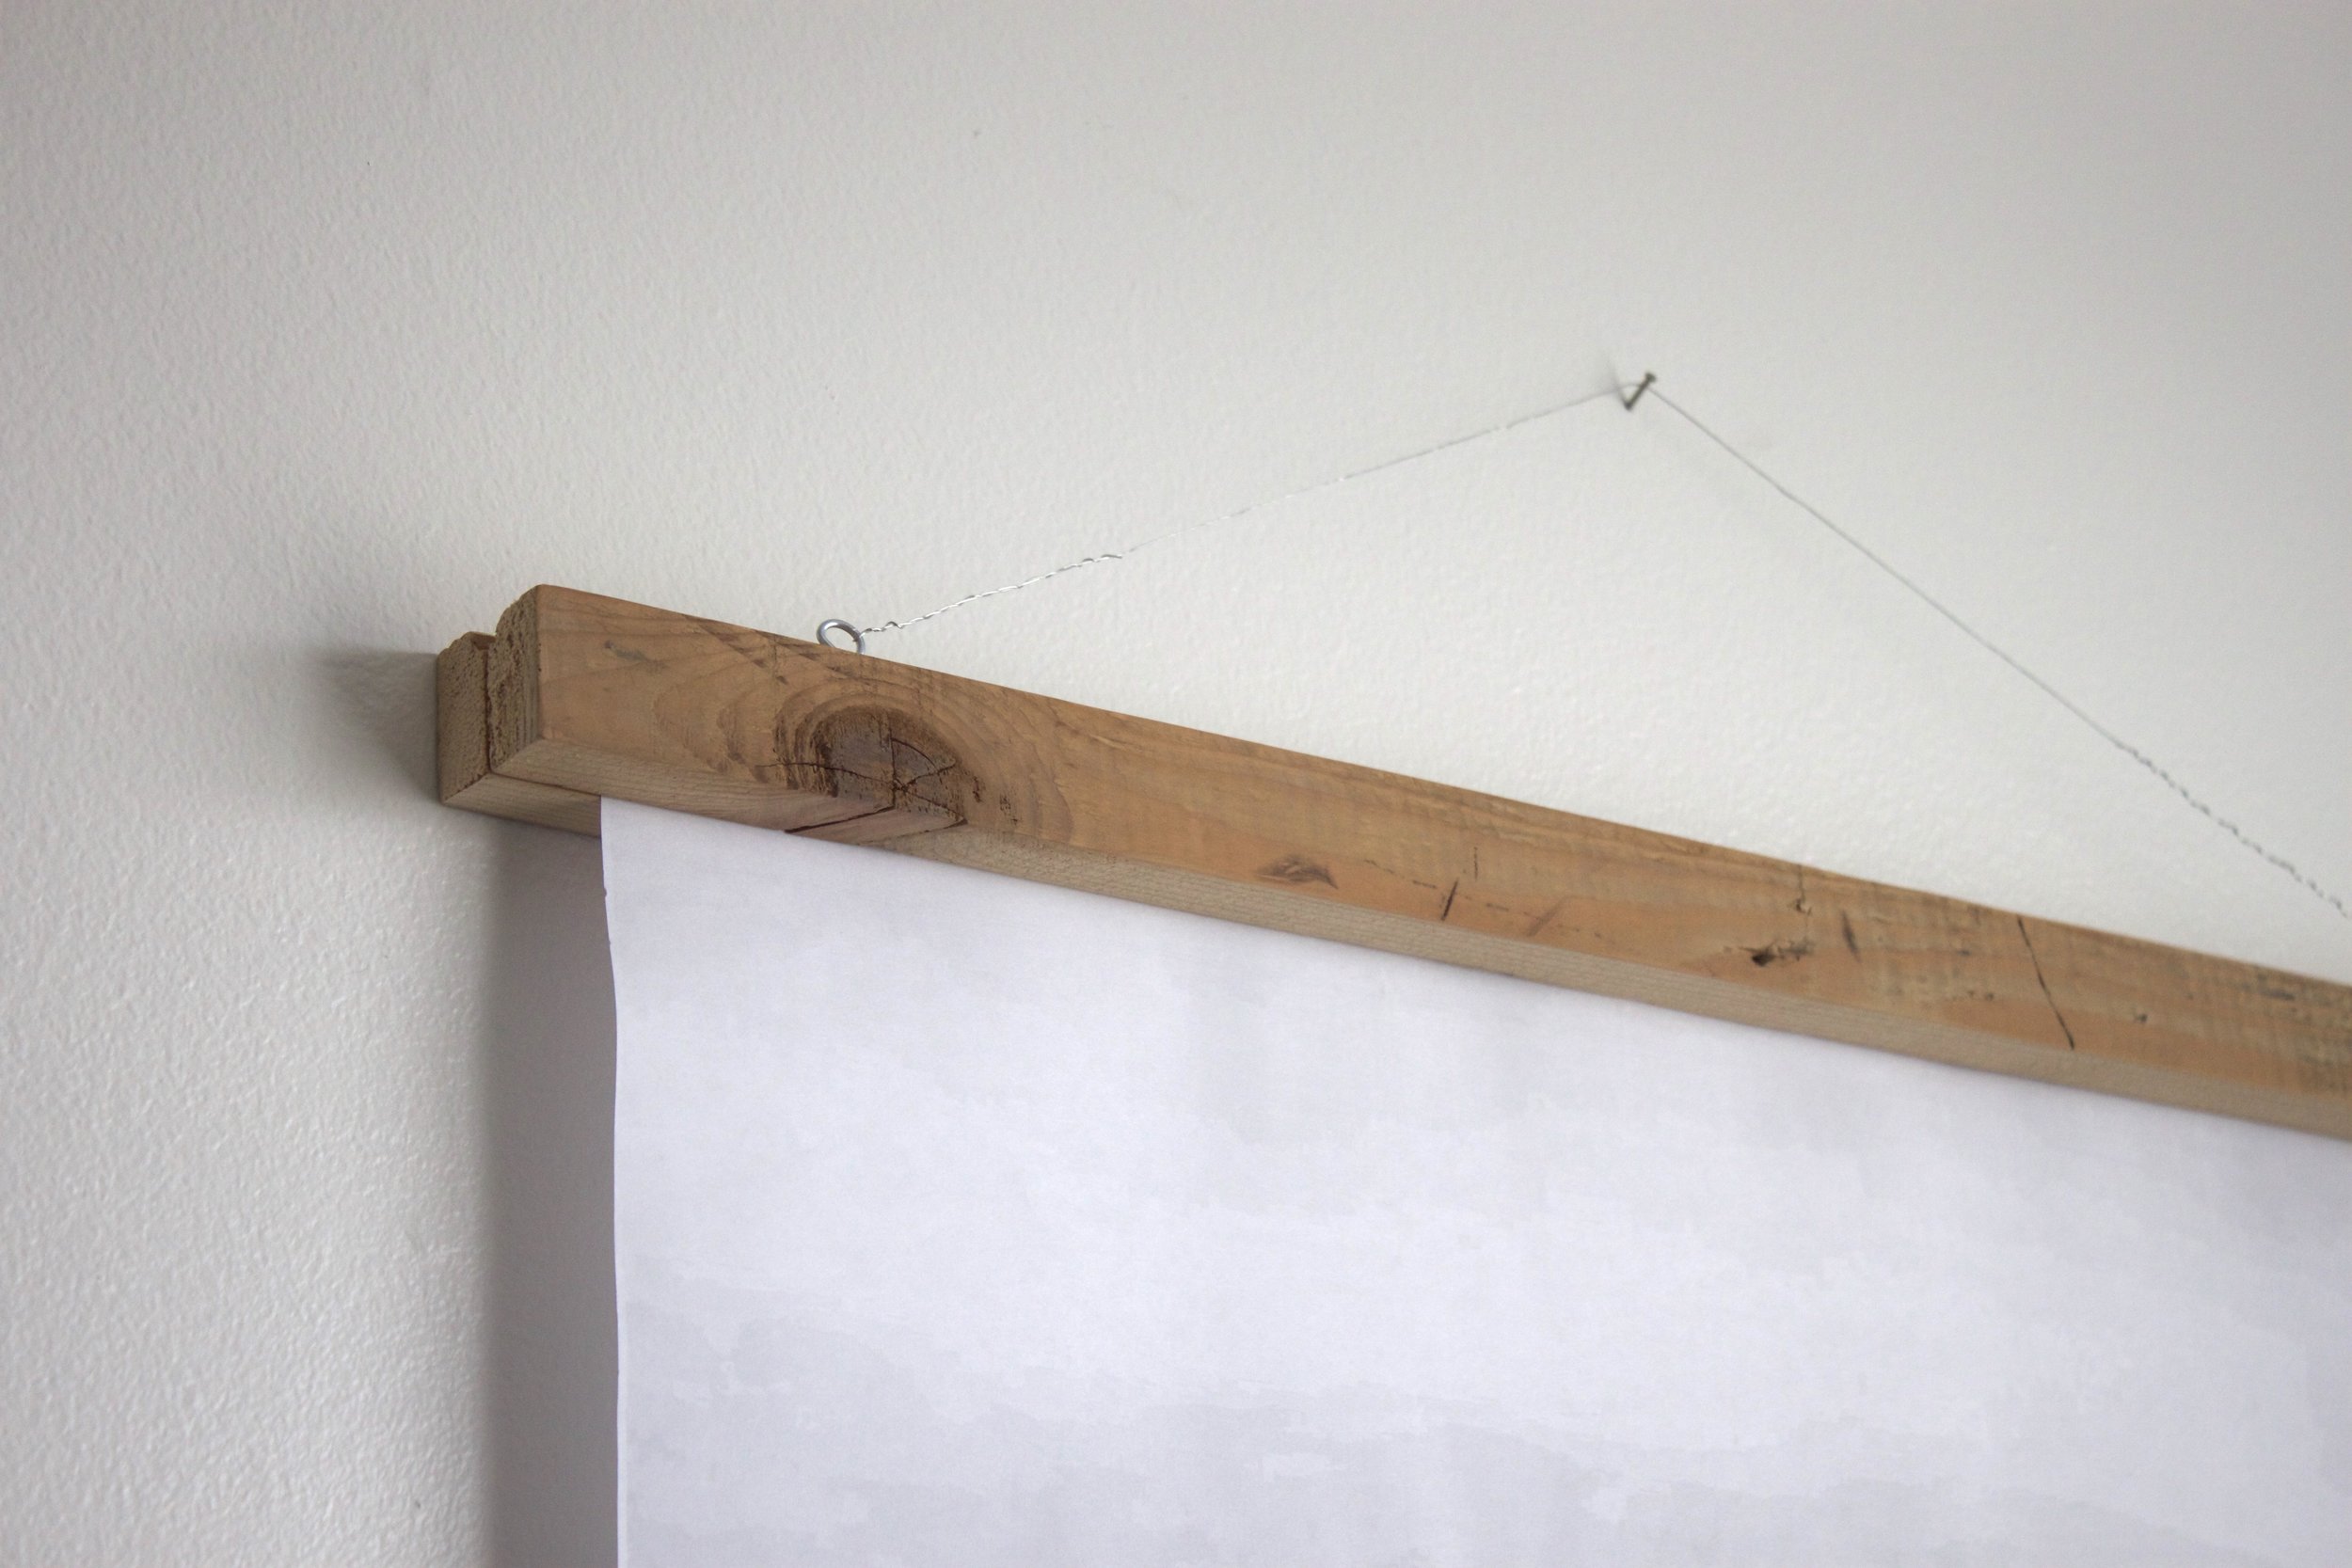
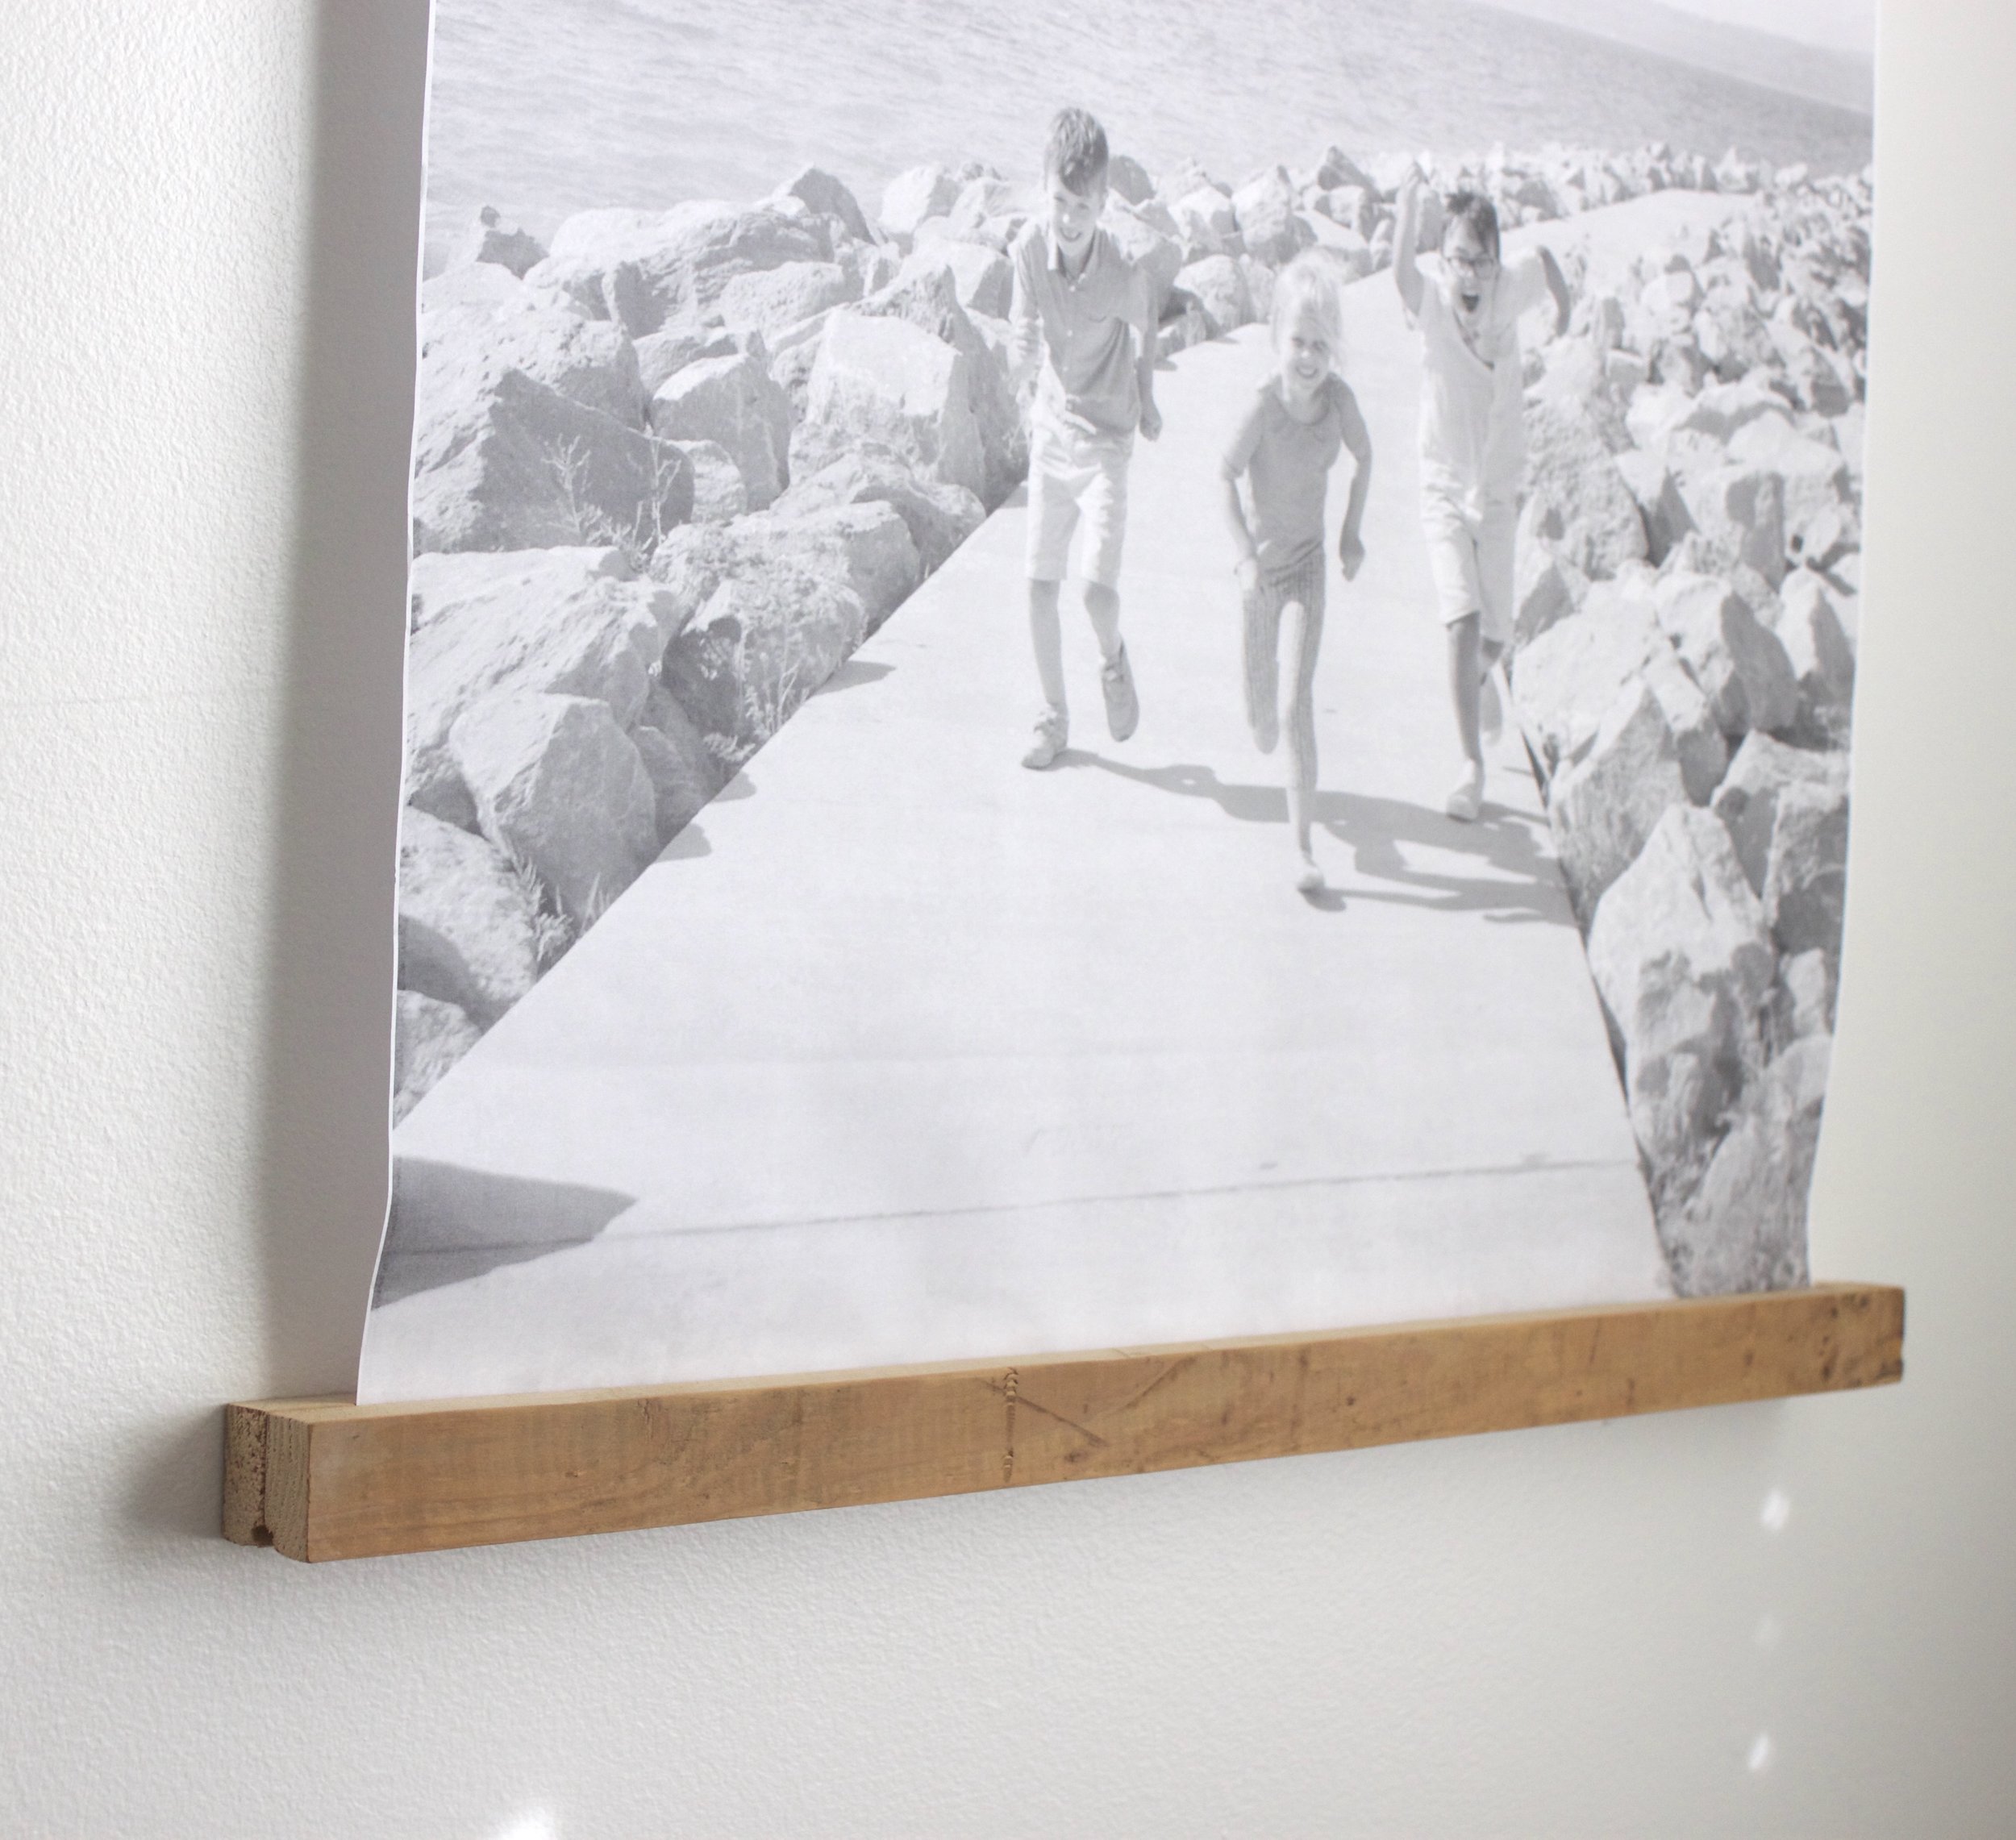
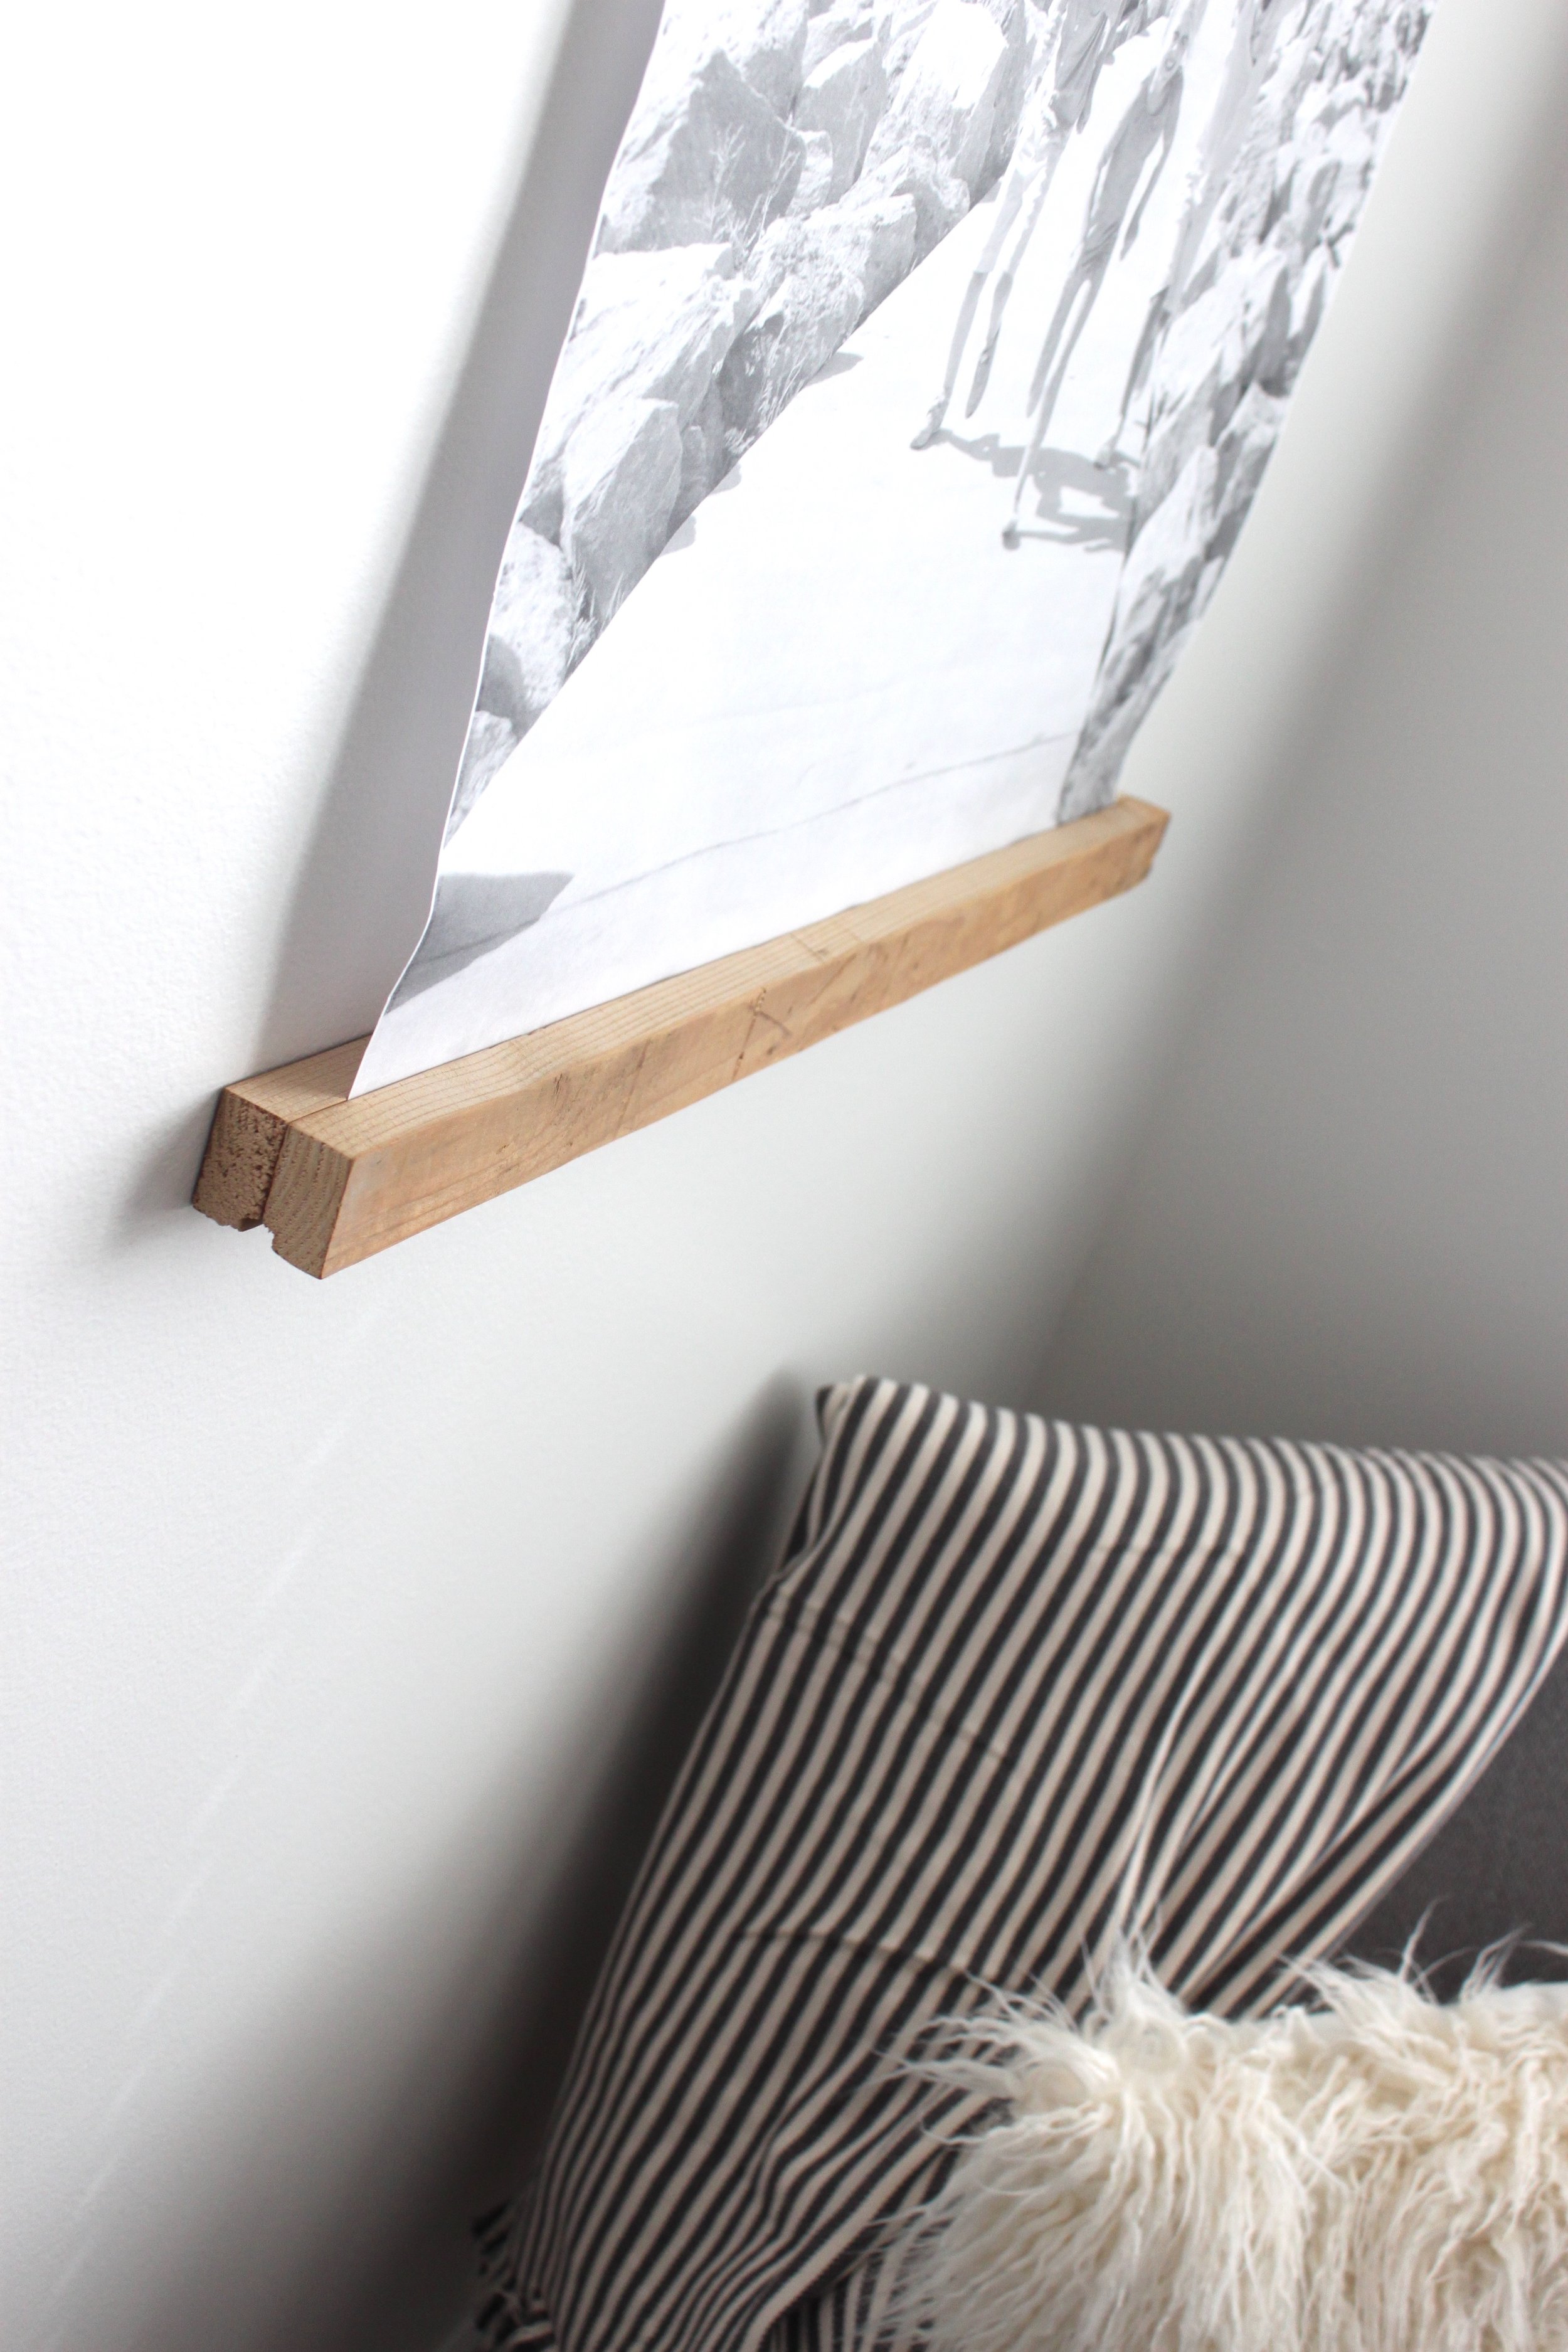
Staple the top and bottom of your print to two pieces of wood. (If you want) Add another strip of wood to the back of the first piece and using a nail gun or just a hammer and nails, nail the two pieces of wood together.
Screw in your eye hooks to the top piece of wood and twist on the wire. Thats it!! So easy right?!
For some reason my wood pieces weren’t hanging perfectly flush against the wall like I wanted (I’m kinda ocd like that haha!) so I used a little double sided foam tape behind the wood so that the top and bottom stay flush against the wall.
It’s such a quick and easy (and cheap!) way to have a large personalized wall hanging. The rest of my office is very industrial, so this fits in perfectly because it is very simple and has some reclaimed wood.

