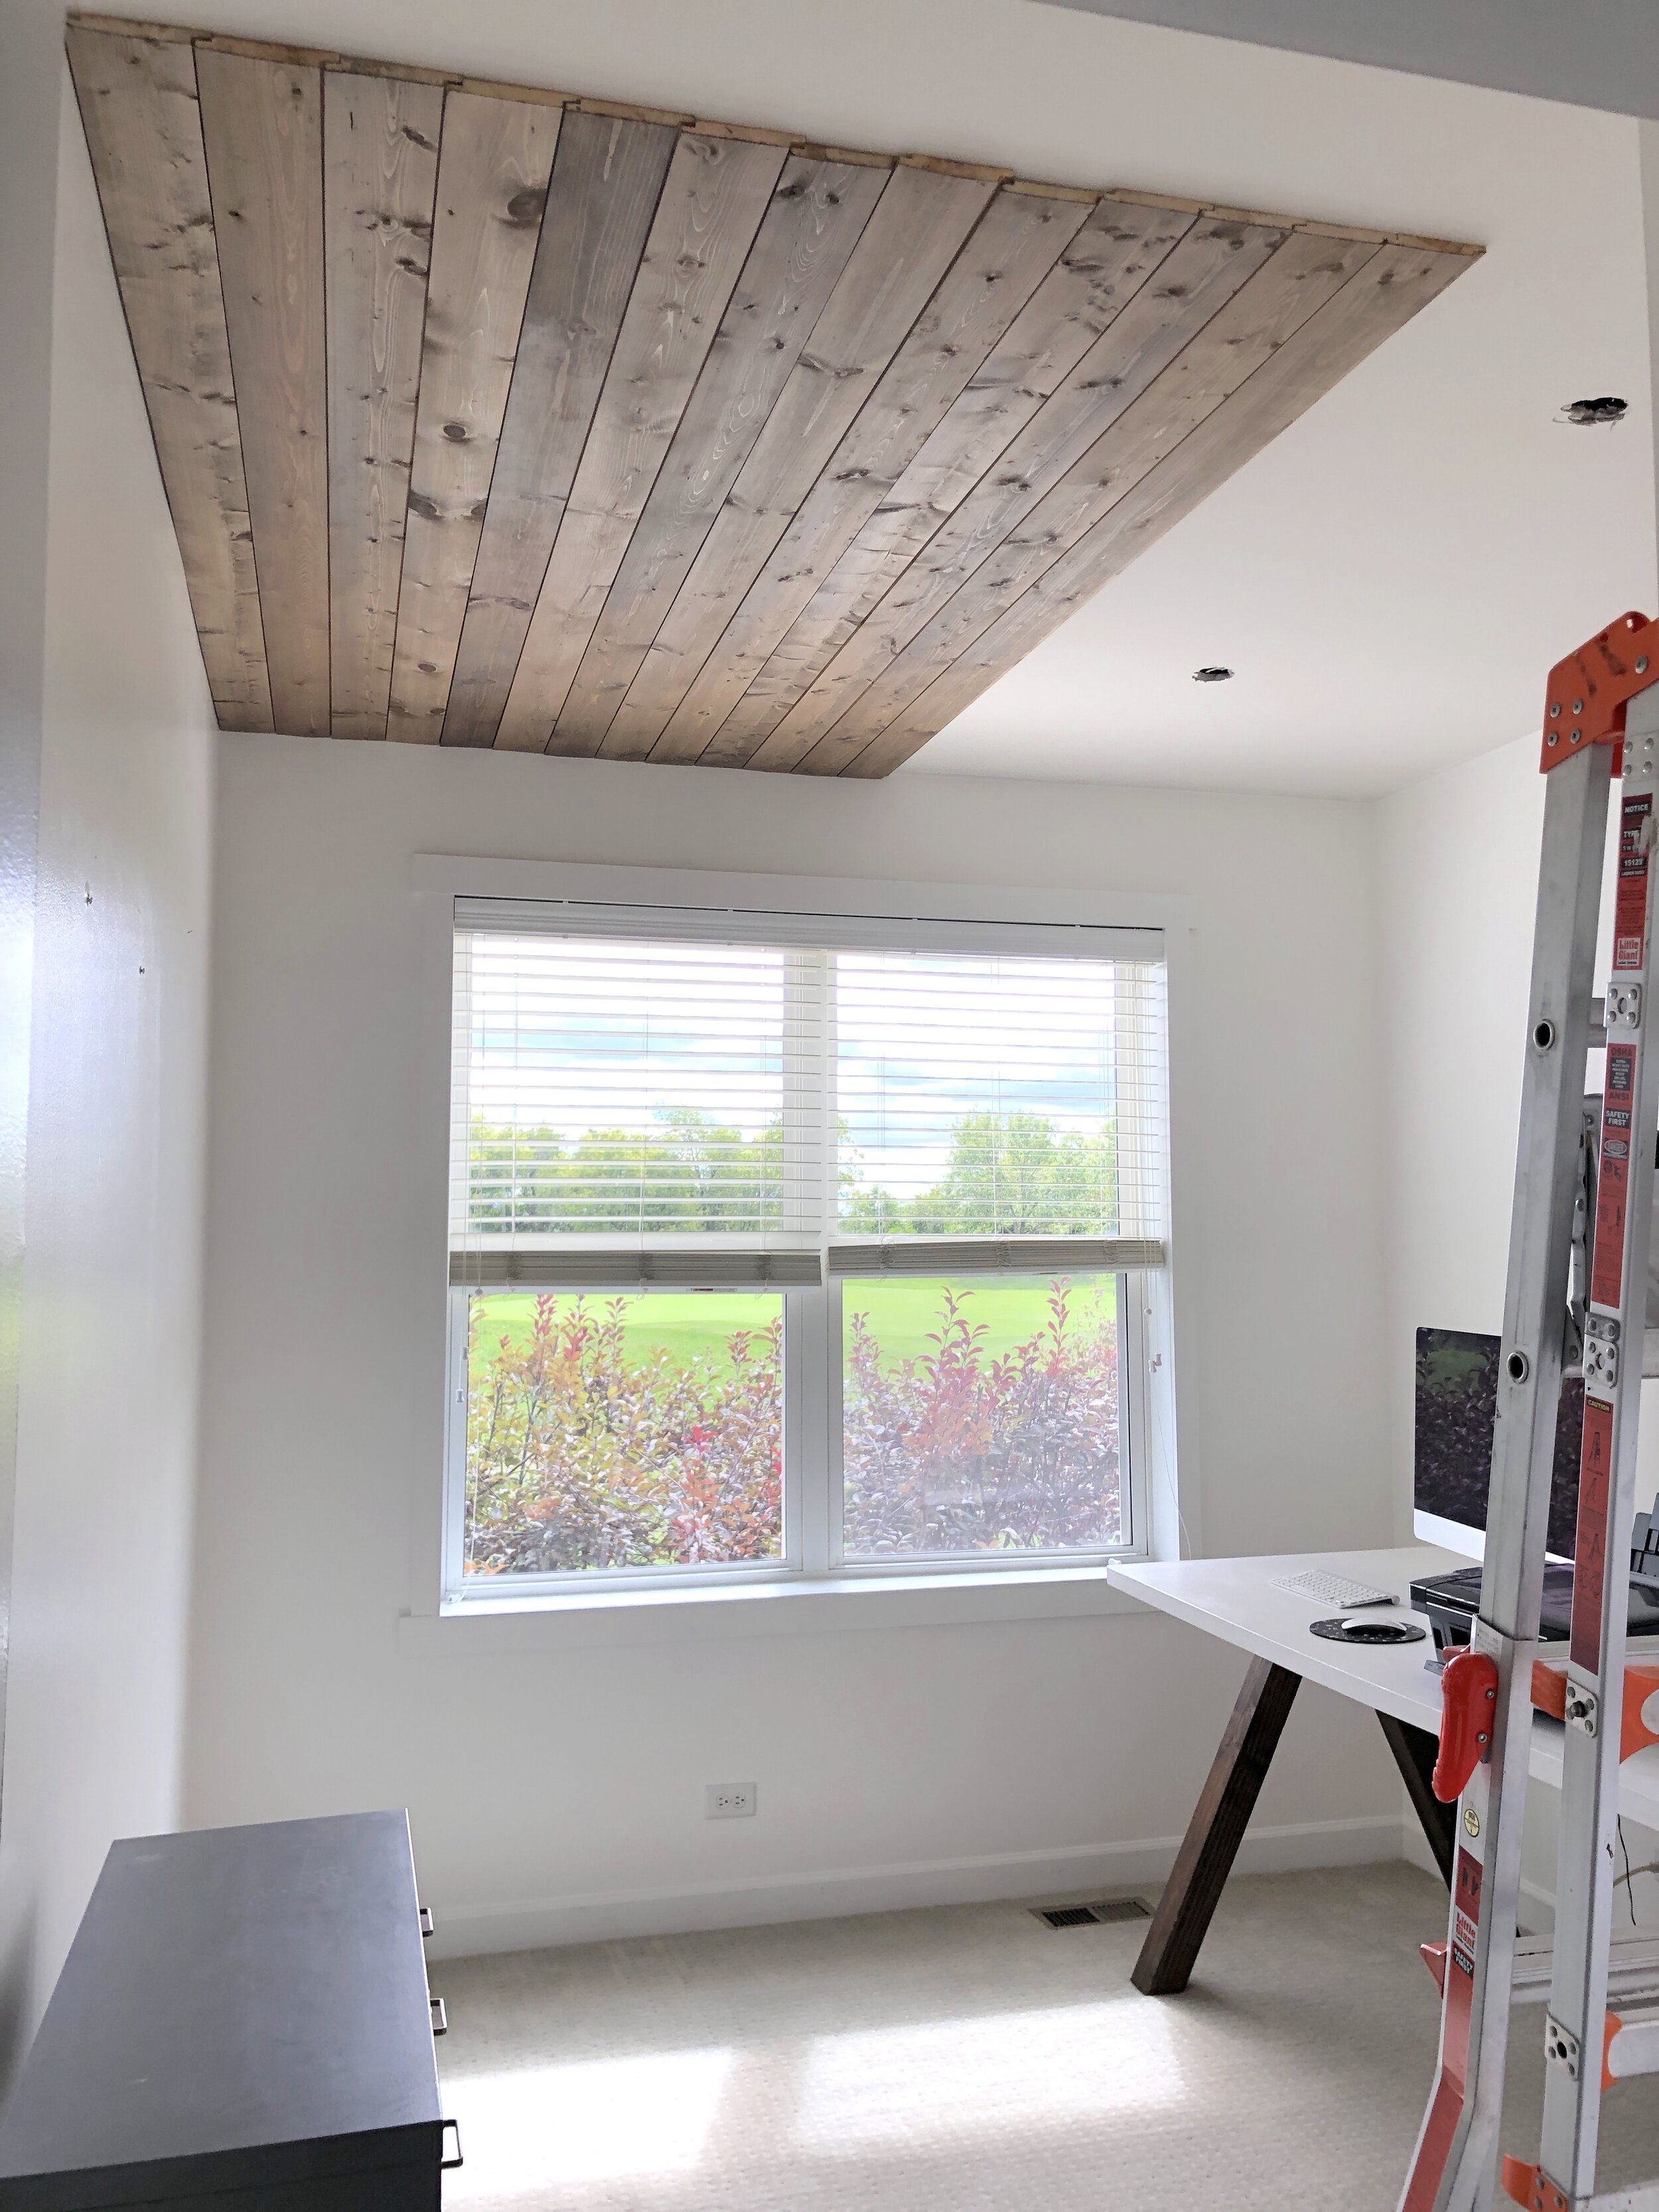
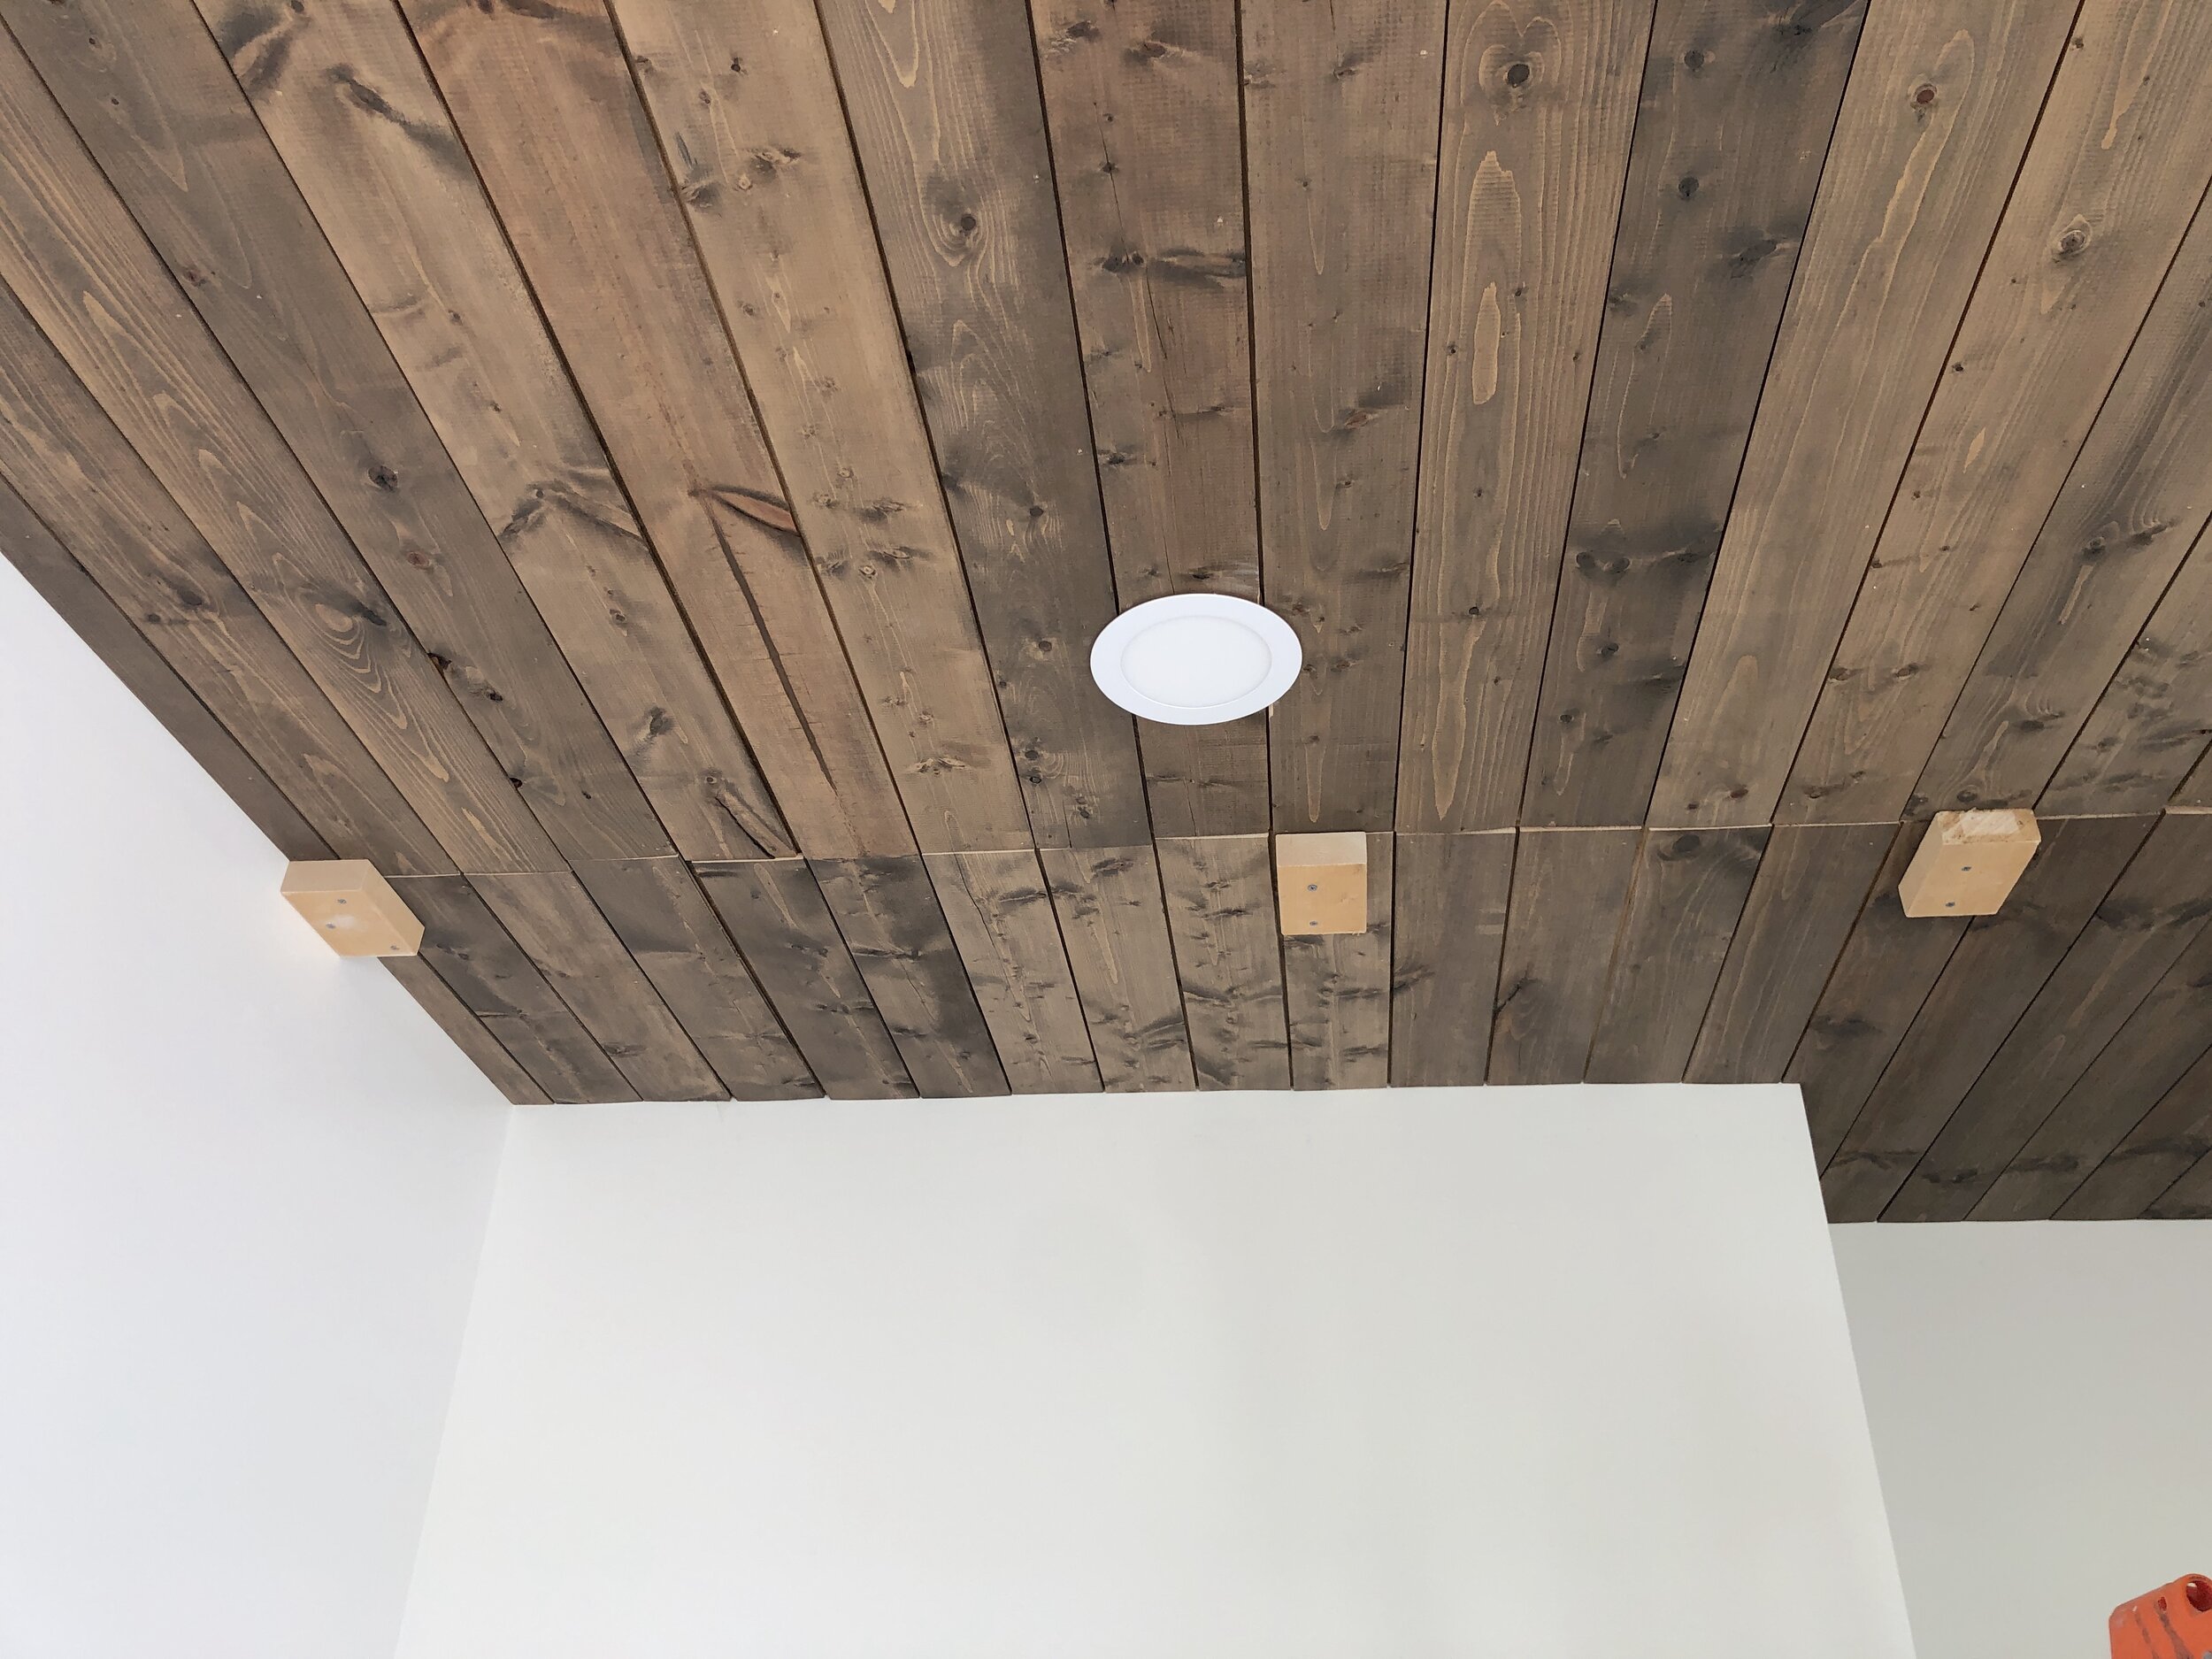
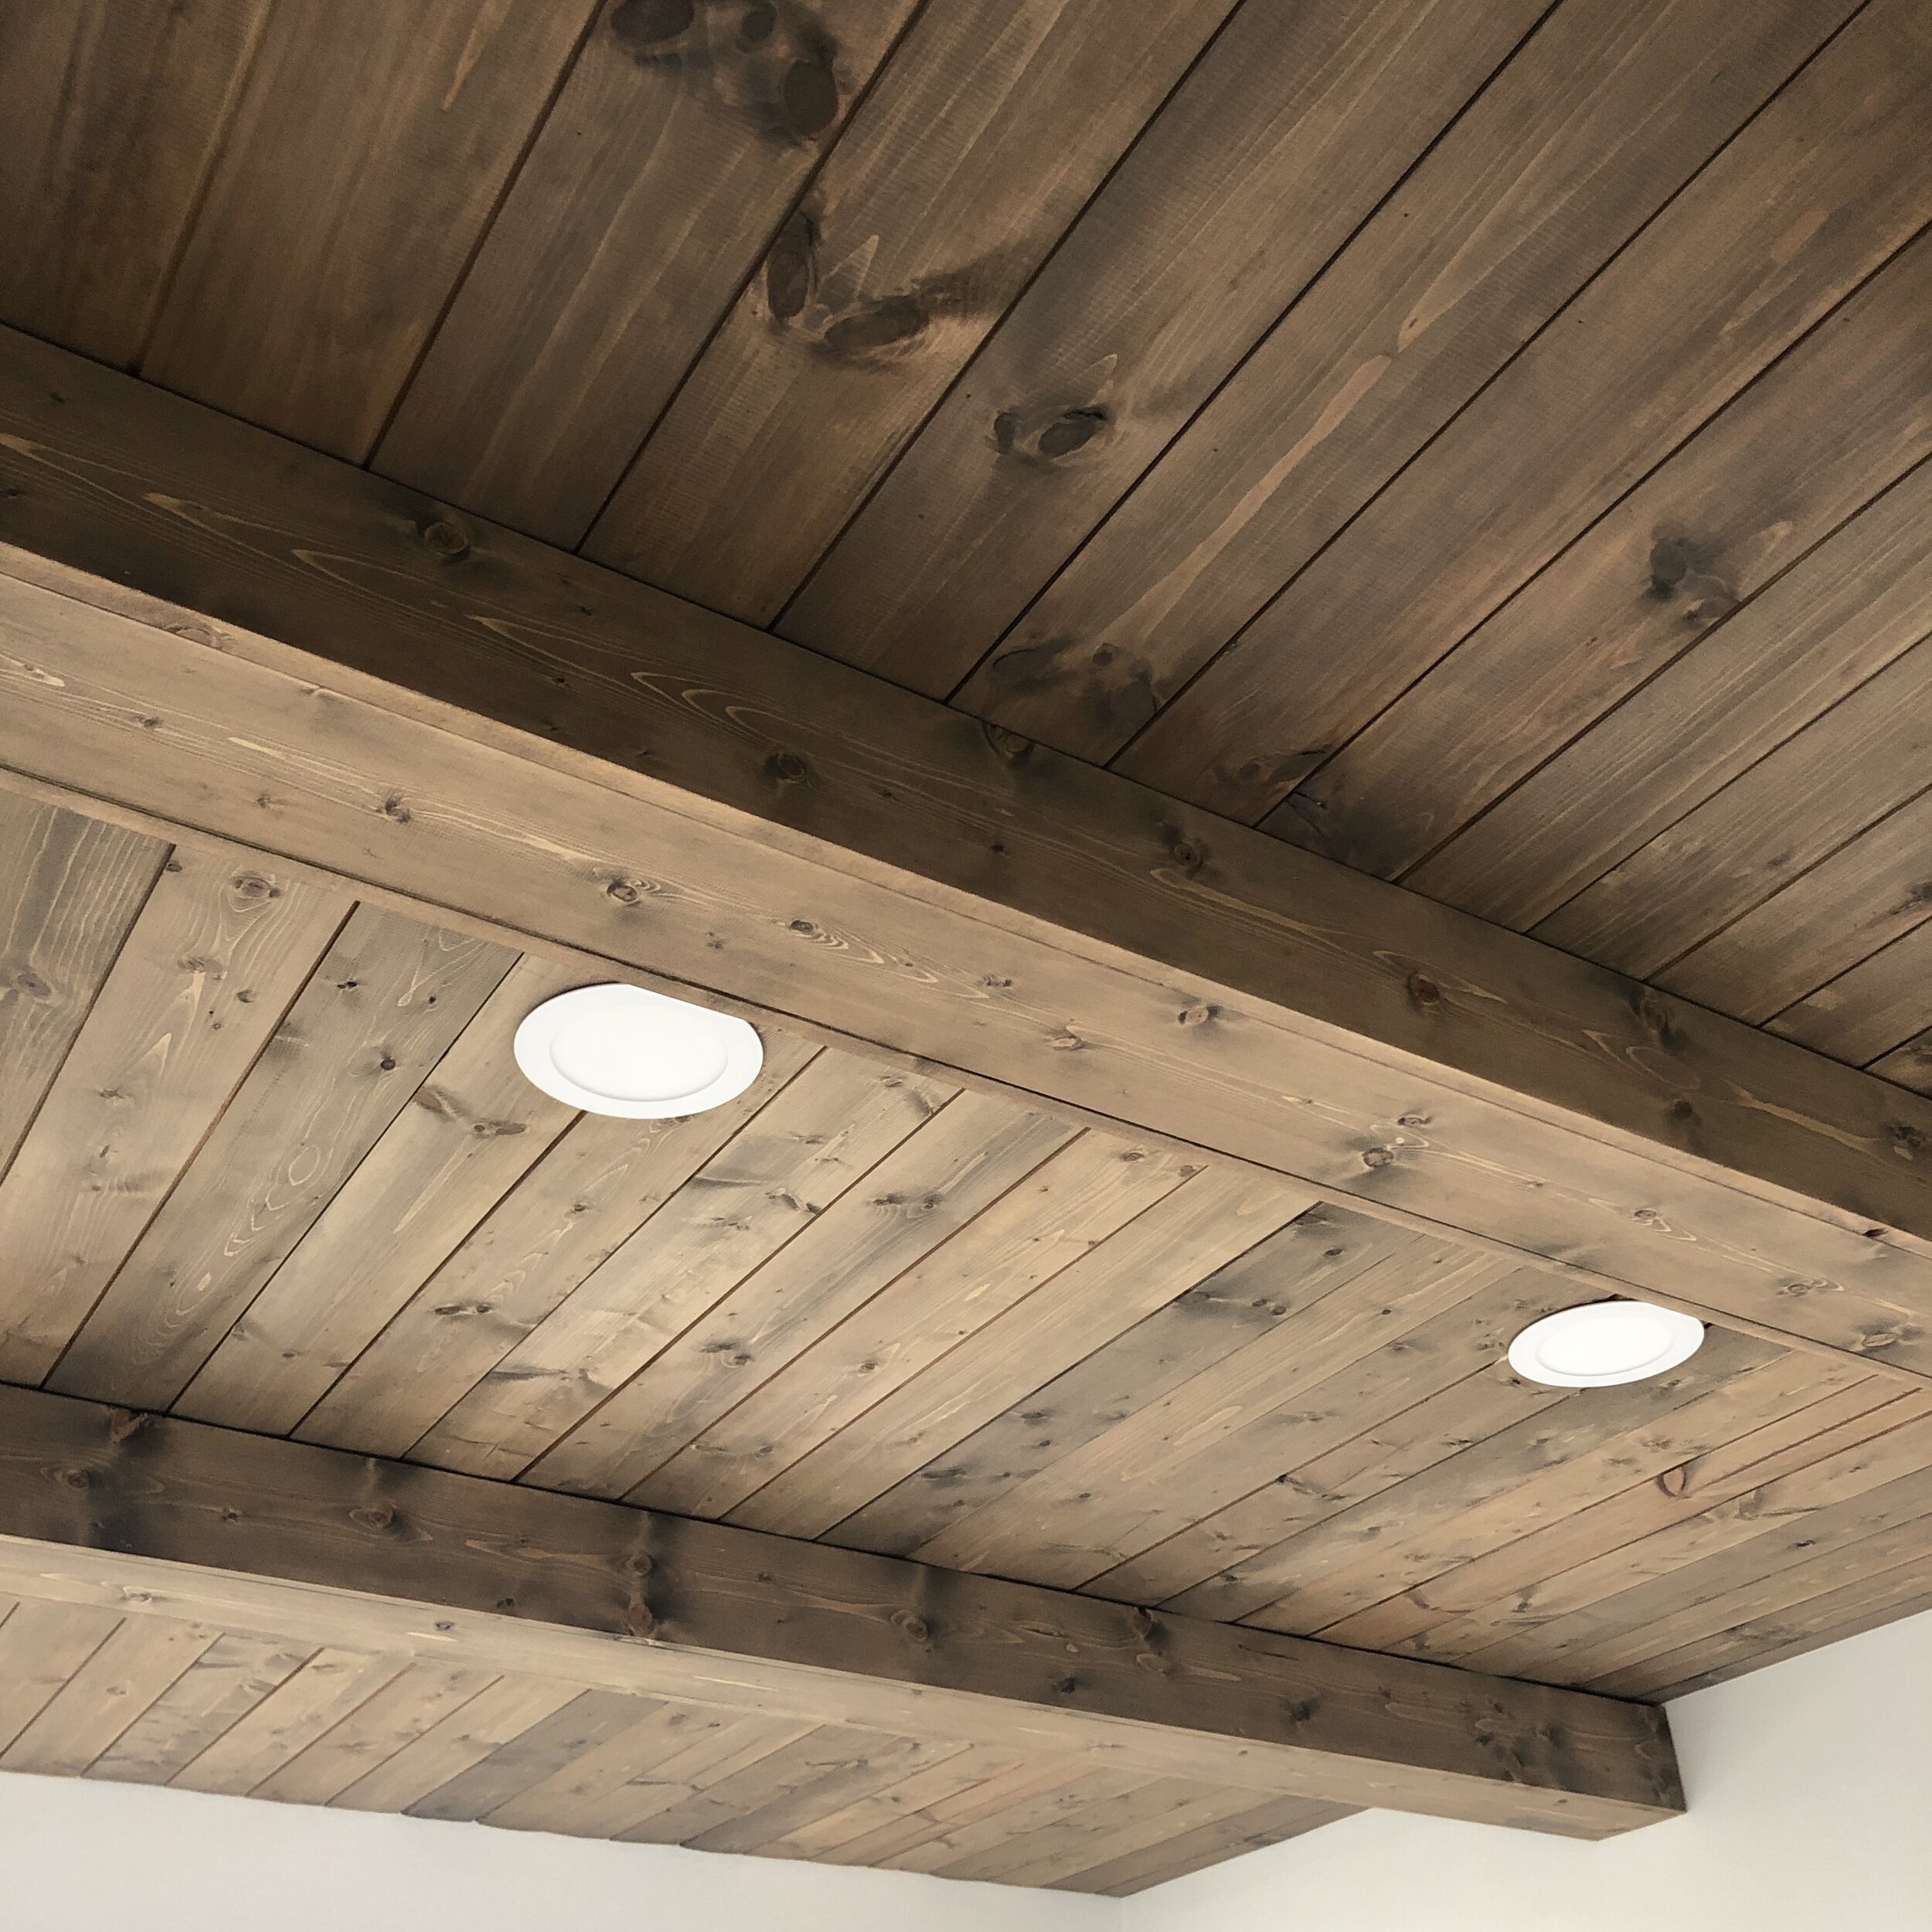
During the onset of the pandemic, we quickly realized that having a home office was necessary. We had a home office, but it wasn’t cute, and the background for zoom calls was a bit confusing. The desk was a counter height desk, so the chairs were barstools and not very comfortable. Definitely not going to fly for long zoom meetings. Another issue was there was no overhead lighting. The only light was a floor lamp. I wanted some recessed lighting to make it really bright. And you know, since I was needing to drill some holes in the ceilings to figure out where we should place the lights, I decided why not cover the entire ceiling with shiplap while I was at it!
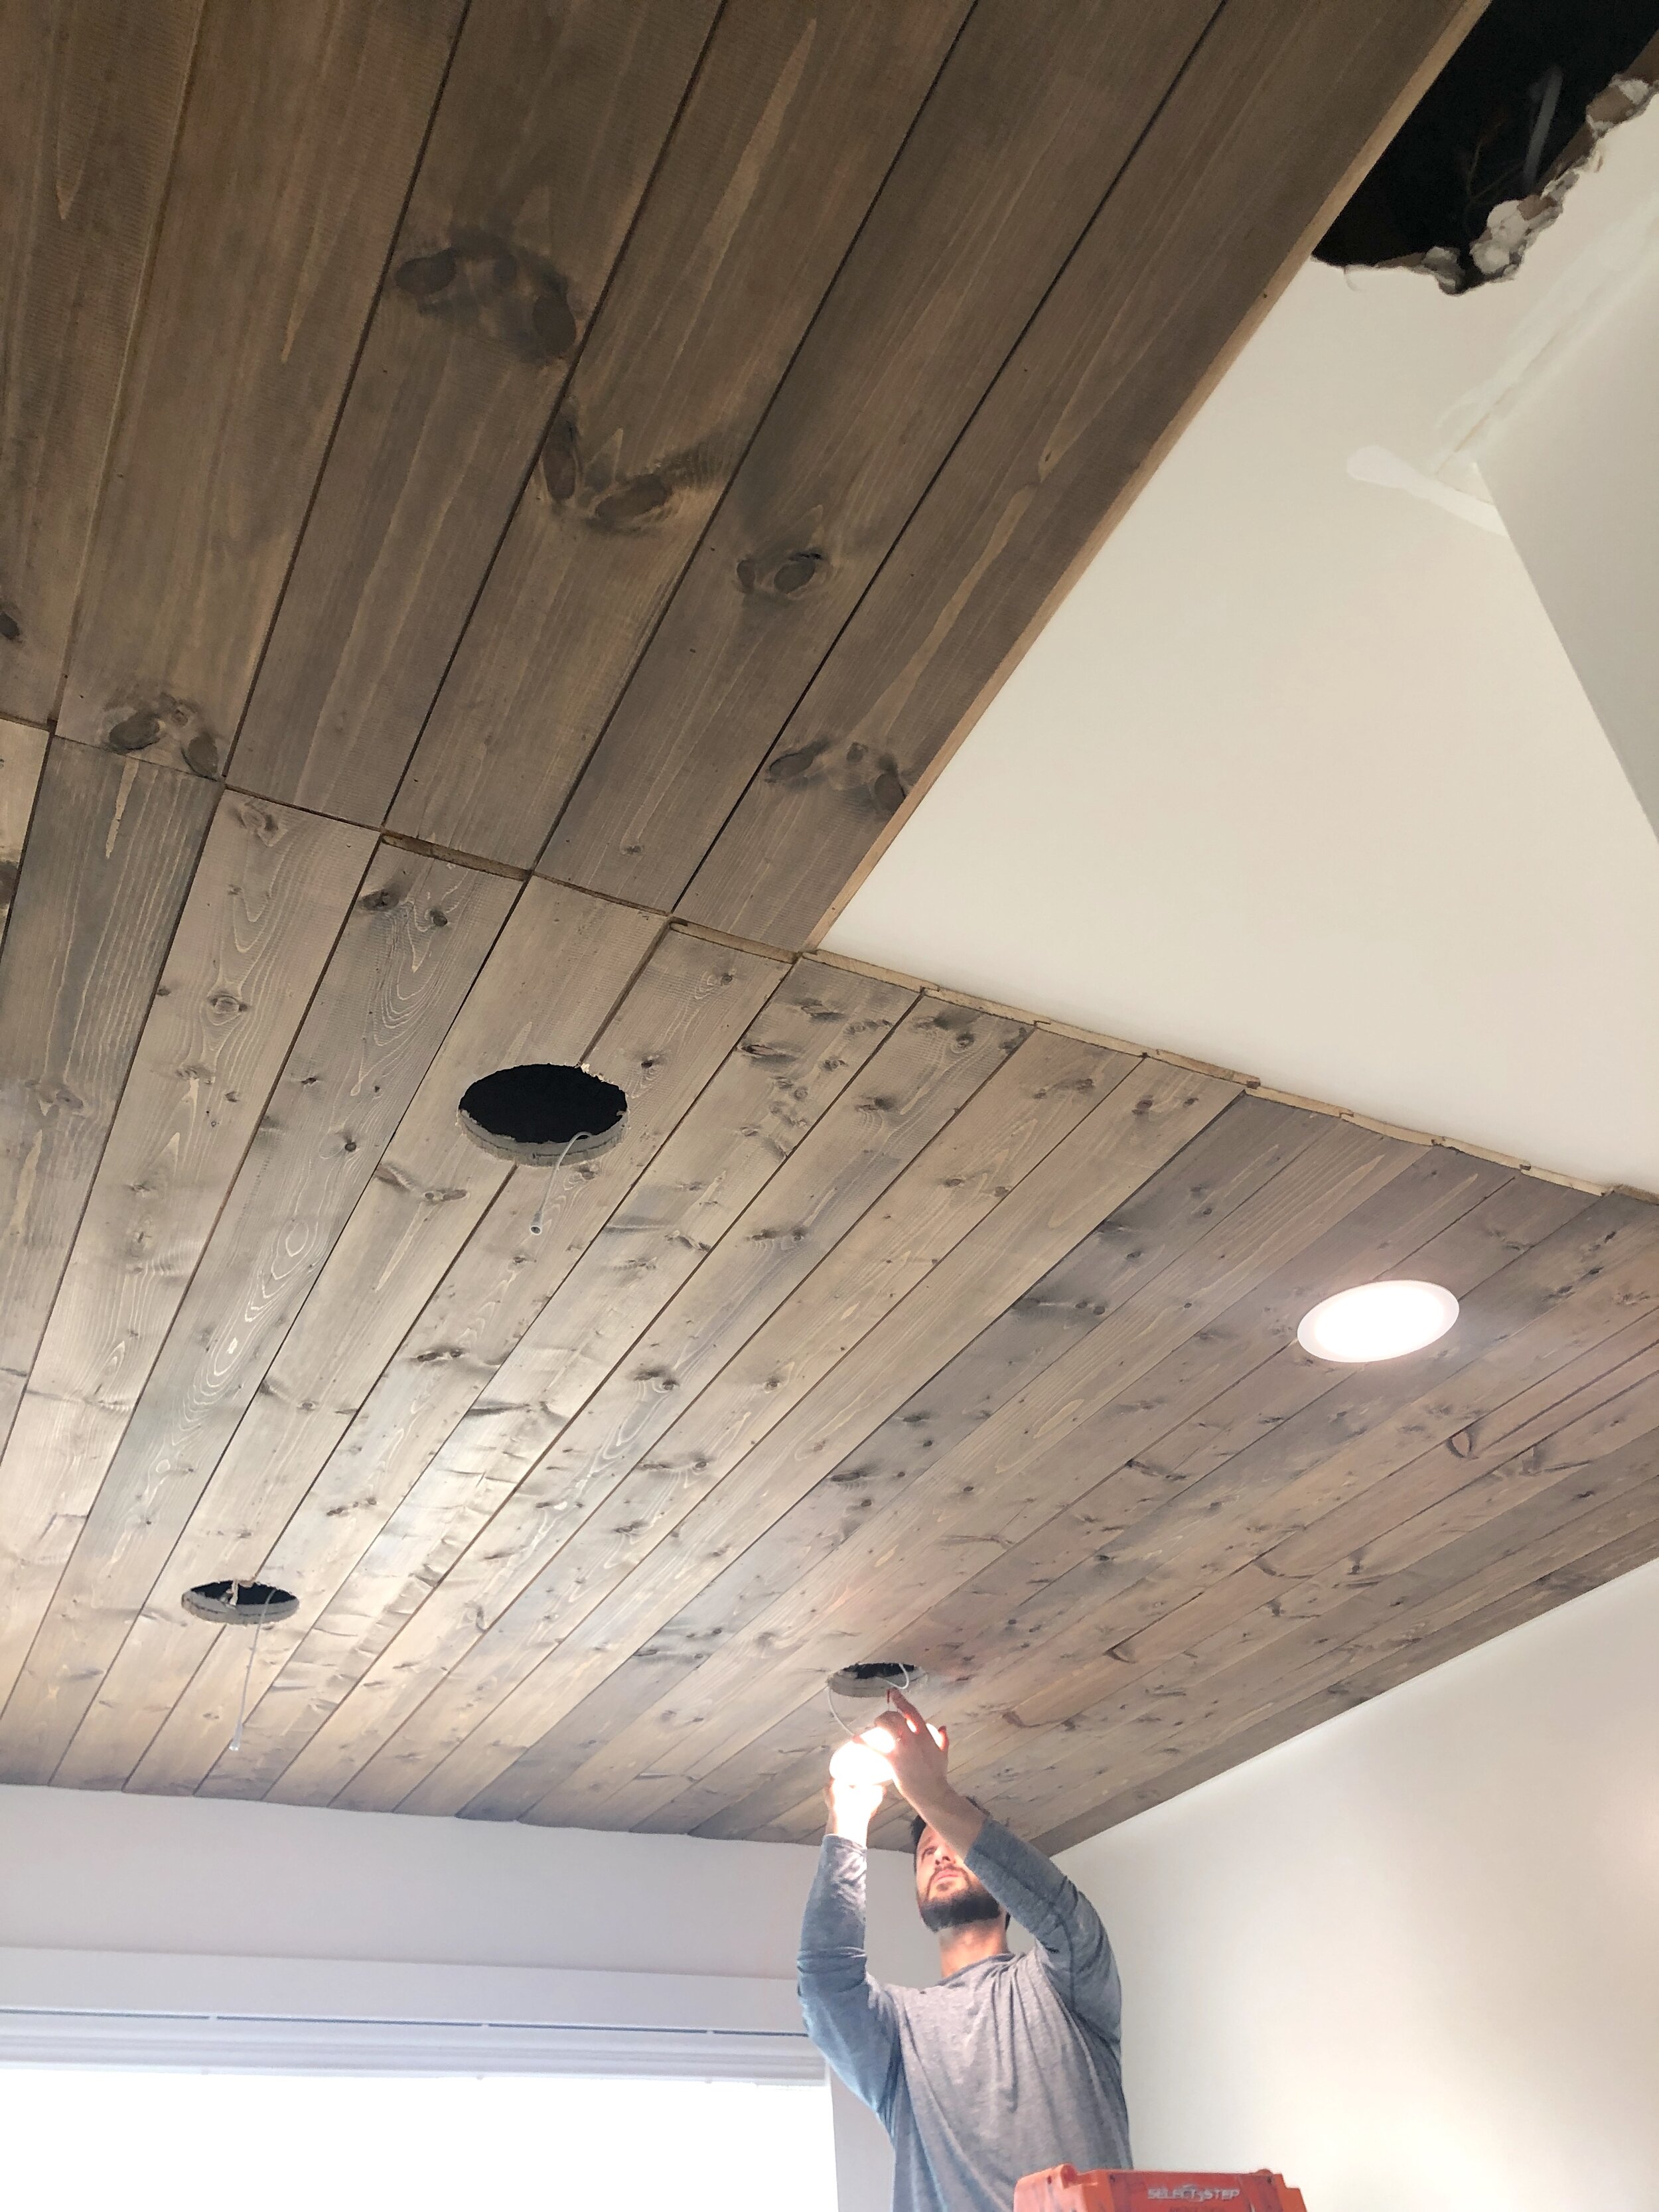
So the first thing I did was figure out the lighting placement. I marked the spots I wanted lights and then covered the ceiling with stained shiplap boards. I bought them raw and stained them myself. I used a nail gun and nailed the boards to the ceiling, going in at an angle with two nails. Imagine making an “X” with two nails in the boards. I could also have used liquid nails caulk for extra adherence. Or I could have screwed the boards in to the studs. I chose the nail option because the boards were light and only needed to hold their own weight. and the beams I would add made sure those boards weren’t going anywhere.
These lights were pretty great. They install quickly and can all link together instead of each light linking back to the power source.
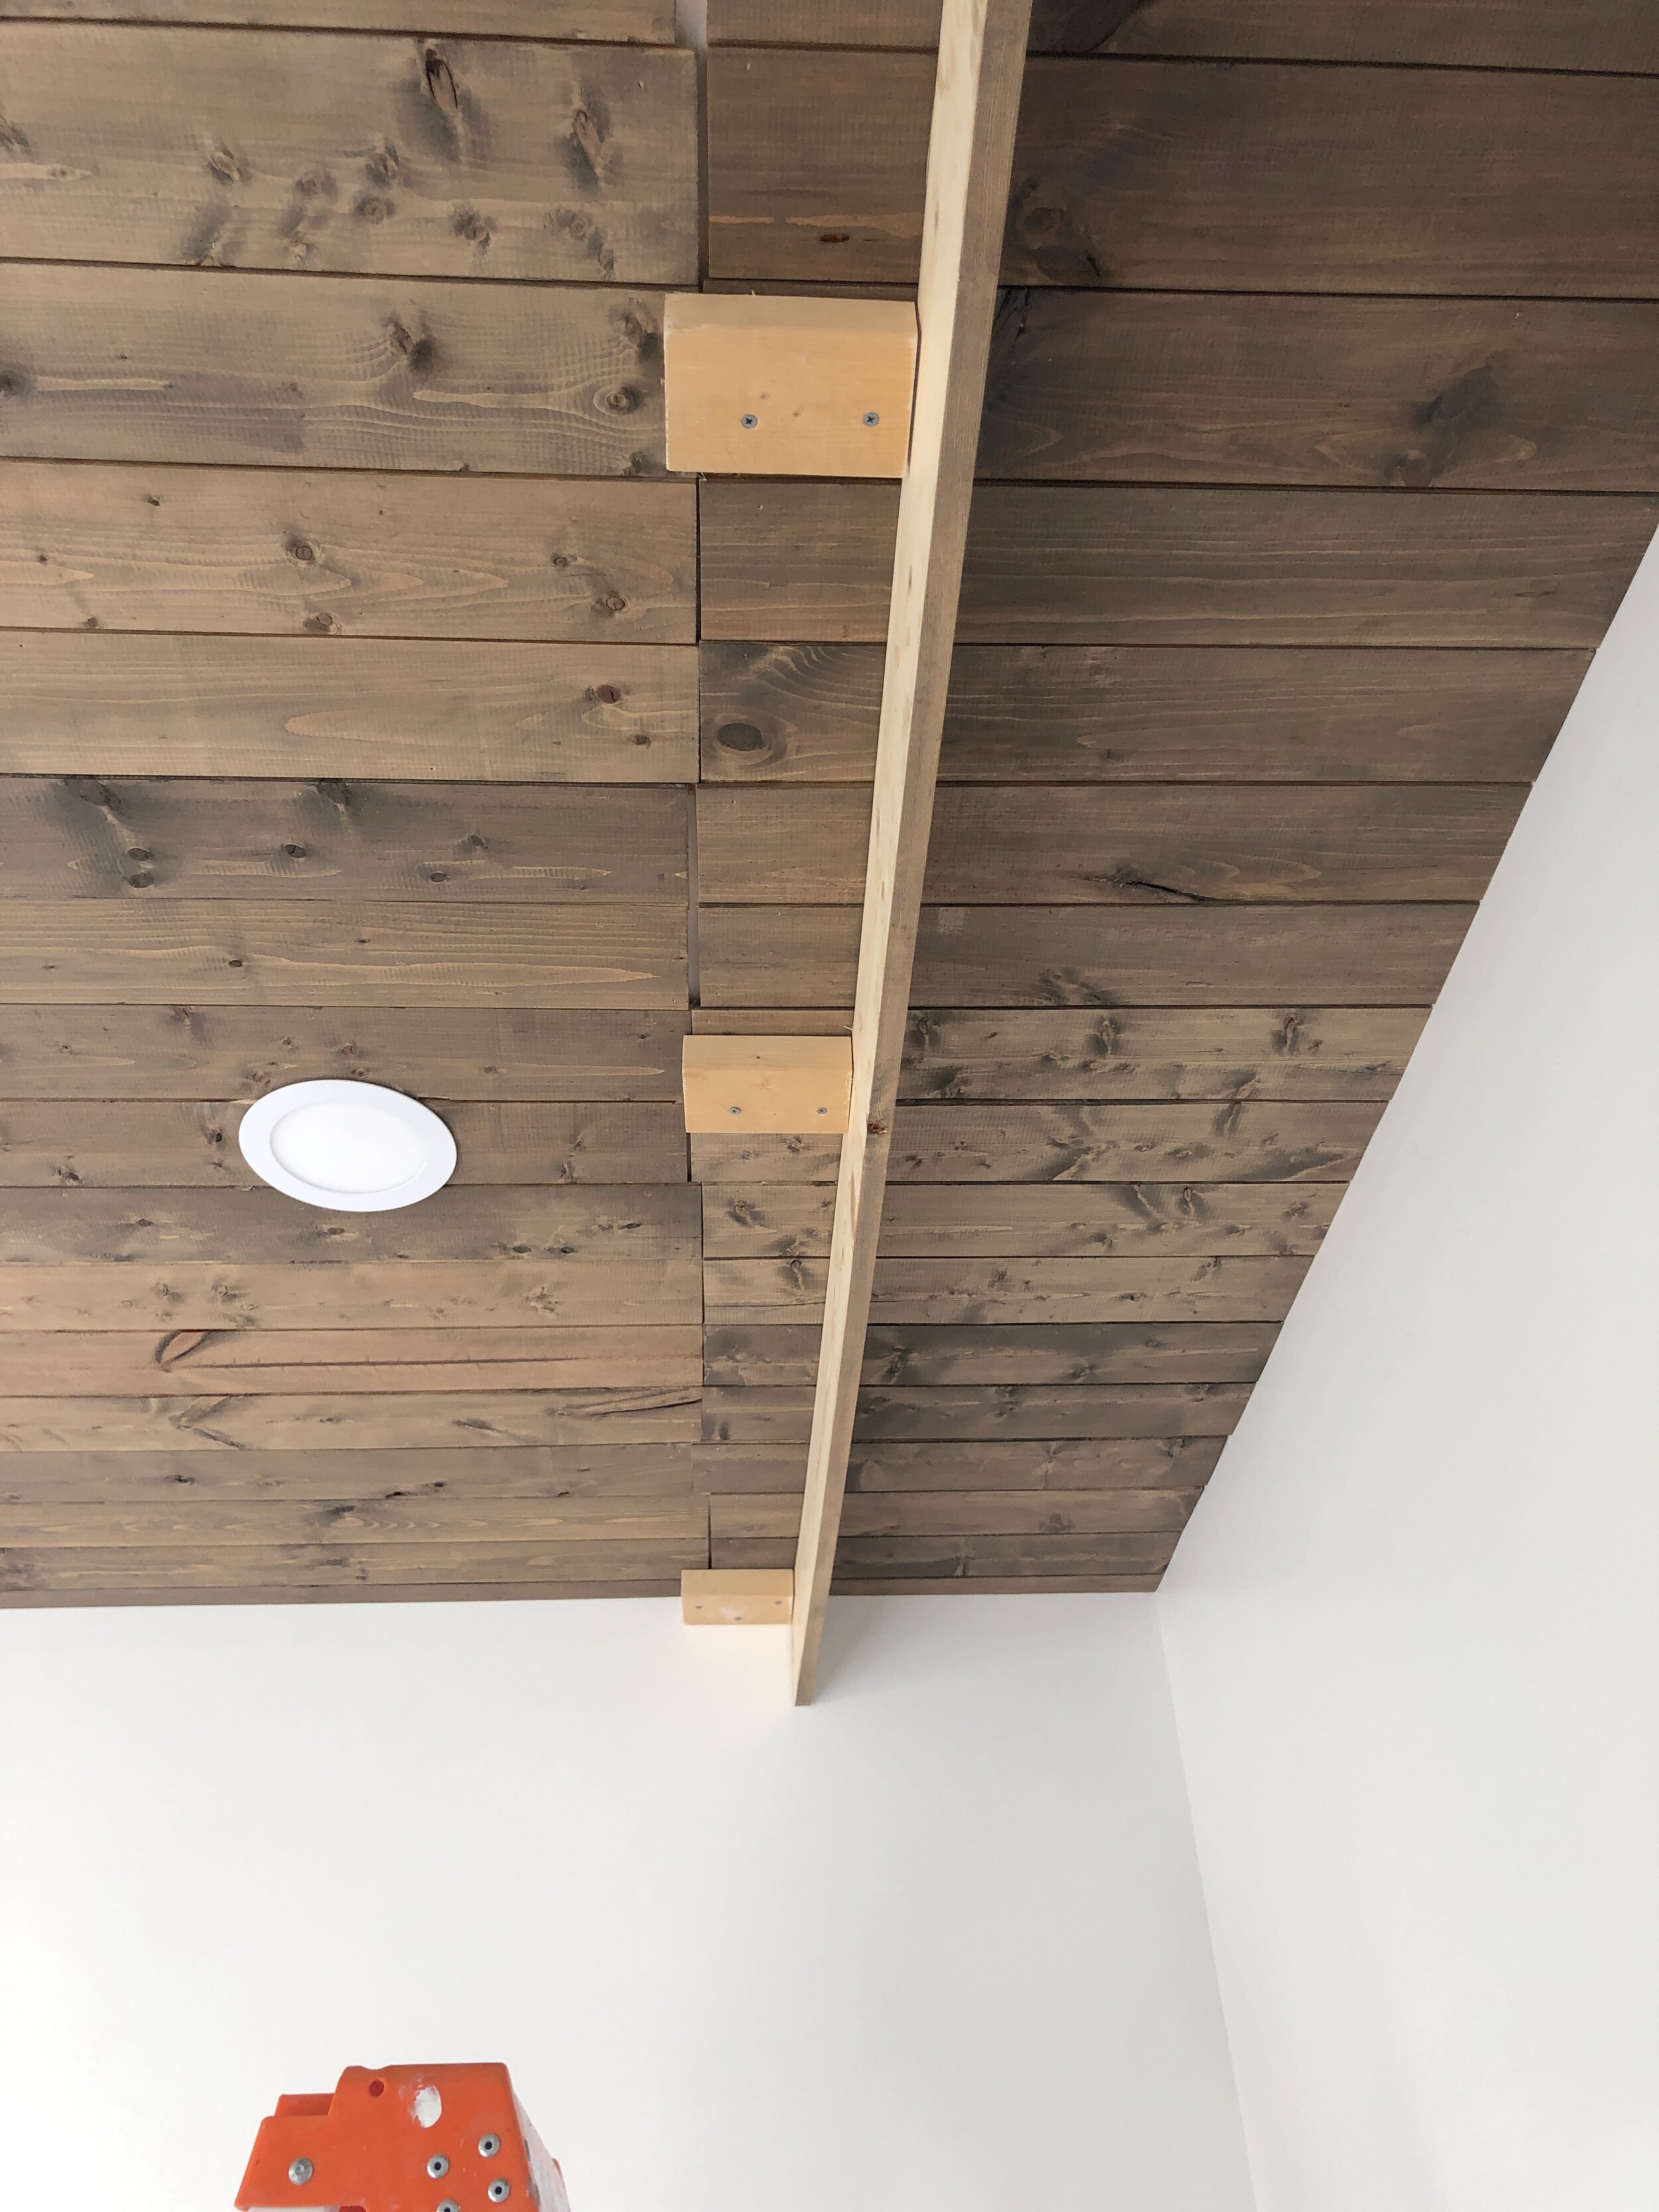
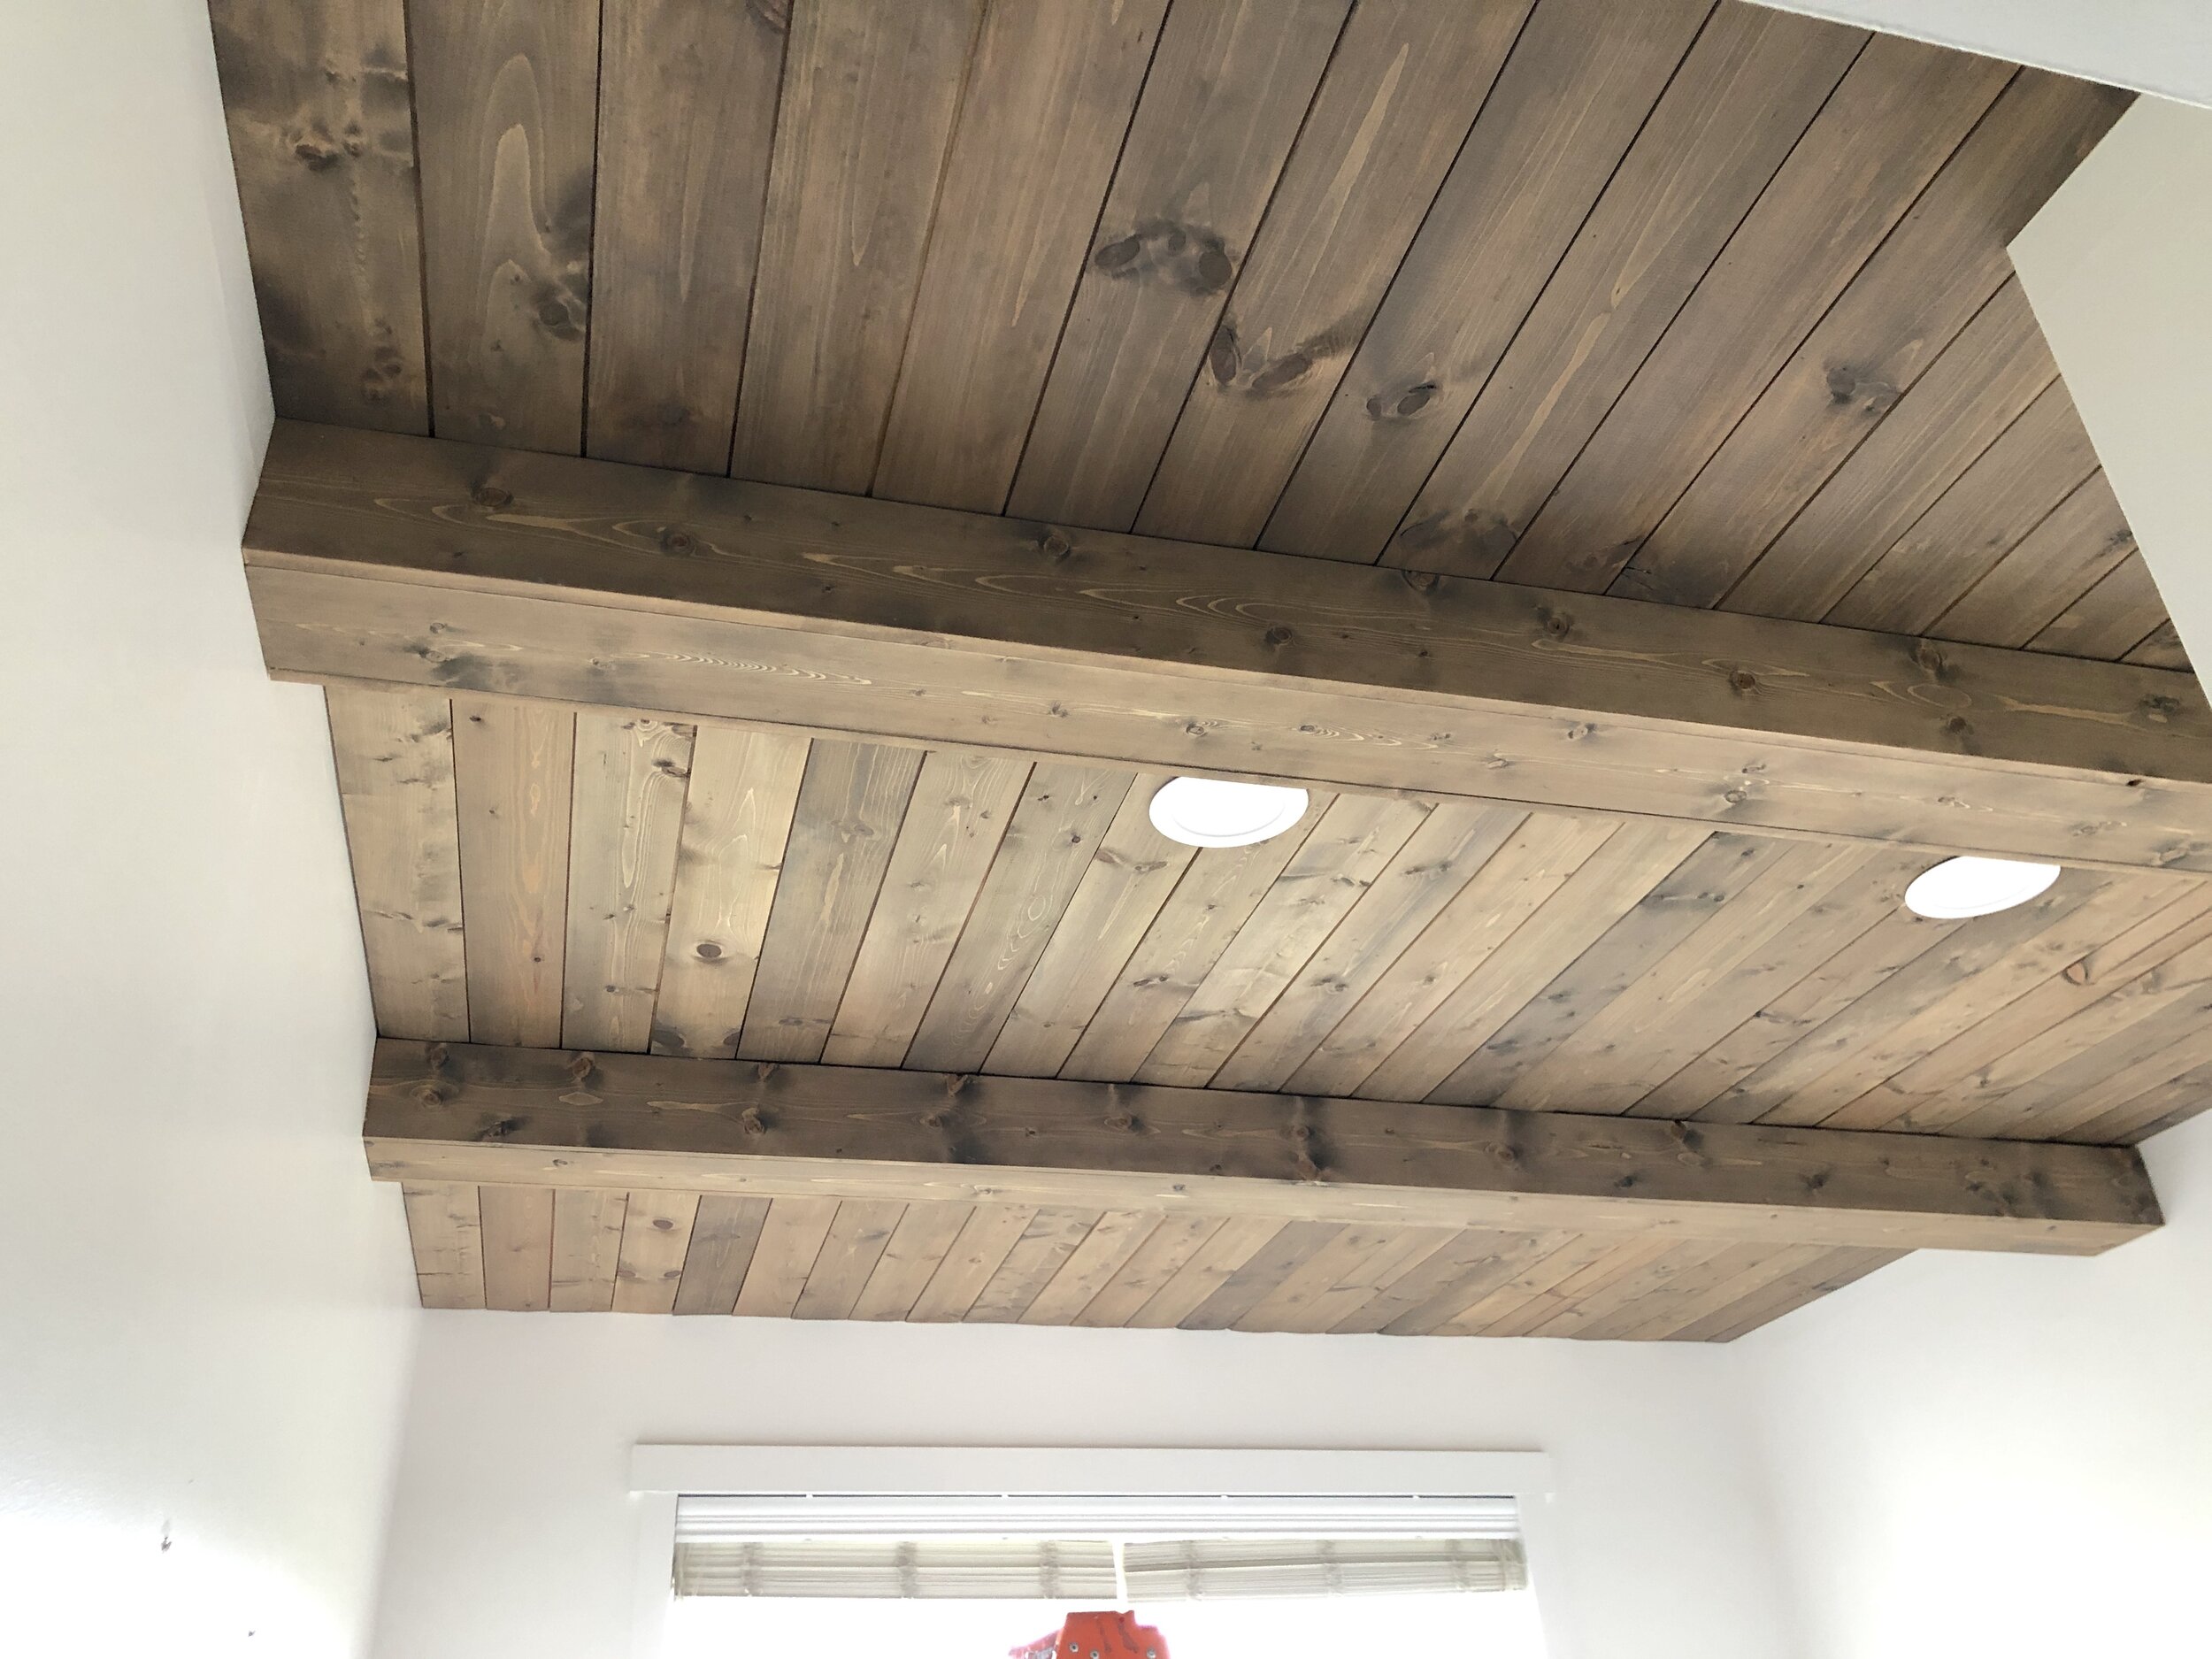
After all the shiplap was up and the lights were in, I decided where I wanted my beams. I needed one beam to cover the seam in the shiplap. I add a second to balance out the room. To hang the beam, I used some 2×4 pieces and screwed them in to the ceiling studs. I wanted to make sure they were completely secure.
Then, I nailed one side of the beam to the 2×4’s. And then the other side and then the bottom. You can go in any order that works for you. Or you can build the beam before attaching it to the 2×4’s.
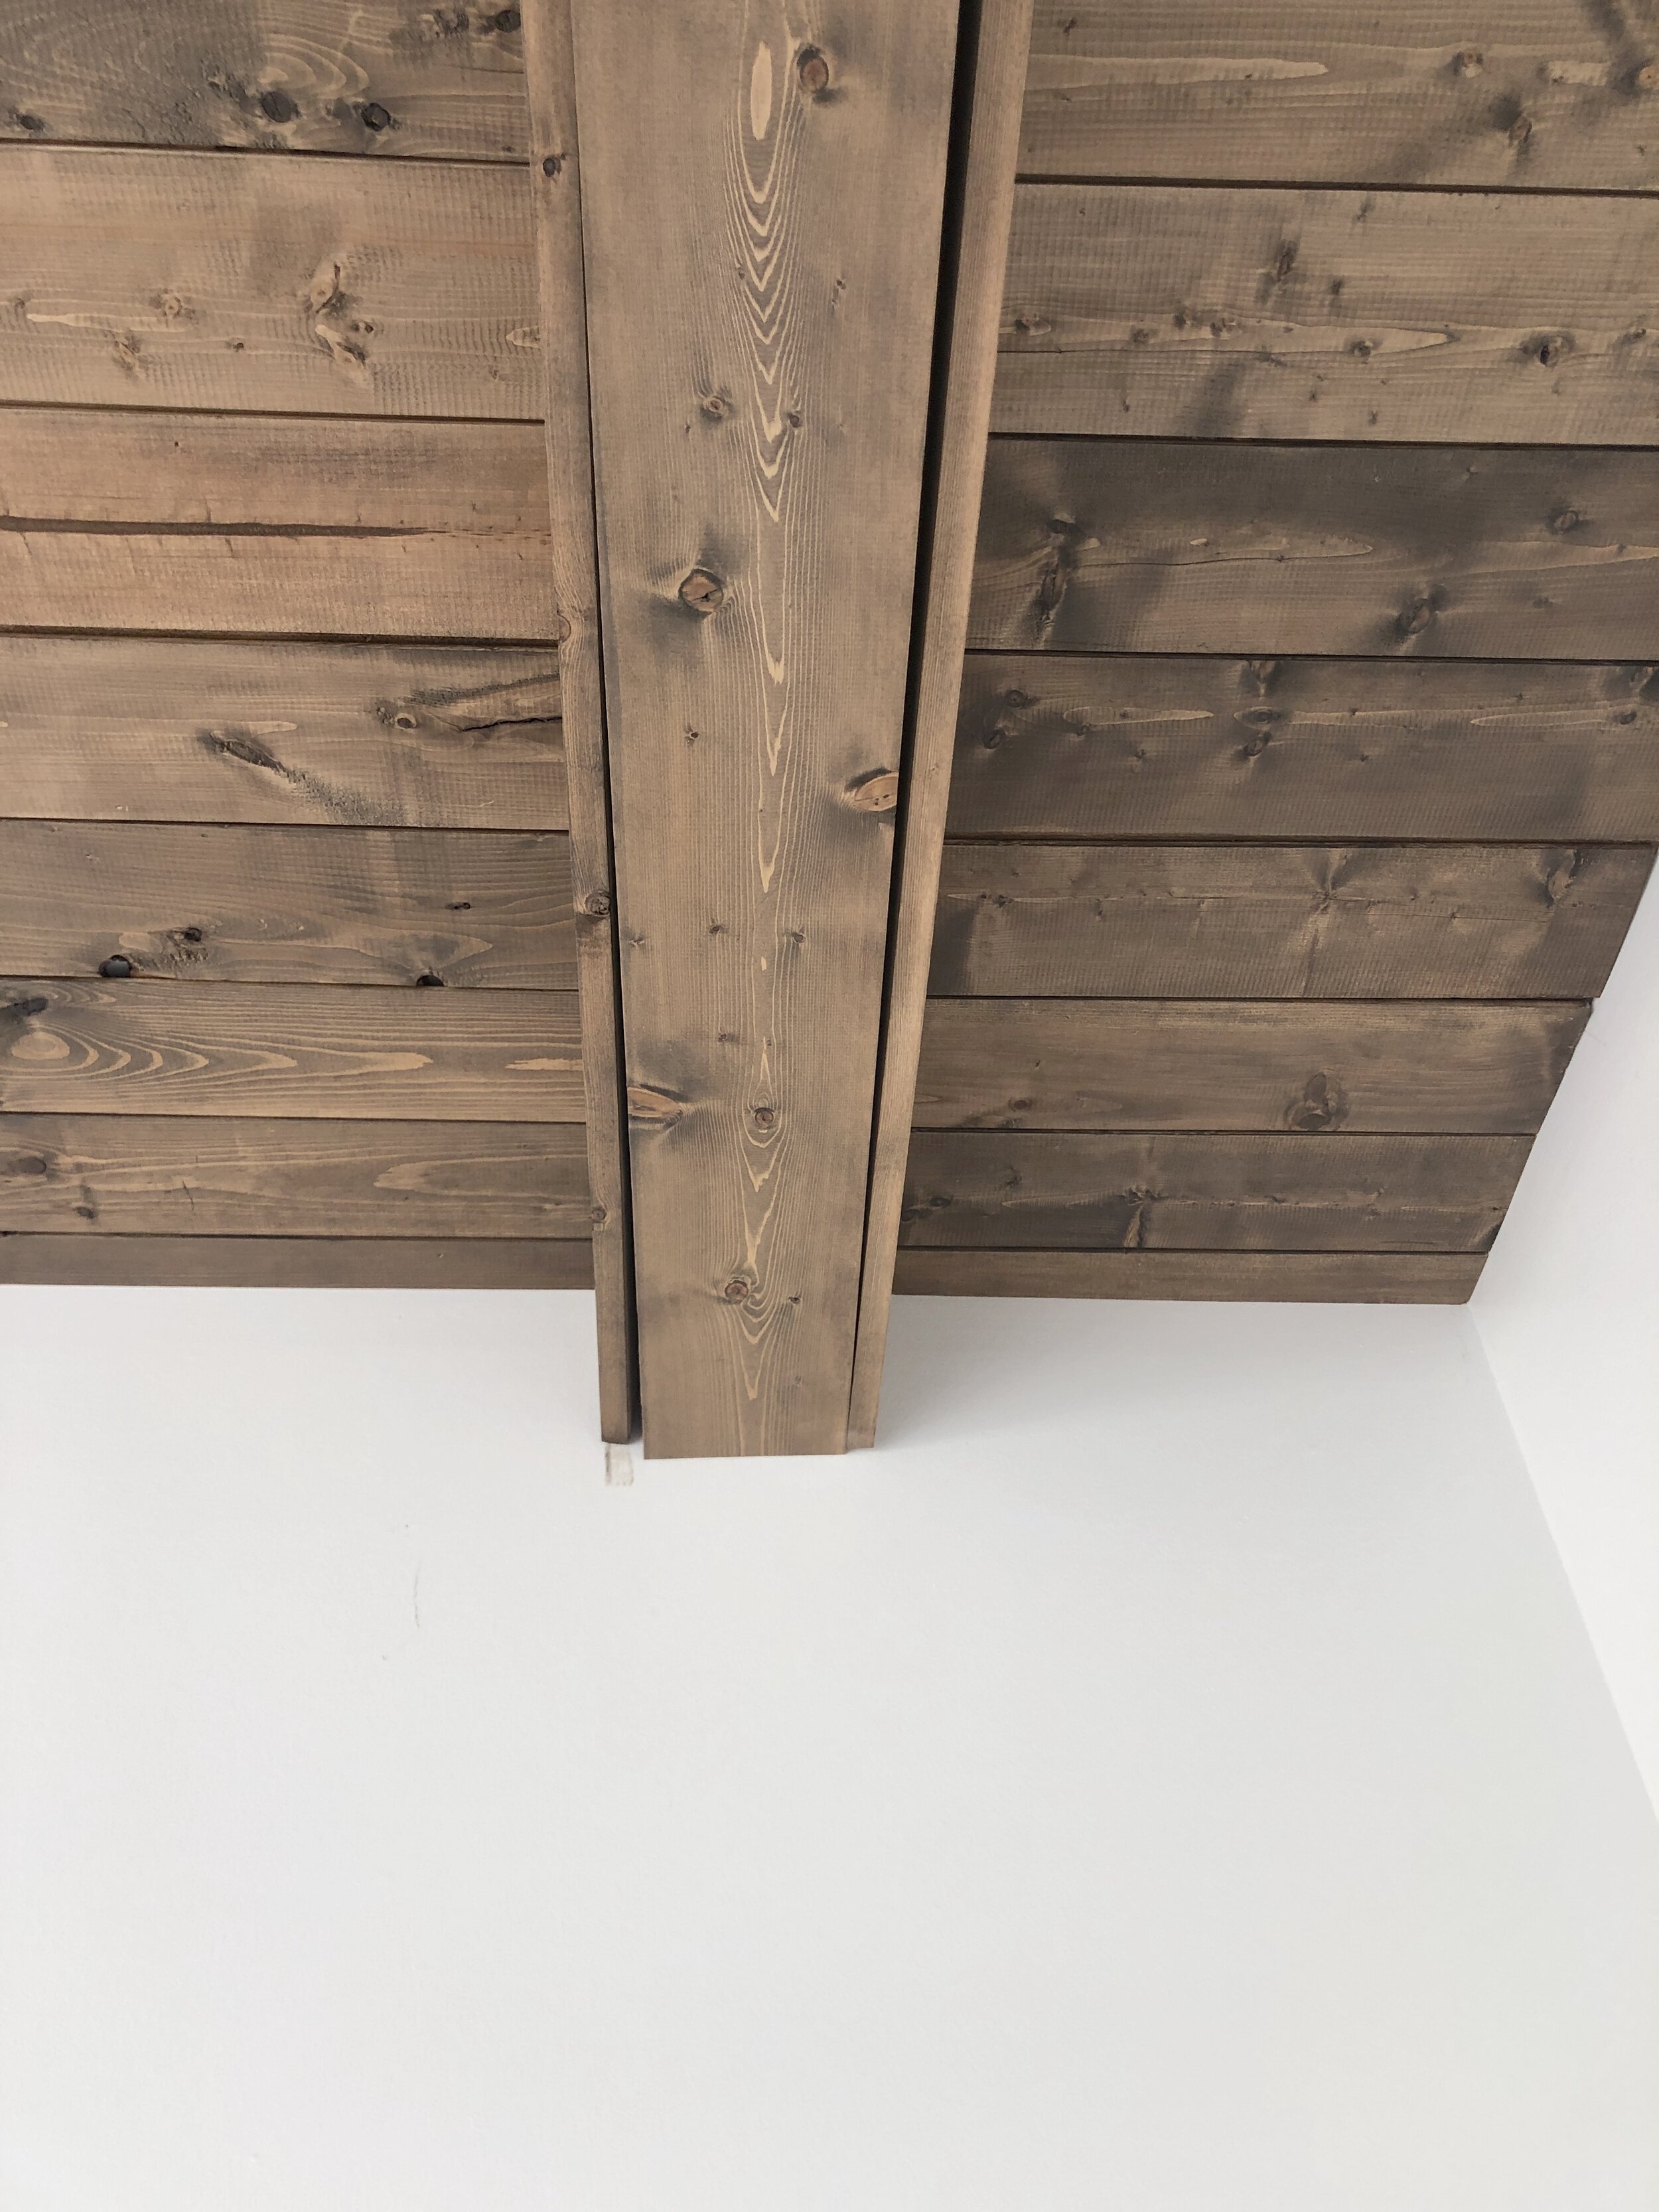
Here you can see what the boards looked like before I nailed them all to each other. I used a level to make sure that the bottom board was level. I’d say on the one hand doing each board at a time is easy because it’s not as heavy, but it is trickier getting all the boards to line up perfectly… If you make the entire beam on the ground, the hardest part about that is the heavy lifting and also making sure that both sides of the beam fit around the 2×4. I’ve made beams both ways and I’d say they’re equally tricky 🙂
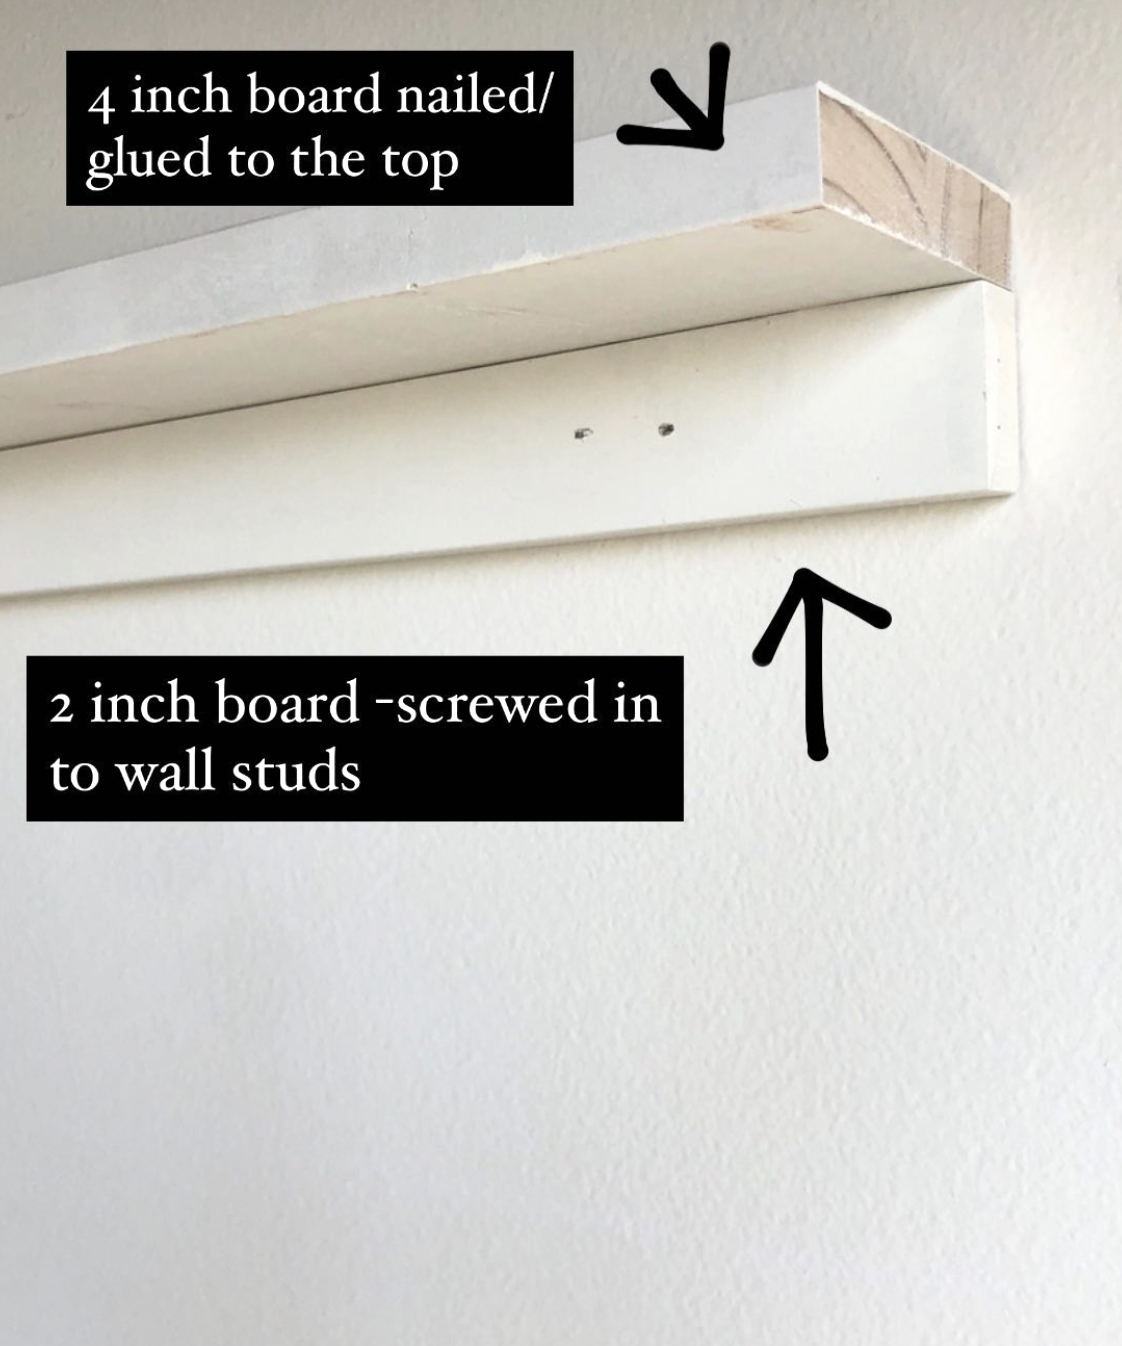
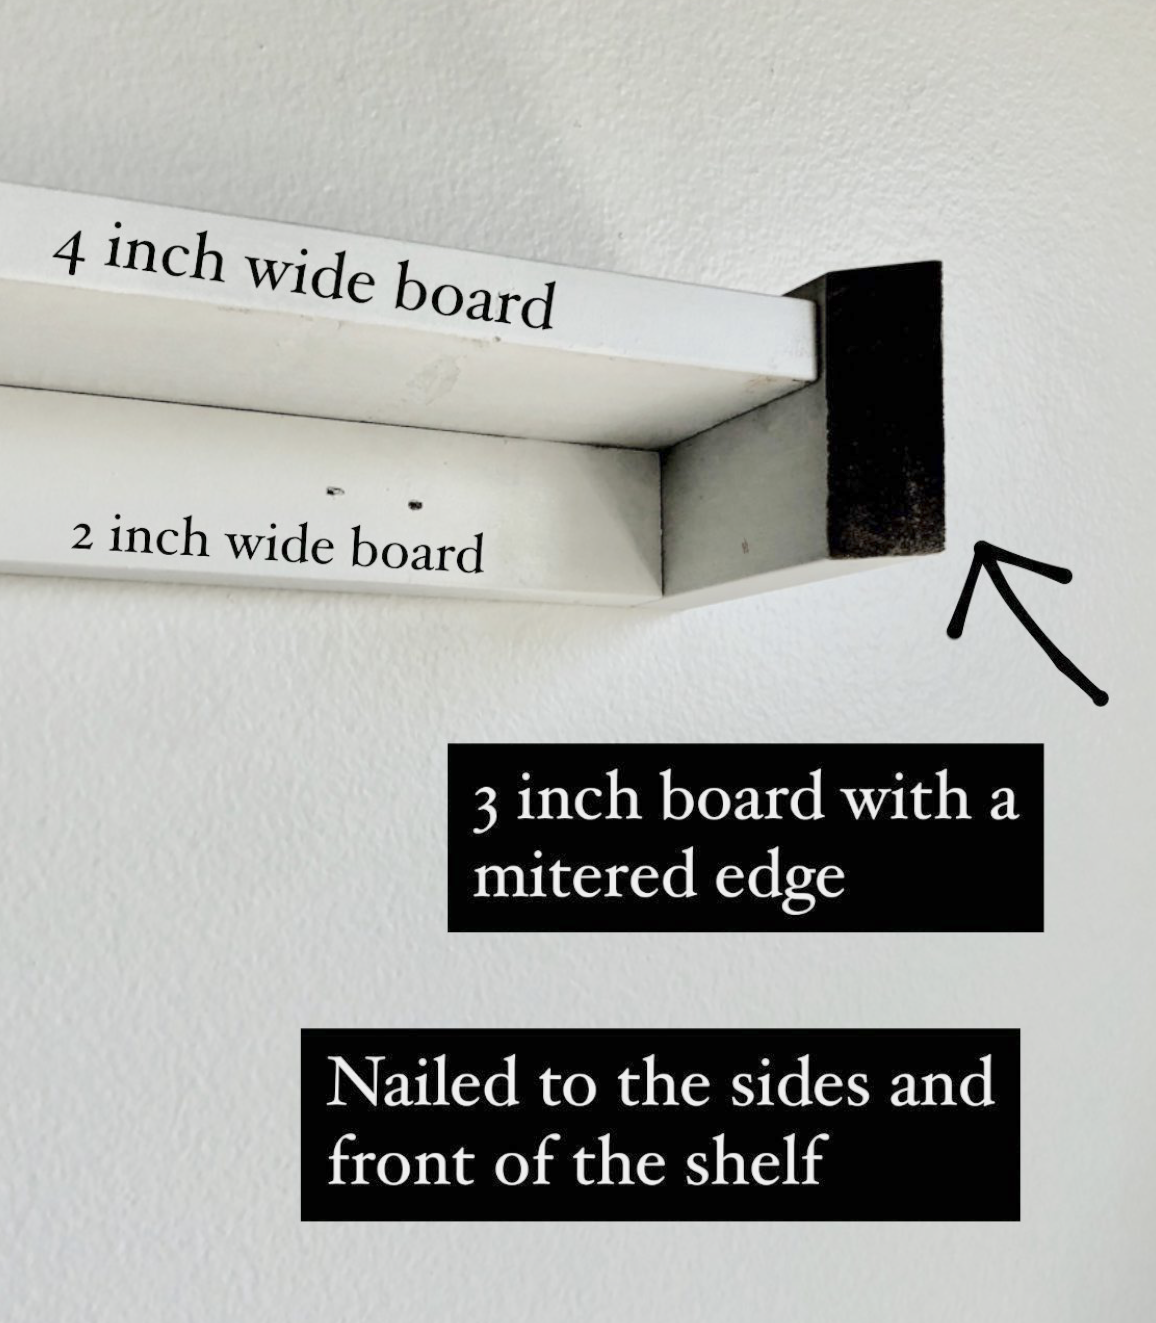
Then on to the desk. I wanted a minimalist looking desk. I wanted it to appear floating. I used 3/4 inch pine boards so that it was nice and sturdy. Because of the length of the room, I couldn’t find a piece of wood that fit perfectly, so I had to join two pieces together. I wasn’t too happy about that, but with a lot of sanding and spakling, I think it looks pretty seamless.
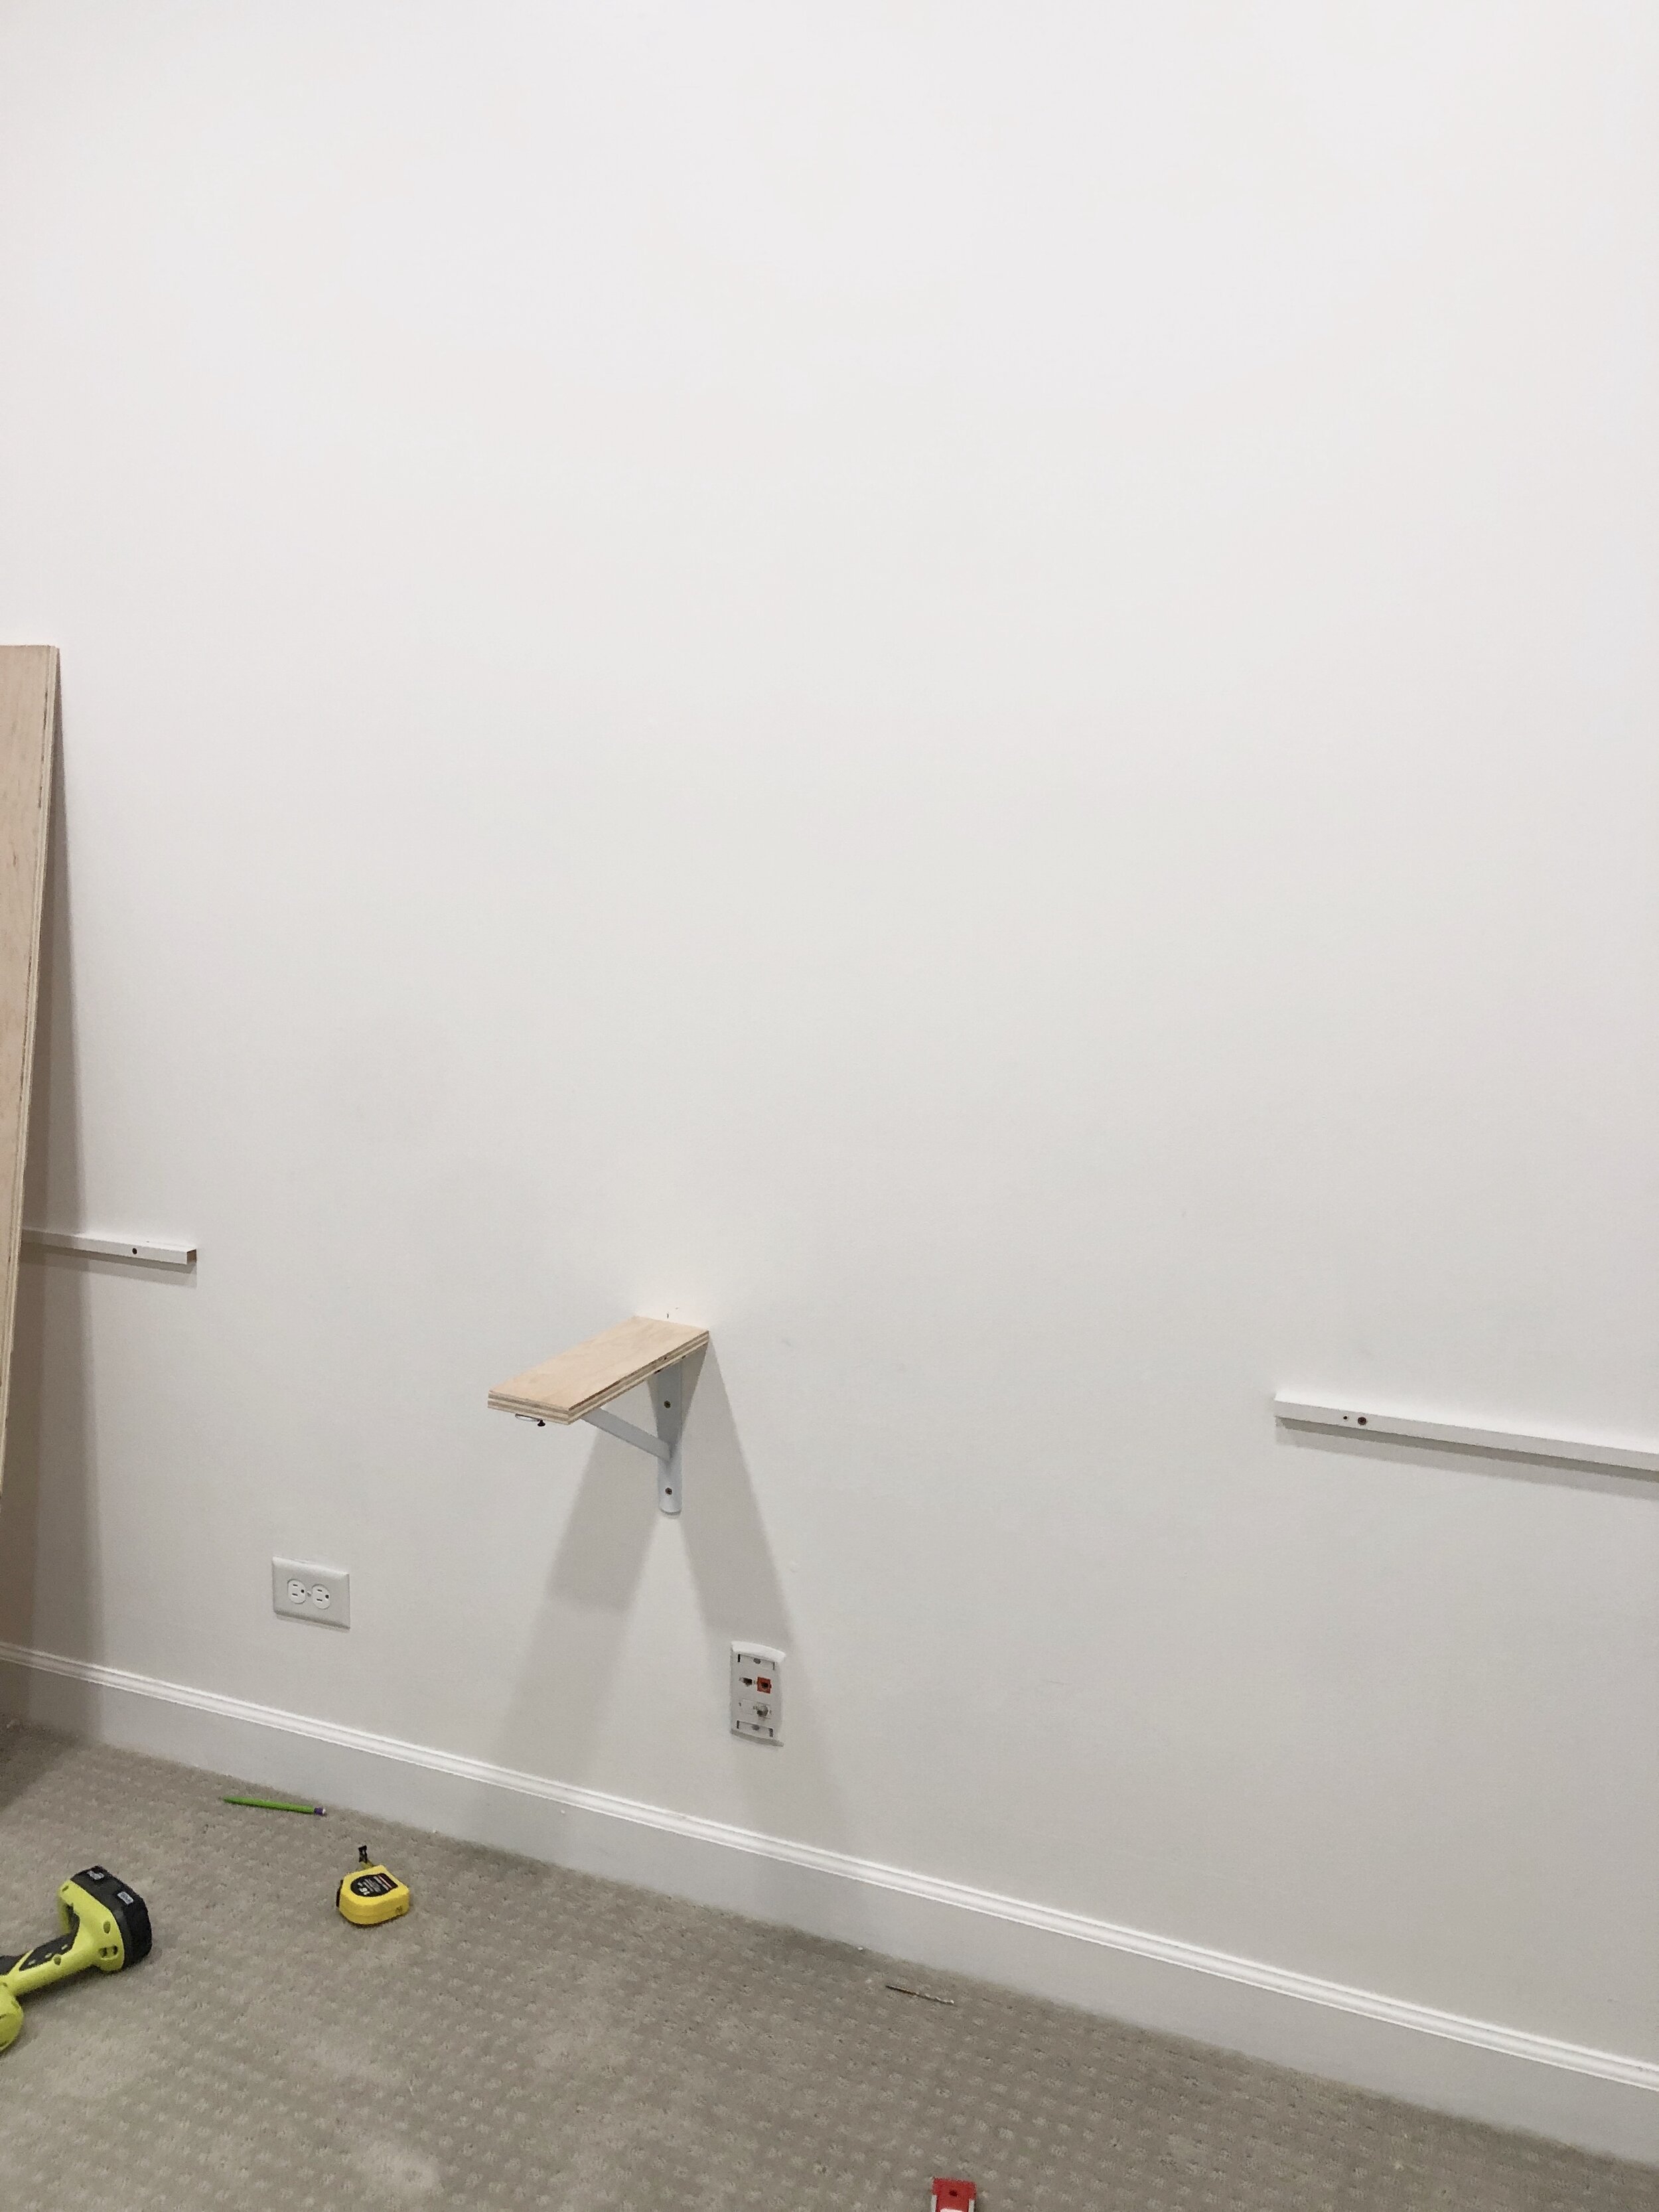
I braced the desk with wooded supports screwed in to studs. I also used an L bracket for extra support at the seam.
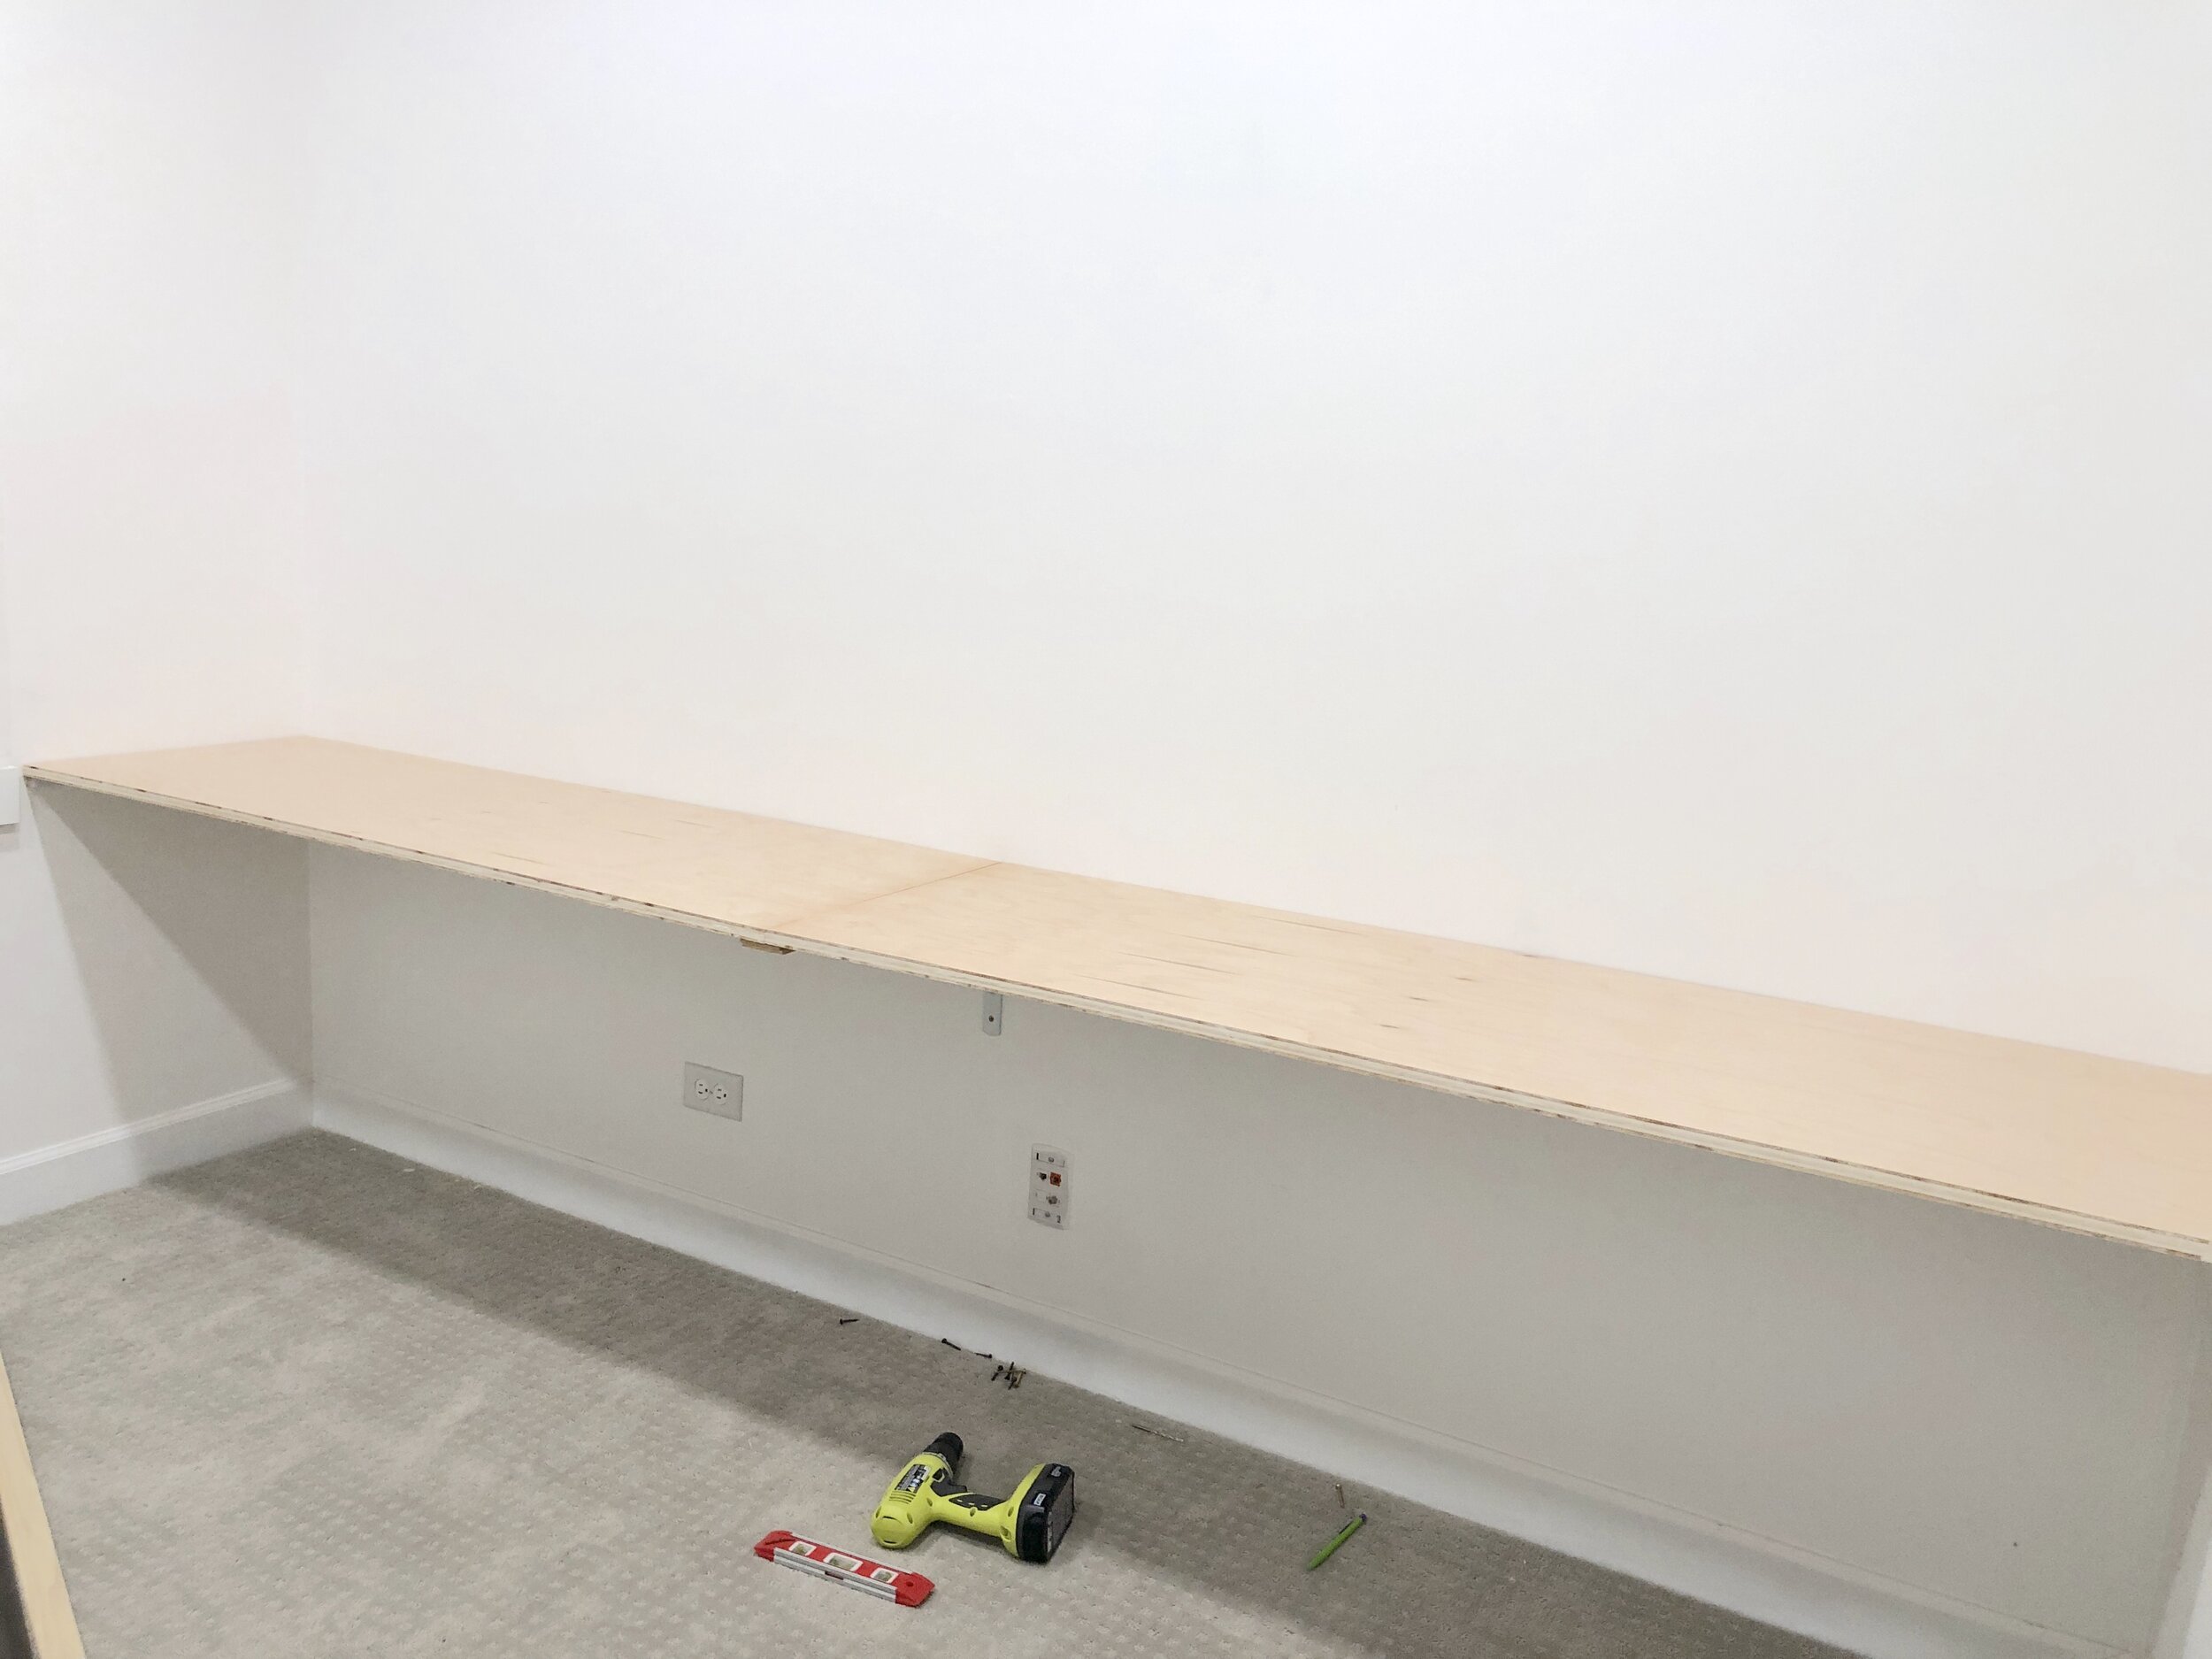
I then added a 2 inch trim piece for the front of the desk.
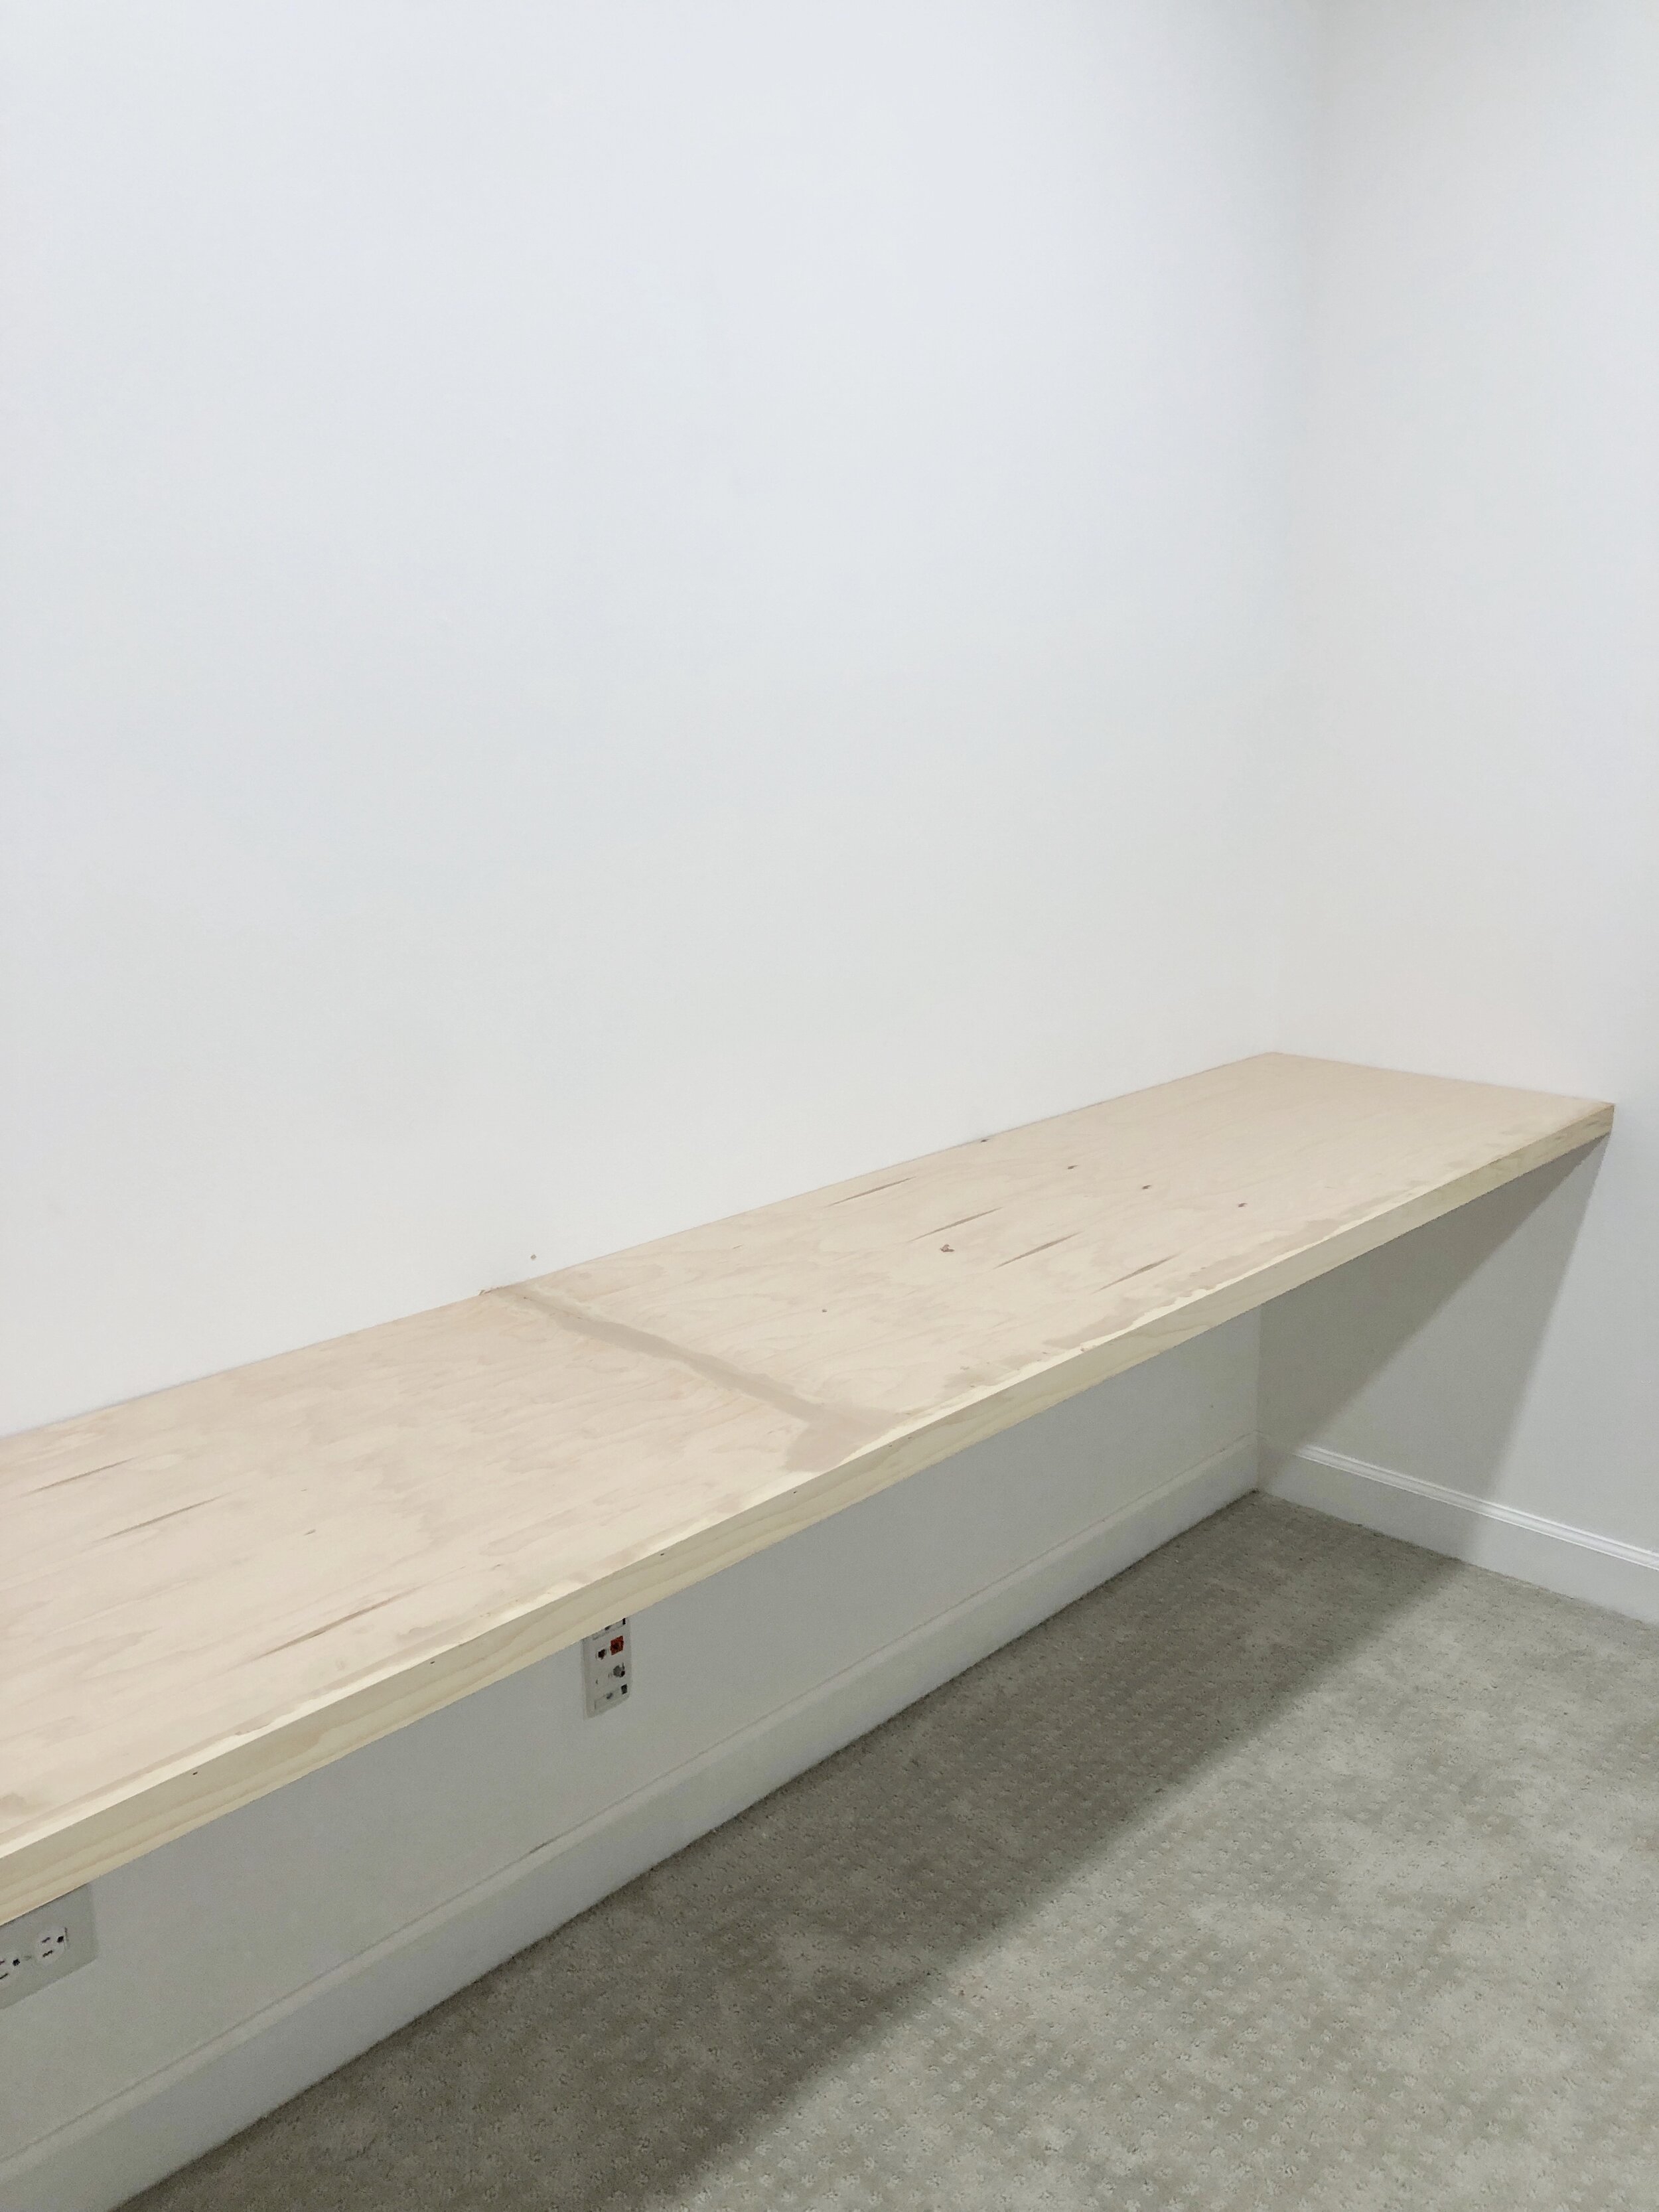
I filled in nail holes, painted it with a couple coats of a semi gloss paint, and done. Super sleek and modern.
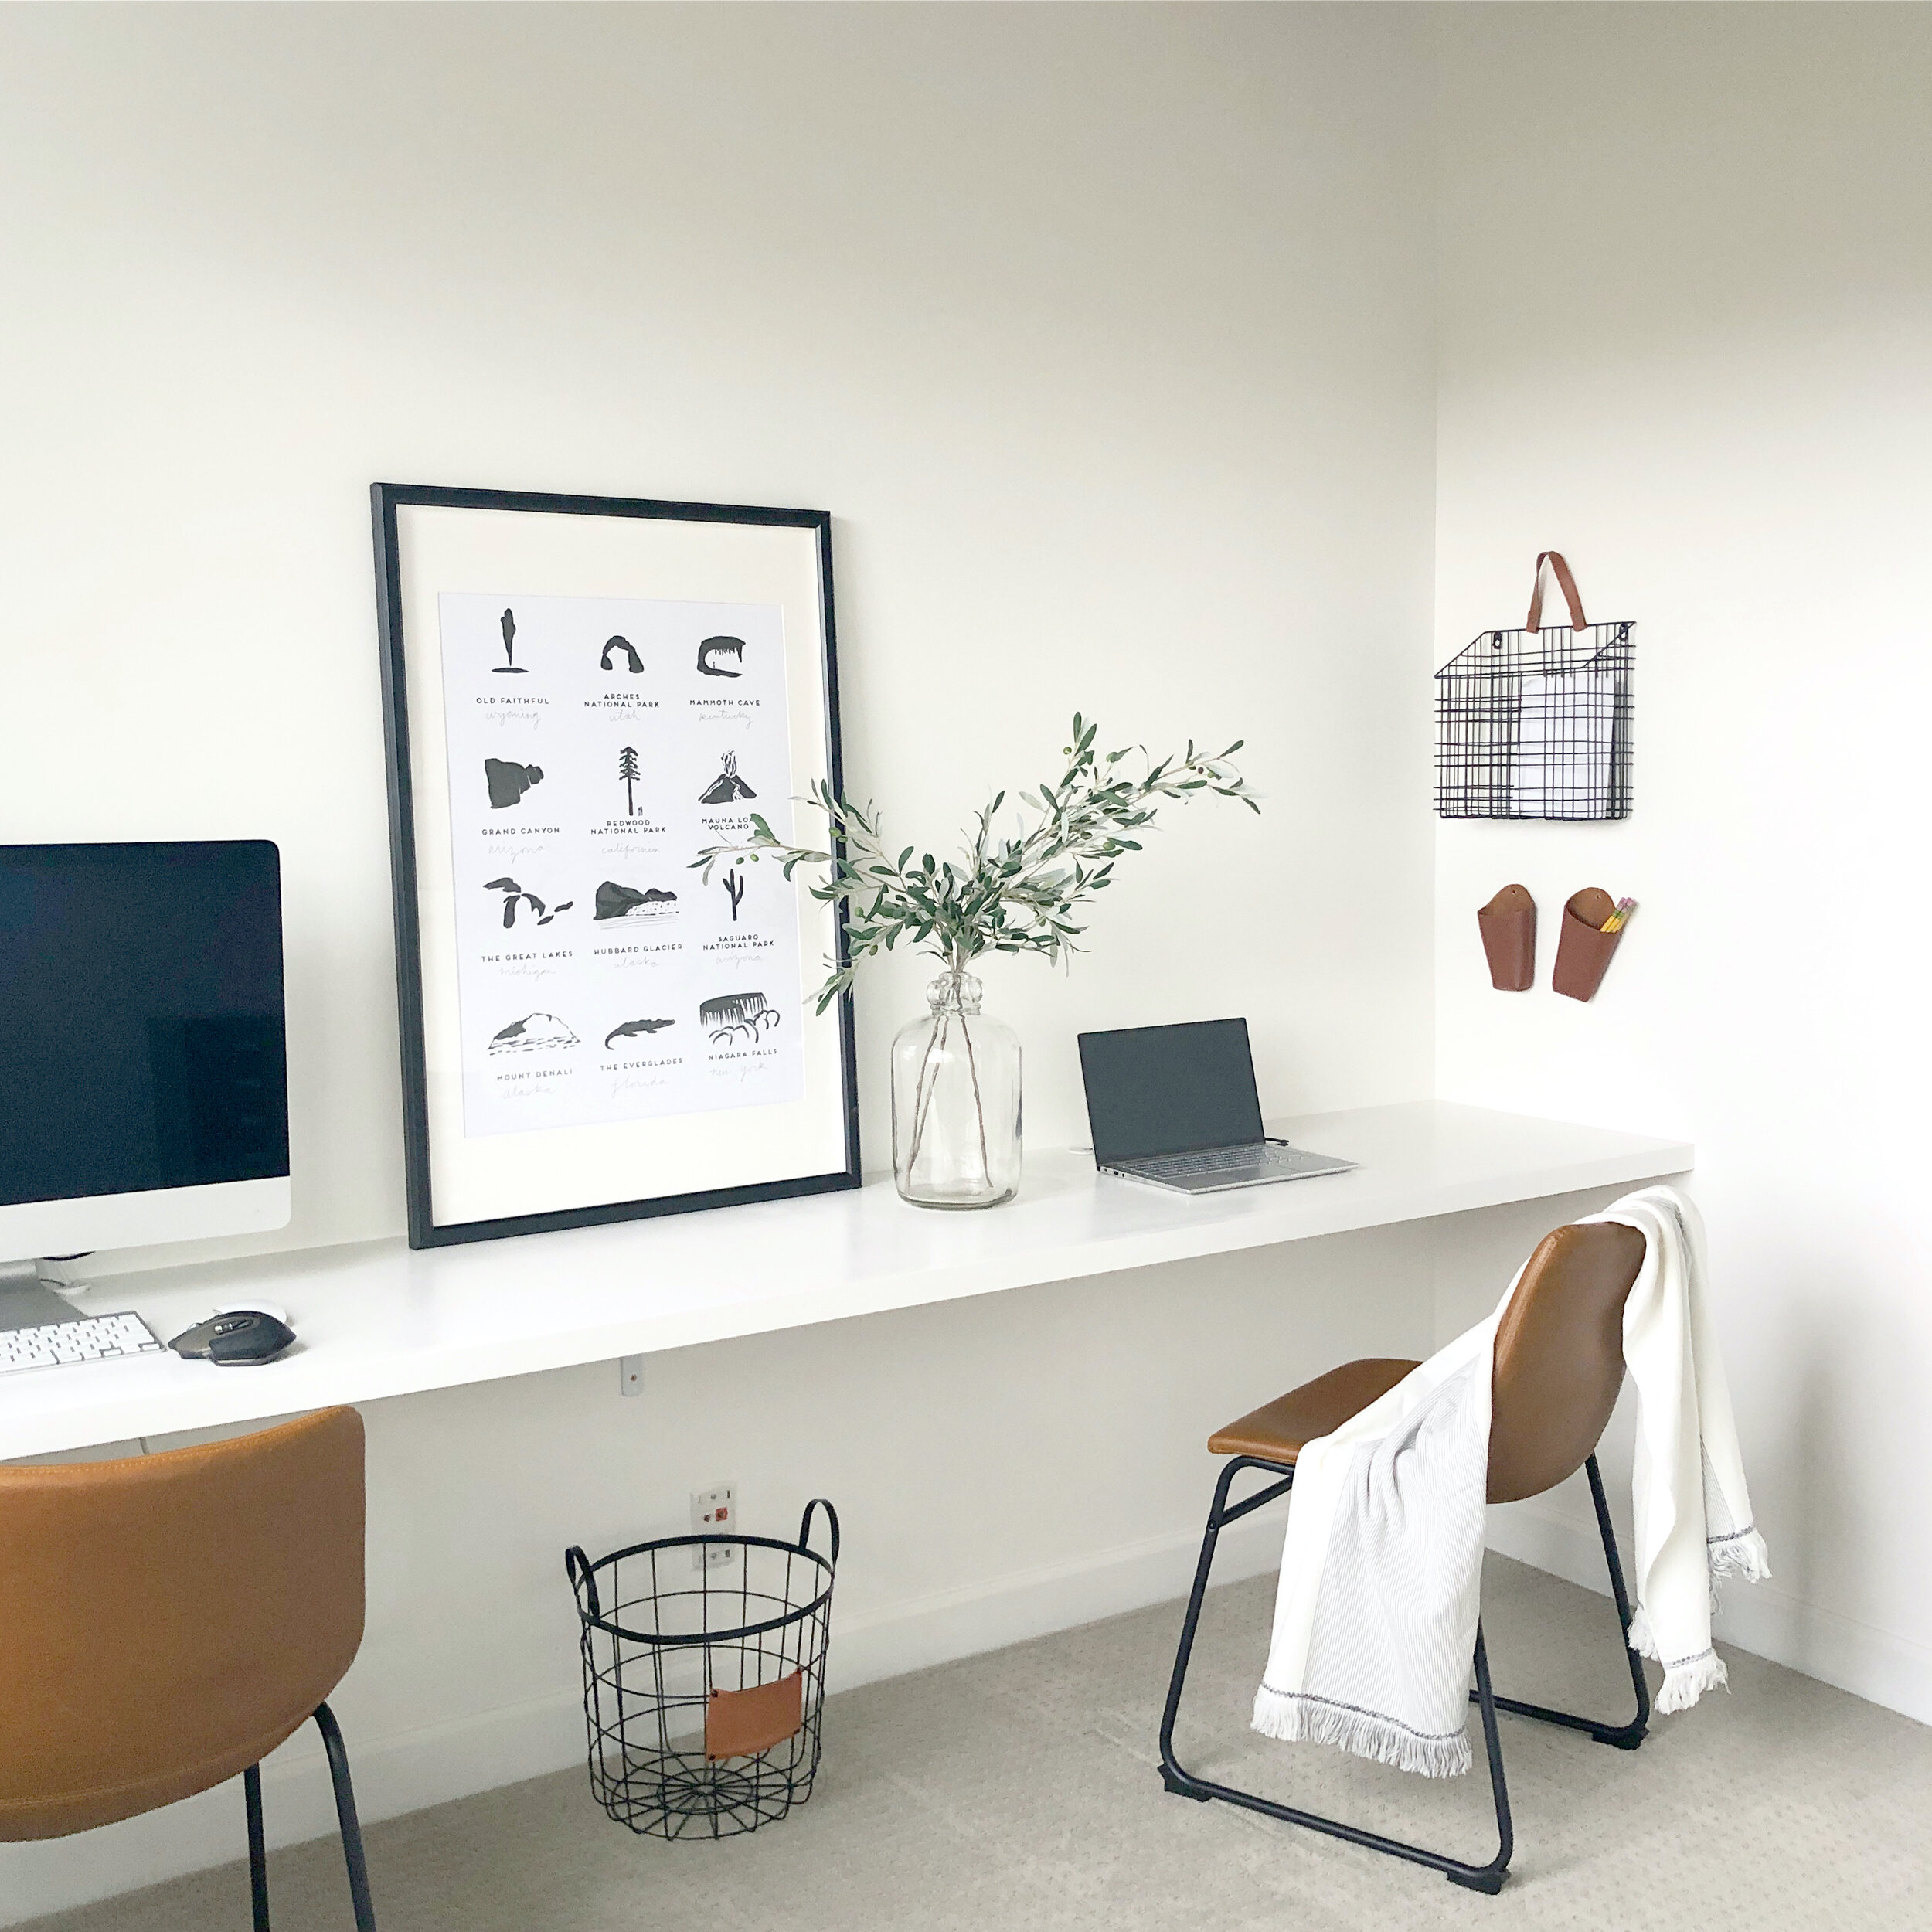
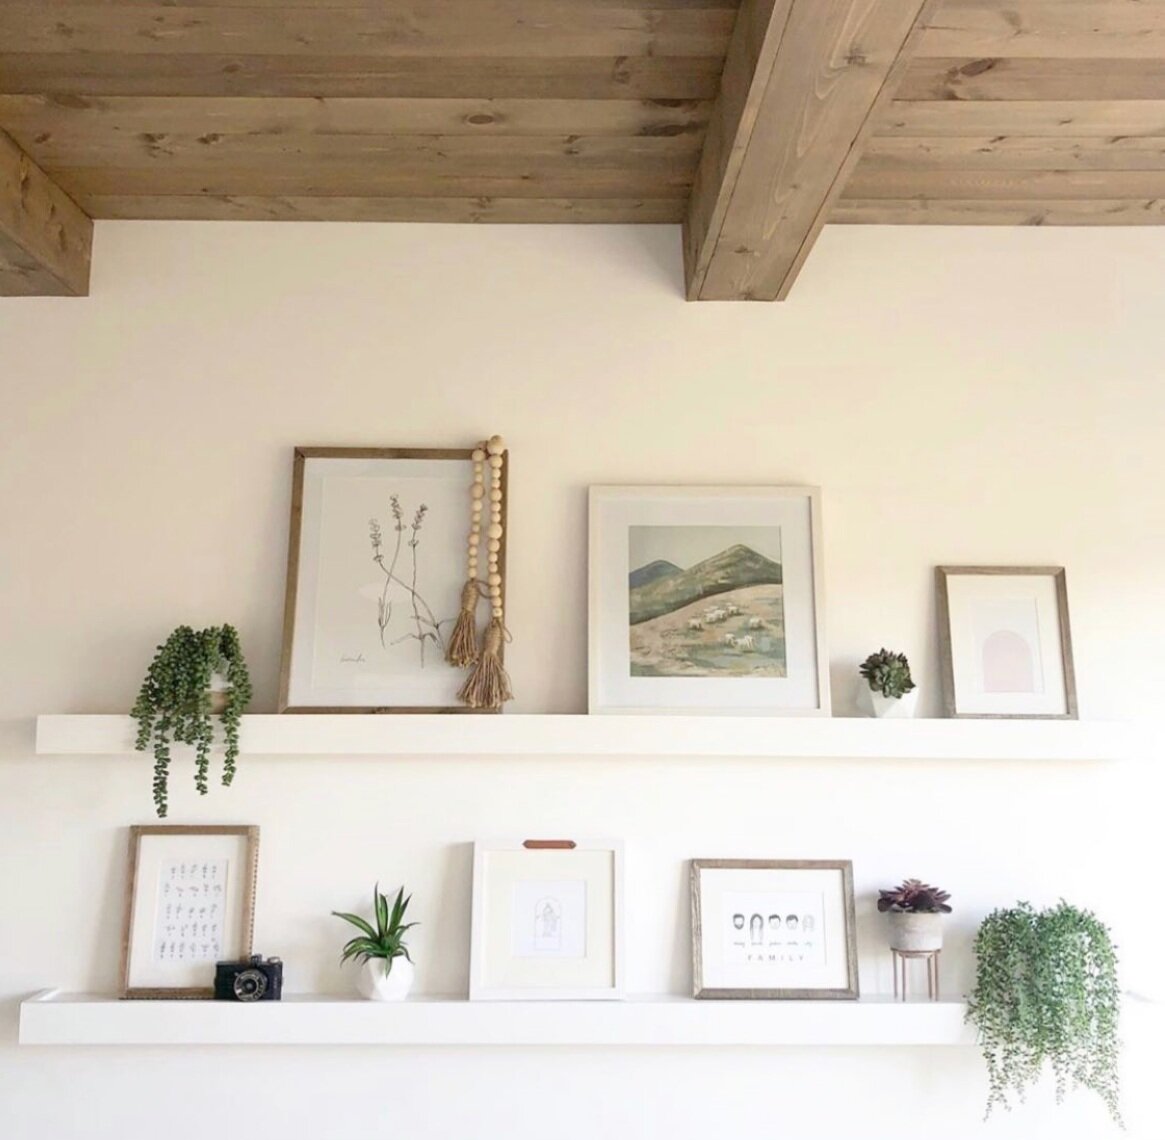
To finish out the office, I wanted to focus on the back wall. After all, this is the background for all our zoom calls. It had to be good! I made two narrow floating shelves.

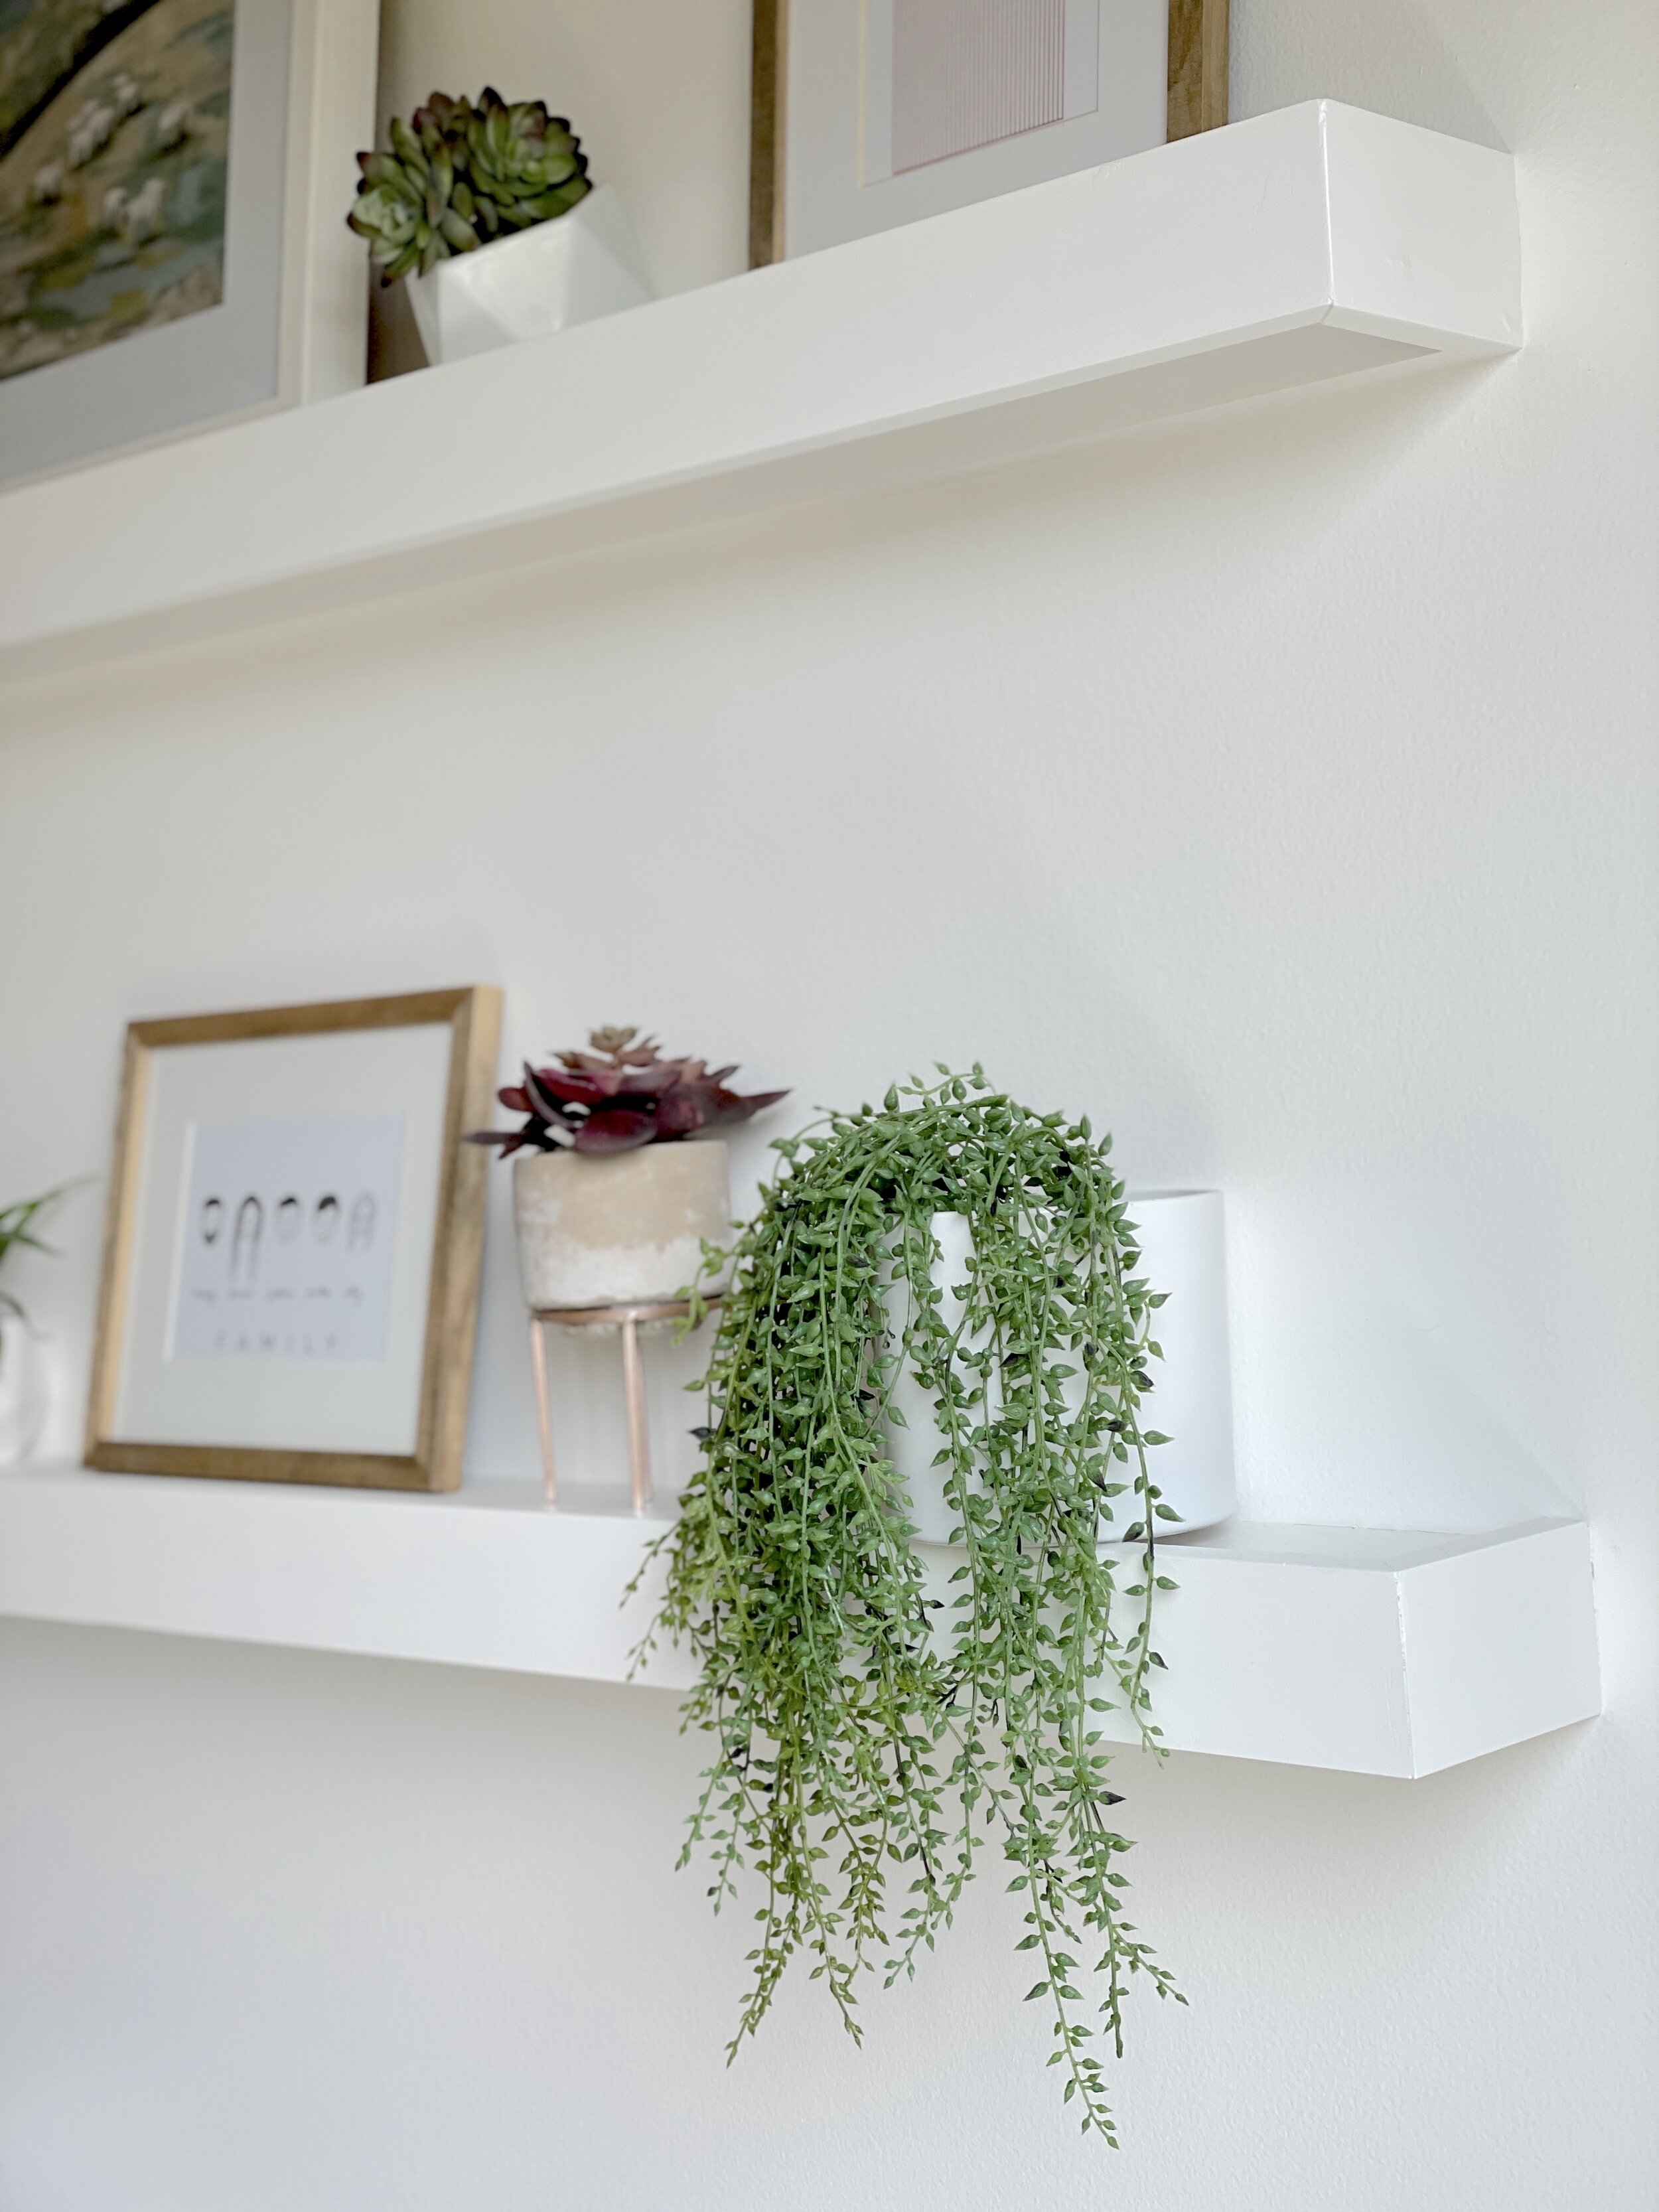
I love how the shelves turned out! I added some warm wood tones in the frames and faux plants to make it even more interesting to look at. Now, this room is bright, modern, comfortable and perfect for zoom calls.