 Have you guys seen these adorable teepees online? I just love them! I decided to try and make one, I figured it wouldn’t be too hard to make and would definitely be cheaper than buying one. It cost about $50 when all was said and done. I couldn’t find a tutorial that was exactly what I wanted, so I just kind of made things up as I went a long and luckily it all worked out! (Unfortunately, the teepee is in my basement so the lighting isn’t awesome in these pictures)
Materials needed:
(4) 2×2’s
Duct tape
Twine
7-8 yards of canvas fabric
Sewing machine
Painter’s tape
Spray paint
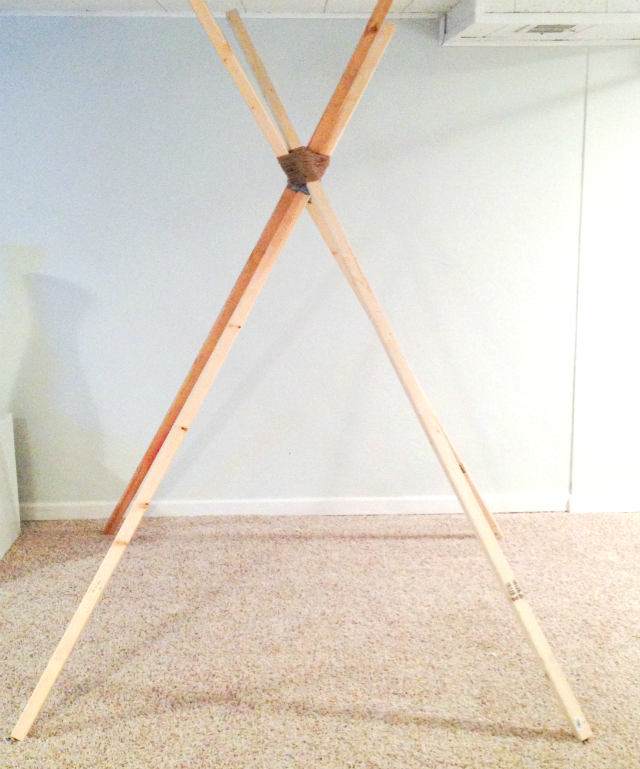
The first thing you need to do is make your frame:
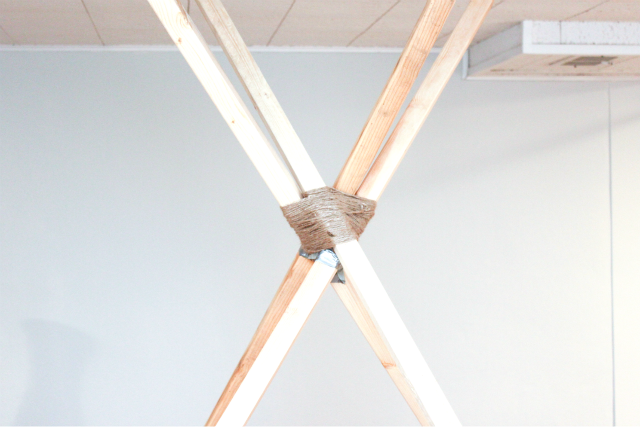
I used four 2×2’s and some trusty duct tape and twine. I set the pieces of wood up how I wanted them and taped them together and then covered the duct tape with twine-to give it extra stability and cover up the ugly duct tape. I recommend finding the nearest boy scout to tie you a good knot. My boy scout was at work, so this teepee had to settle with my (brownie drop out) knot. The teepee measures about 5 1/2 feet at the base on each side.
For the fabric cover:
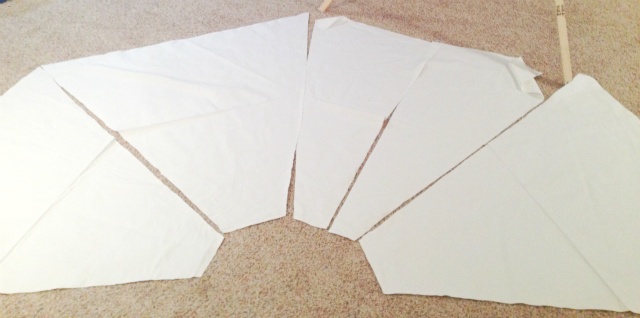
I’m sorry to say this sewing project required a bit of geometry. I draped fabric over the frame and measured in between the 2×2’s to get the right size and angle I would need to cut. Then lay them out on the floor so that you can sew the right side of the fabric to the right side. I only sewed the four vertical corner seams and the two doorway panel seams-just to finish that edge. The fabric was a thick canvas so I didn’t have to worry about the bottom edge fraying.
After you sew it together, on the outside of the fabric, tape off your lines using a ruler, pencil and painter’s tape. After I took this picture, I covered the inside of the lines with newspaper because I was using spray paint and wanted to make sure that some of the fabric stayed white. If you just plan to use fabric paint and a brush, you don’t need to put newspaper down. I used three cans of spray paint. 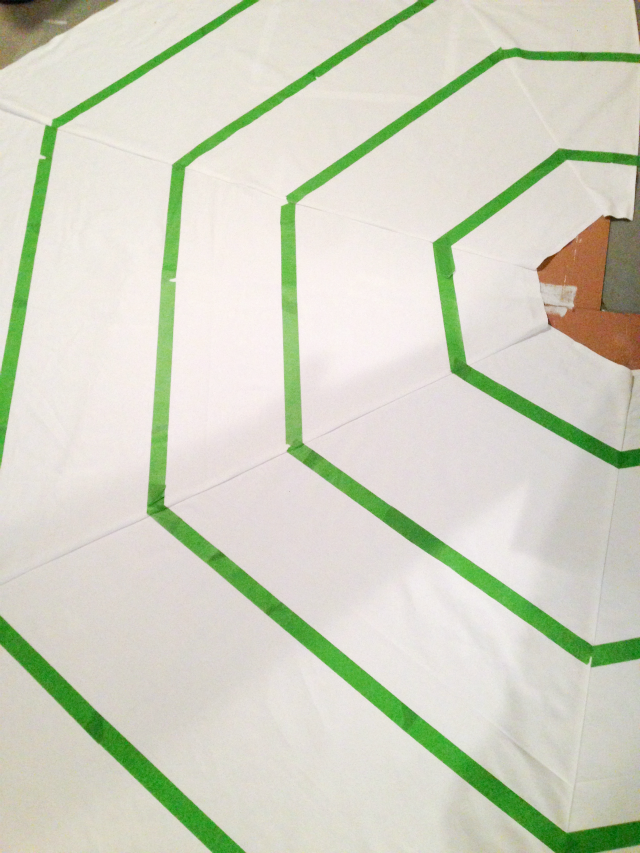
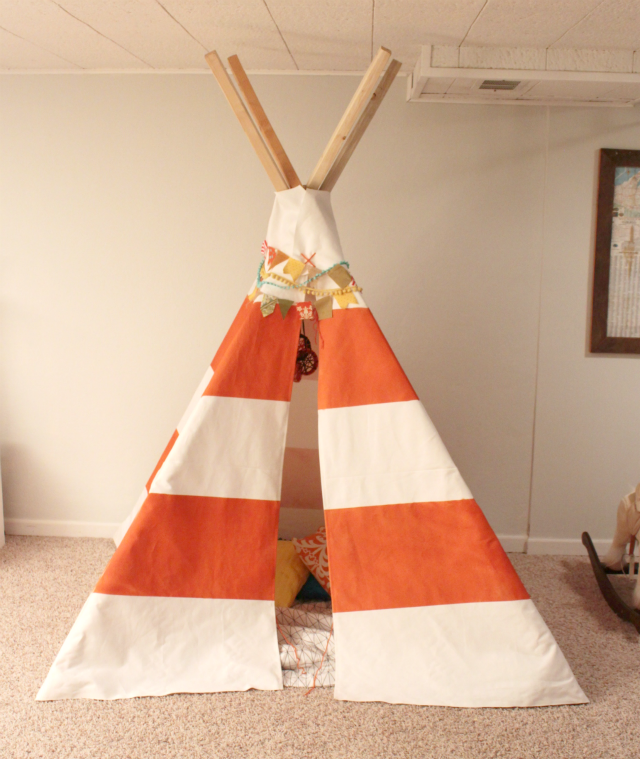
When the paint dried, I draped the fabric over the frame. I took a large sewing needle and used yarn to hand sew the top of the fabric together so that it stayed on the frame. You can see the giant “x” that I sewed in the center right by the banners and bunting. I had to add a little panel of fabric at the top because I thought it looked better than leaving the twine showing. Then I just draped the bunting and ribbon around the top.
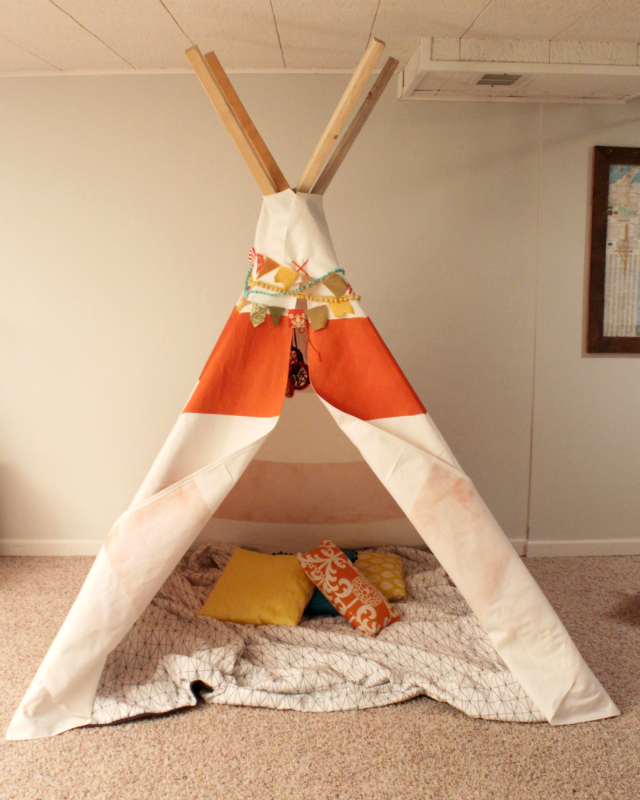
 The kids and I made some dream catchers out of mason jar lids and yarn and hung them from the top on the inside. And that was it. The kids love their new teepee-although they wouldn’t use it until we put the blanket and pillows inside-I didn’t realize that was a requirement for playing in a teepee…

