
Like me on Facebook – stay up to date with my latests crafts and giveaways!
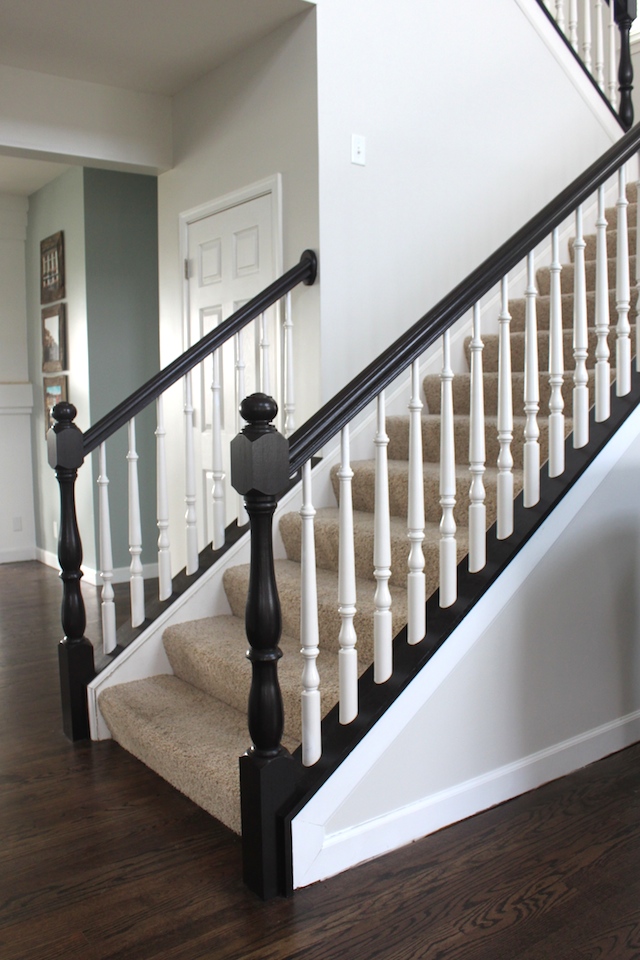
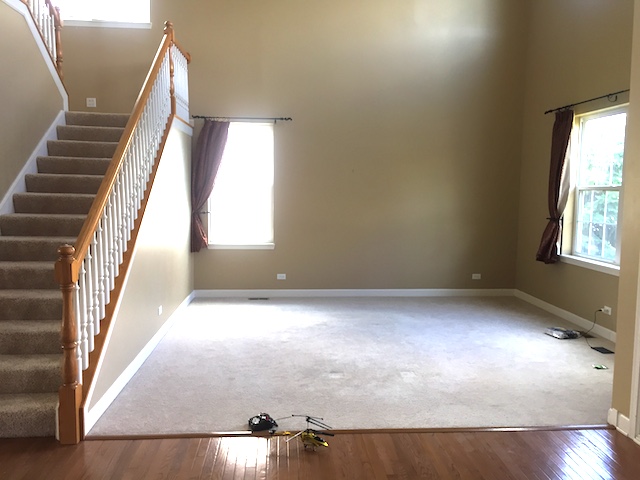
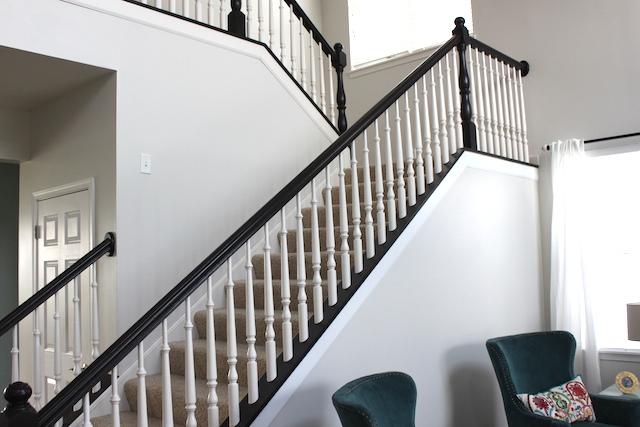
When we moved in we knew we wanted to finish the wood floors on the 1st floor (I’ll talk a little more about the floors in a later post), but the new floor color effected the banister color. I wanted to paint it because the floors were stained a little darker. I had read on a few blogs you can paint a banister with little prep work. So I gave it a try, and although there was a lot of work, it was quite easy. And I just love the results. You can see in the before picture the oak color-it was just a little too light for me.
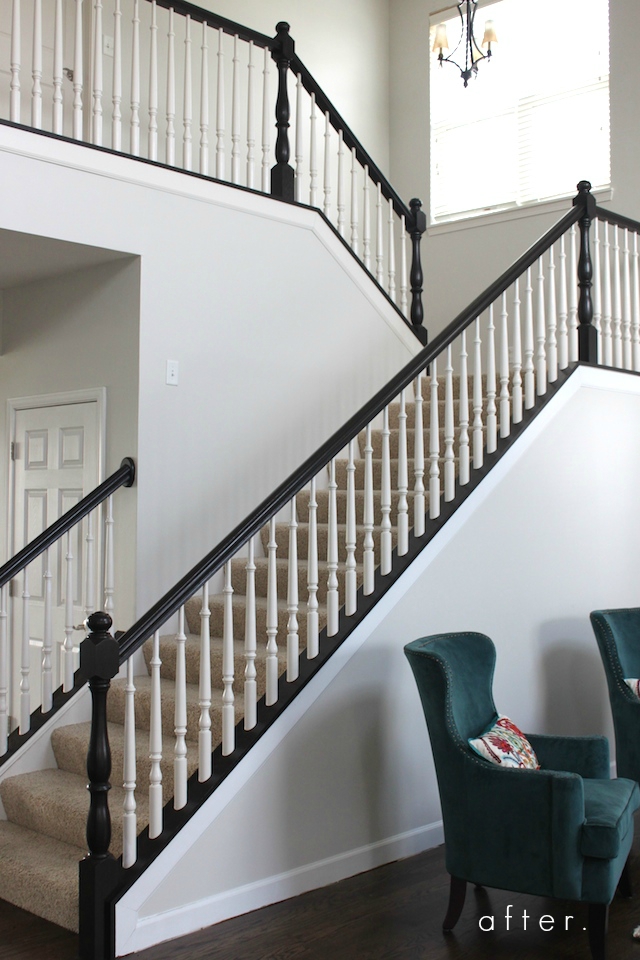
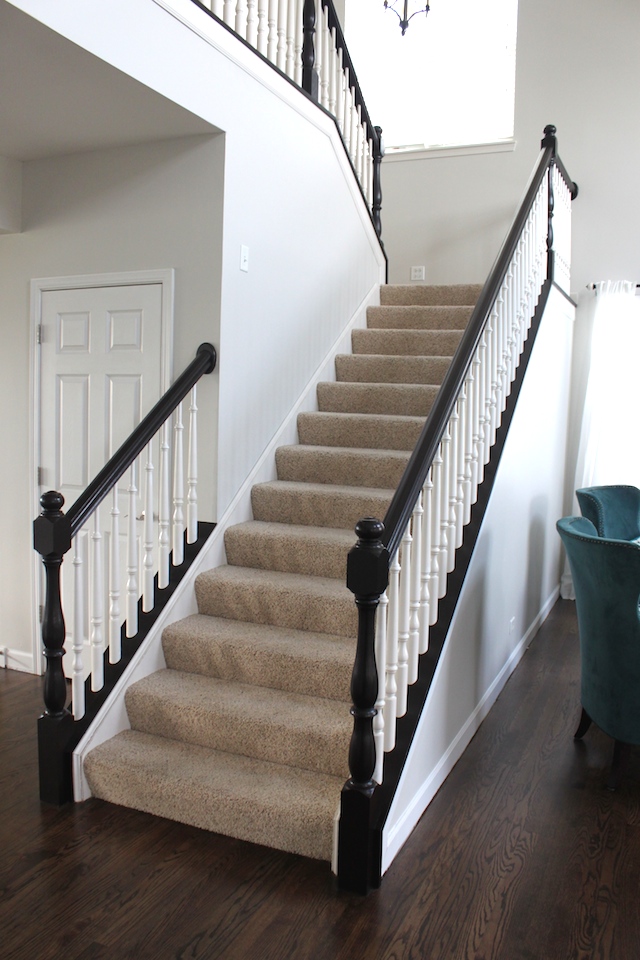

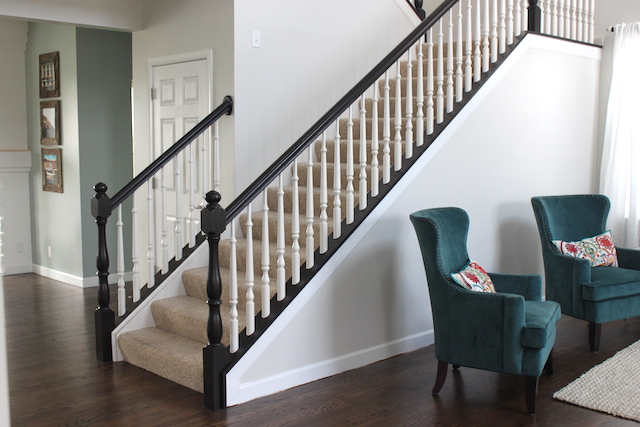
 You may have noticed we took up the carpet in the living room and now it is all hardwood-and we still have to add the quarter round where the white trim meets the floor… but that’s on our long list of things to do. So we’ll get to it… eventually 🙂
Here’s how I did it:
(I referred to this blog for the details)
Materials needed:
Light grit sandpaper (180 or so)
Painter’s tape
Small foam brush x 2
Rubber gloves
Lint free cloth
General Finishes High Performance Polyacrylic in Satin
General Finishes Java Gel Stain in Satin
For the stain, I used about 2 pints and about a pint of the Poly. You can look for them on Amazon through the links or search on the General Finishes website to find it locally. I found it at a local hardware store.
Step 1
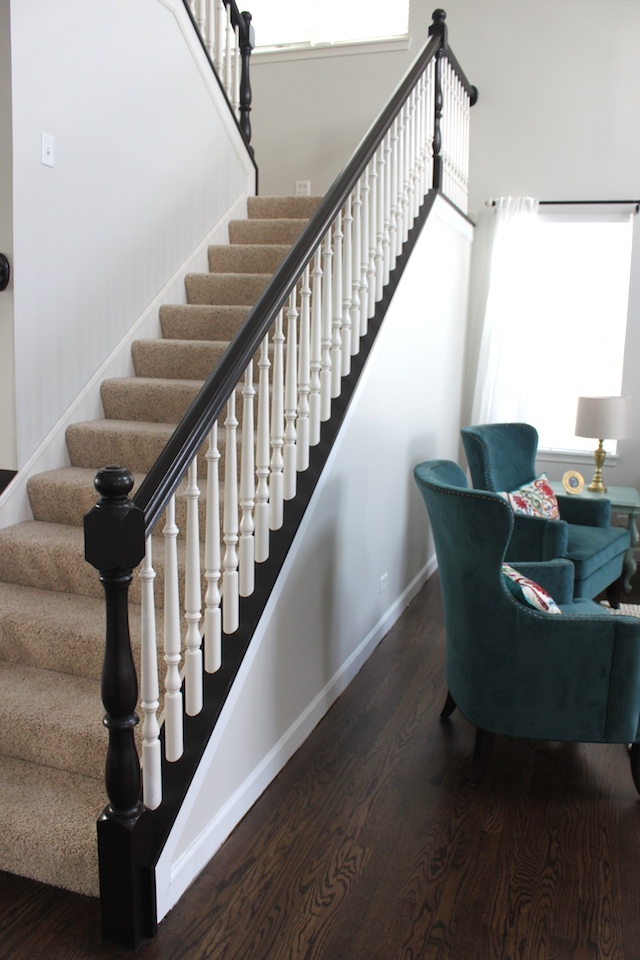
I lightly sanded my oak banister-just on the high traffic areas. Wipe it down so that it’s clean. And start your prep work. I taped each spindle at the top and bottom so that I wouldn’t get stain on it. This took a long time. Tape anywhere the stain meets carpet or trim.
Step 2
Put on some rubber gloves and apply your first coat of gel stain using a foam brush. Work on an area for about 10 minutes and come back to wipe off any excess stain with the lint free cloth. If you’ve done any staining before, you know the drill, you let the stain dry for 10 minutes or so and then wipe off the excess. Don’t scrub the excess, just gently wipe. This is a gel stain so it’s a lot thicker than normal stain, which makes it really easy to work with. Follow the directions on the can for dry times. And apply coats as needed until you get the color you want. Mine took three coats, but I went through a fourth time just to make sure I didn’t miss any spots and touched up like three spots. I made sure to look at it when there was a lot of light in the room because I could find spots I missed easier. I also waited about a day between each coat-which is totally un-like me, I am usually one to be pushing the dry time, but I had other projects to work on so I was in no rush. The only problem with waiting is I would have to go through and with a dry rag, wipe down the banister because it would gather dust-maybe it was the fact that I was also sanding in other parts of my house…
Step 3
Apply the poly with a clean foam brush. Follow the directions on the can and apply as needed. I did three coats on the high traffic areas, and fewer on the other parts of the banister.
That’s it! See not too difficult… the taping each spindle is what will make you a little crazy 🙂 But it makes such a difference-totally worth the mind numbing taping 🙂
Like me on Facebook – stay up to date with my latests crafts and giveaways!