
 I have always loved white kitchen cabinets. When we were looking for houses, I really wanted to find one that already had white cabinets. I just knew it would be a pain to paint them and then you always have to worry about chipping paint, etc. But we had no luck finding one with white cabinets that we liked. So we bought this one with the oak kitchen-which I see all over. Some people love the warmth that the oak provides-especially about 10 years ago when all these houses were being built, it’s like they had just one color choice, oak..
 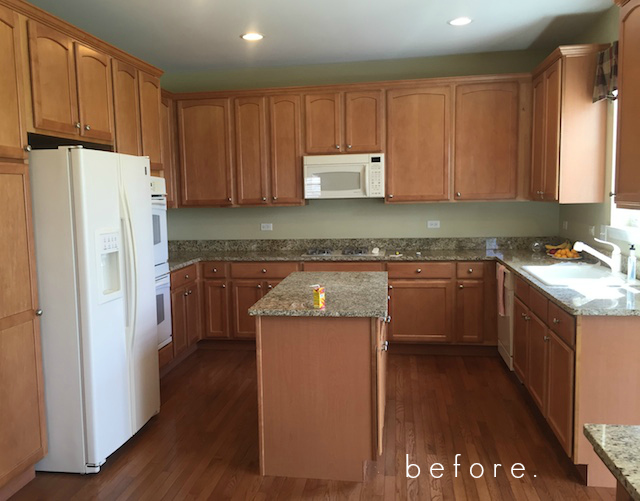 What’s funny is that when we were buying this house I was like, great, it already has white appliances so we don’t need to worry about switching them out any time soon. We’ll just wait until they break and slowly switch to stainless. But after I painted everything white… you can totally tell that they are almond color so they kind of clash with the white agh! So now I am doing all I can to push for new appliances sooner rather than later. If one “accidentally” gets broken I’ll have to replace it right? Haha! Don’t worry my husband is on to my sabotage tricks and just will call the repair man to fix it. I guess I know what I’ll be getting for my birthday/christmas/mother’s day/anniversary presents for the next year!
 How to paint your cabinets white:
There are so many different ways to tackle this. If you ask seven different painters, you’ll get seven different answers as to the best way to do this. I got opinions from two different paint stores and several blogs online. So what I ended up doing is kind of a compilation of all of my research. So here is what worked for me:
1. Prep the cabinets. I took all of the doors off and then took all of the hardware and hinges off the door. I used an electric sander with about a 140-160 grit sandpaper to sand the high traffic areas-like near the knobs and the bottoms of the upper cabinets and top of the lower cabinets. I then wiped them all down with a semi wet rag. You want to make sure to get the oils and any food off the cabinets. But no deep sanding is necessary.
2. I bought this oil based primer from Sherwin Williams and this latex top coat-this combination is what the guy at Sherwin Williams recommended. The latex paint is a more durable paint than normal trim paint because it dries harder. I painted one coat of the primer and let it dry. When painting, I laid all of the doors out on a plastic painting tarp and just did one side at a time. It takes a few days because you want to make sure they dry on each side before flipping them over. This was hard for me because I am a pretty impatient painter 🙂 I applied the paint with a high quality paint brush and low nap roller for smooth surfaces. For the primer, because it’s oil based, I just used a cheaper brush and then threw it away after application.
3. After the primer dried, I painted 2-3 coats of the latex paint. Letting it dry thoroughly before flipping and painting the other side. I did the same process to the frames of the cabinets.
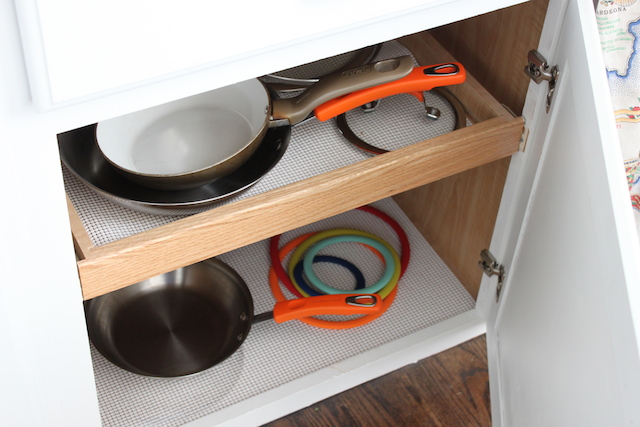
You can see in the picture below I didn’t paint the inside of the cabinets, only the frames.
 Now, for some of you, this could be it and you could be done. But unfortunately for me… I wasn’t 100% satisfied with the results. I could see the nap of the roller brush. So I didn’t love that. I wanted a more even and smooth surface. I thought about just buying a sprayer and painting it with that. But a professional painter at the paint store was walking by and heard me talking about buying a sprayer and he said not to do it. He said that spending $100 or so on a sprayer will just get you a cheap sprayer and I would be better off renting one so that it would be a higher quality sprayer. But he also said there’s a bit of a learning curve. So I canned the sprayer idea.
4. What I decided to do was to get an electrical hand sander and sand down the doors to get the smooth surface I wanted. I used a 140 grit and then used a 220 grit on both sides of the doors. I focused on the parts where you could see the nap from the roller. This was a bit time consuming and annoying that I was sanding what I just painted… but I wanted them to look really good and was willing to spend time to make them be as close to perfect as possible. Now, when sanding, you aren’t sanding all the paint and primer off. You will probably get down the the wood in some small places but remember, you’re just smoothing down the paint, not taking it off.
5. To get that even coat I wanted, I decided to spray paint them-yeah who knew! I thought, spray paint works to get and even coat (when applied correctly) so why can’t it work on cabinets?! If you aren’t confident in your spray painting abilities, I would not make this your first spray painting project, because you don’t want to get streaks or lines from the spray paint. I sprayed 1-2 even coats (in my garage a well ventilated area!) I used this spray paint in satin. I don’t remember how many cans I went through-but I’m sure it was a lot-like more than 10. I also then had to paint the cabinet frames to match, so I taped everything off and sprayed in the house. Make sure to cover everything because of the overspray. This was very stressful for me because we had just had our floors finished and I got some overspray on our hardwoods, but luckily it came off with some Bona floor cleaner. But, yikes that was not a fun afternoon 🙁 For the kick boards, I used the white trim paint and a brush because the paint color was similar enough and I was too scared to spray that close to our new floors. You can’t even notice that they are two different types of paint and not the exact color.
6. I then did one coat of a clear, satin polyurethane that I applied with a brush. I did two or three coats in the high traffic areas. 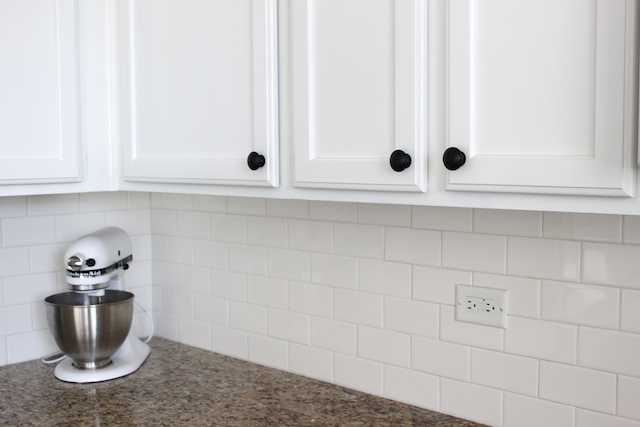 And in no time you have beautiful white cabinets! Haha it did take a lot of time and elbow grease. But it’s all worth it in the end. There’s nothing worse than finishing a project and not liking it, so it’s just better to do it right, even if it means dragging out a project for weeks rather than days. It was horrible not having my kitchen in order for that time, but I’m so glad I don’t have to look at uneven paint lines all the time now 🙂 I haven’t had any chipping of paint yet, and it’s been a few months. I have tried scratching my nail down the side of the cabinet and it doesn’t do anything-so I think they’re pretty “chip” safe. Because it’s spray paint, if you do happen to get a paint chip or need to touch up the paint in some places, just spray some of the spray paint on to a paint tray and use a disposable foam brush to do the touch up.
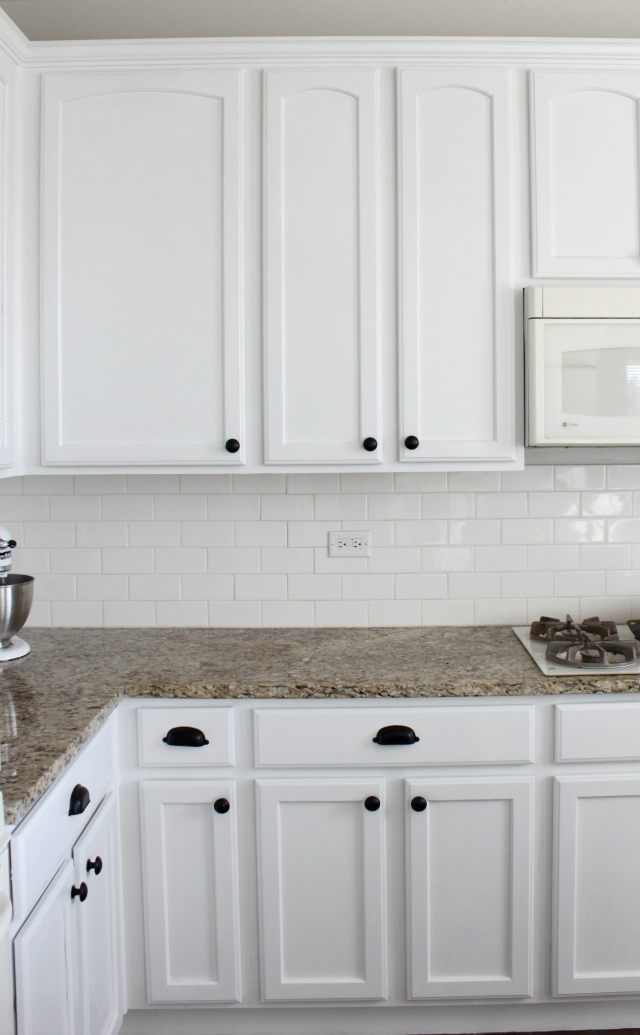
I love the bright white kitchen! So much better! I’ll have a full kitchen reveal in the next few months-I have a few more projects to finish first.
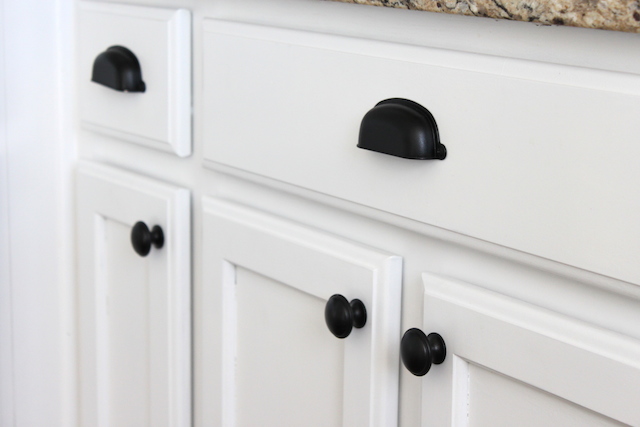
Oh and I spray painted the knobs in a satin black 🙂