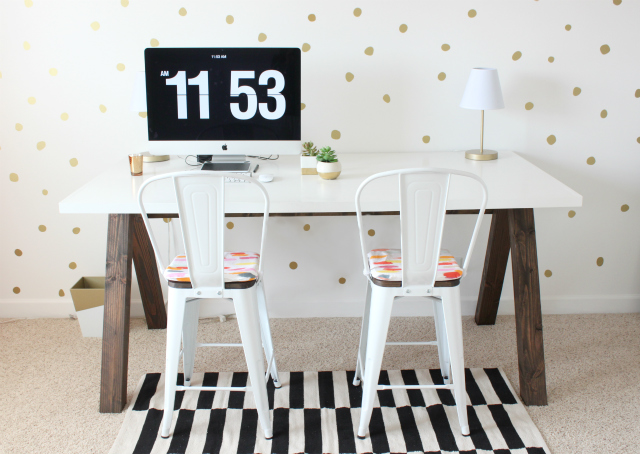
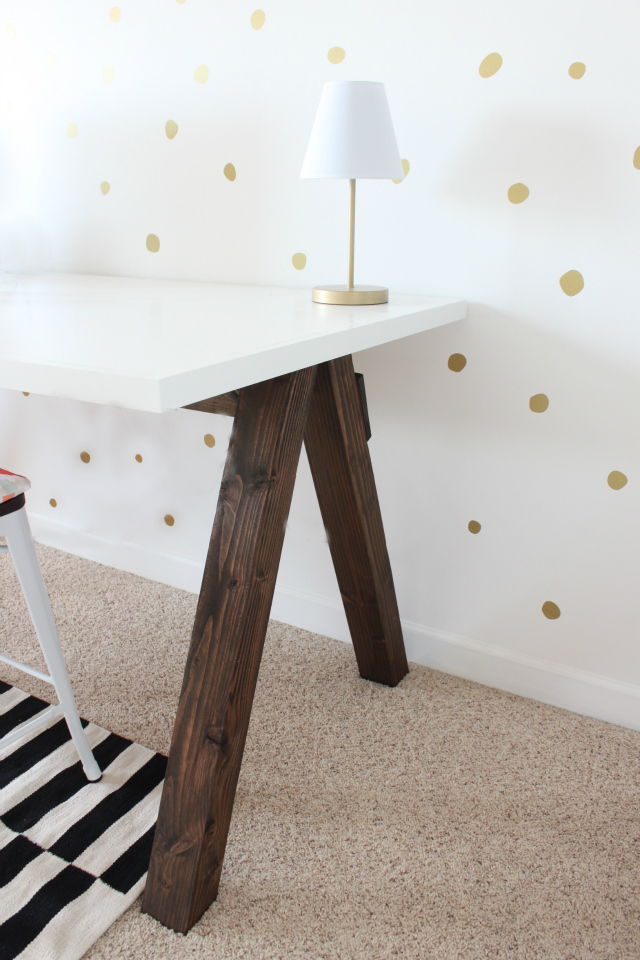
 When choosing a desk for my craft room/office, I had two requirements: I wanted it to be big enough to seat two people and counter height so that I could stand up and work on crafts if I wanted to. I looked online at a lot of different types of desks. I really like simple, industrial designs. I also wanted to choose something that wasn’t too expensive and that was easy to make. This desk took my husband and I probably about two hours to make and assemble. It is exactly what I wanted-one of the benefits of doing it yourself 🙂
D I Y C O U N T E R H E I G H T C R A F T T A B L E
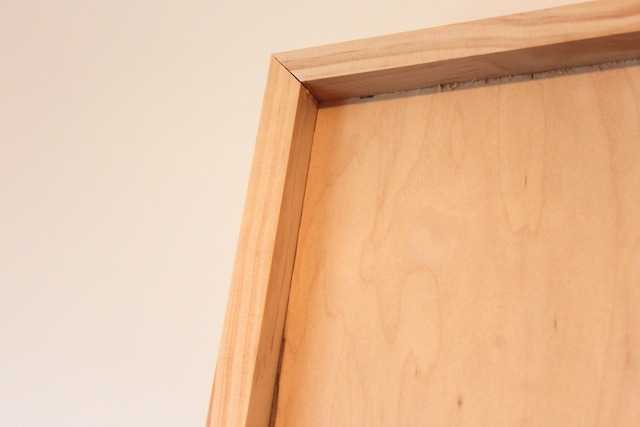
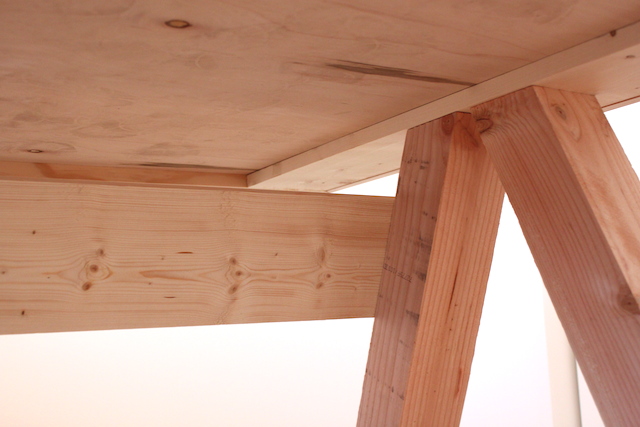
1. Buy a large piece of 1 inch pine, or any sort of durable wood, you could also use MDF if you wanted. Trim out the edges of the piece of pine by using 2 in x 1 in pine trim pieces. Nail them to the large piece of wood. And that’s it for the table top.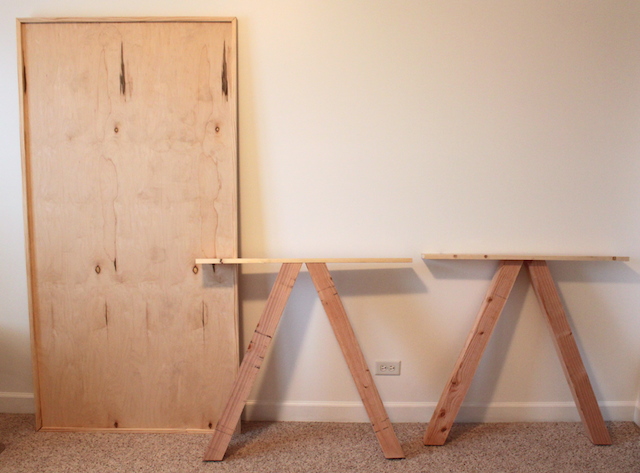
 2. For the legs, use 4 x 4’s (my husband ran them through the table saw just to shave off about a 1/4 inch on each side so that the legs were more of a straight edge as opposed to the semi rounded edges that most 4 x 4’s have. Cut them the height you want. Screw them on to a piece of pine that is the length of the underside of the table top.
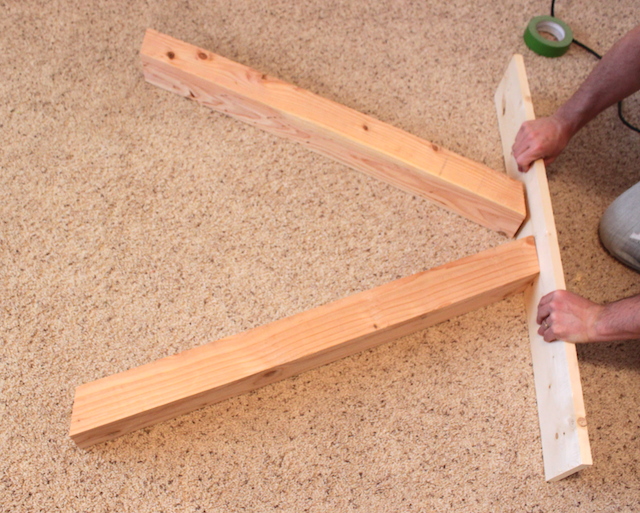 3. Screw the legs in to the tabletop. The piece of pine the legs are screwed in to should fit snug under the tabletop.
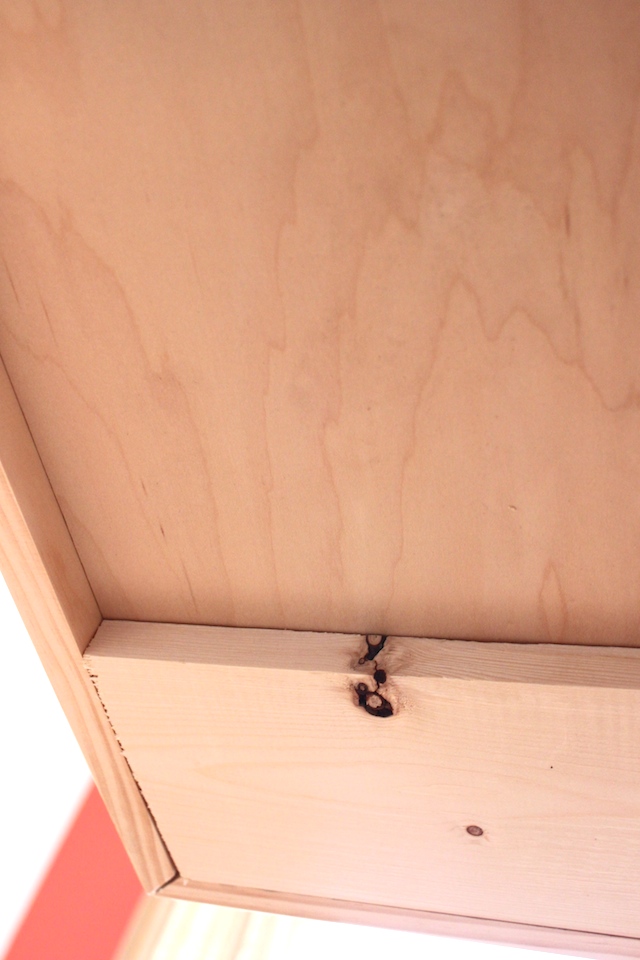
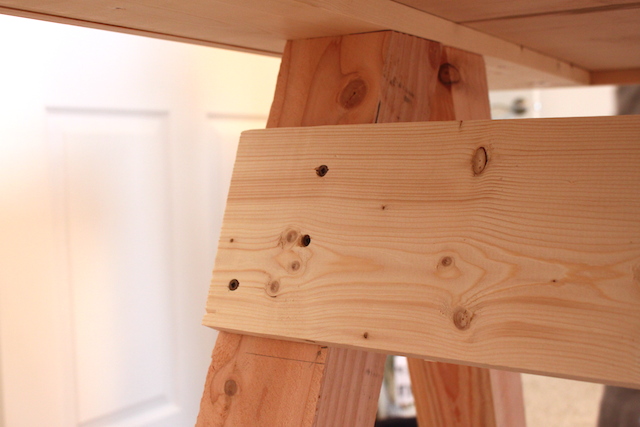
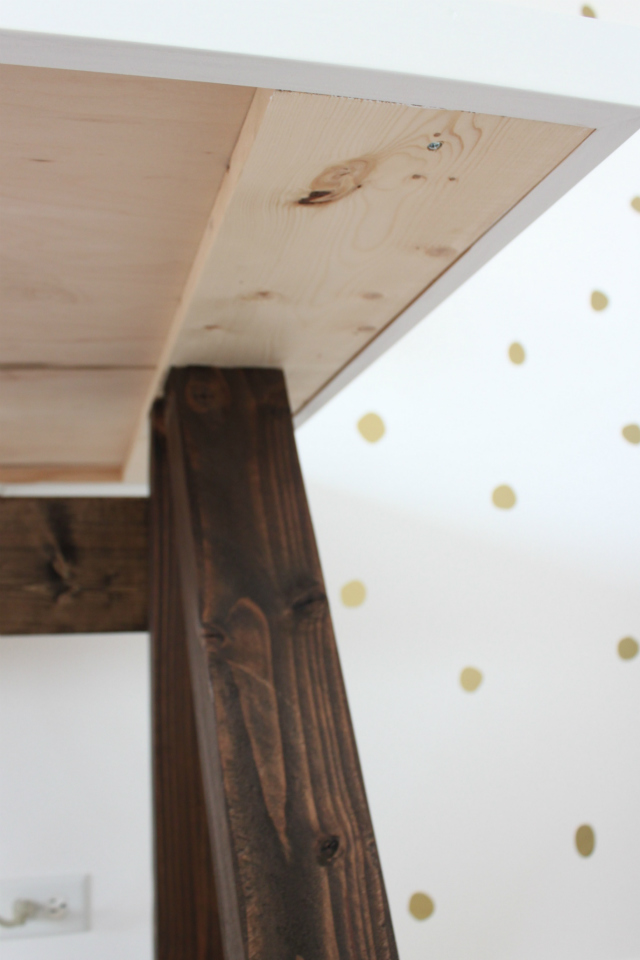 4. To help support the table, I added a cross bar across the back of the table. I didn’t want to be able to see it so I screwed it in towards the top.
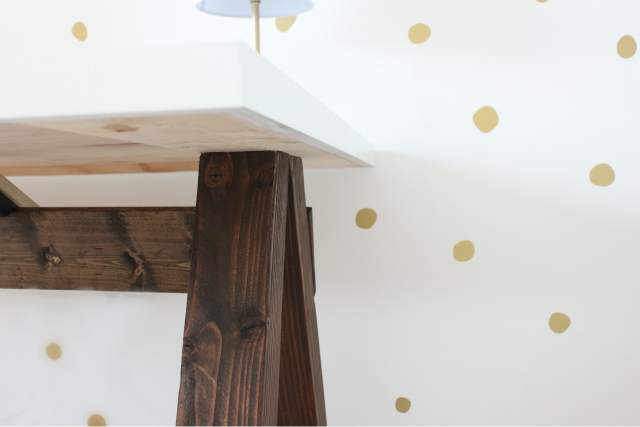
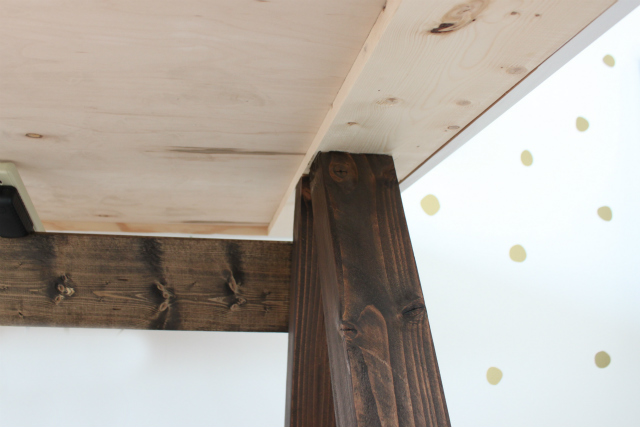 5. I painted the top of the table with three coats of white satin paint and then 3 or 4 coats of polyurethane. I stained the legs of the table with Jacobean colored stain.
I love how big the table is. I can be working on the computer and also have my sewing machine set up if I want. Or my husband can be working on his laptop while I work on the computer. It was the perfect solution for a craft room/office table. And only cost about $50 and a few hours of work woot woot!
