
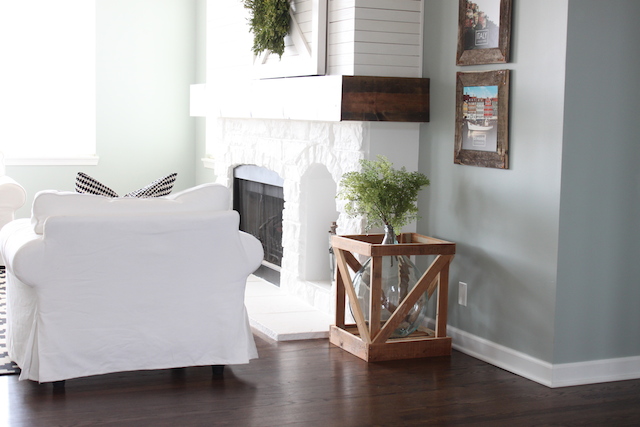
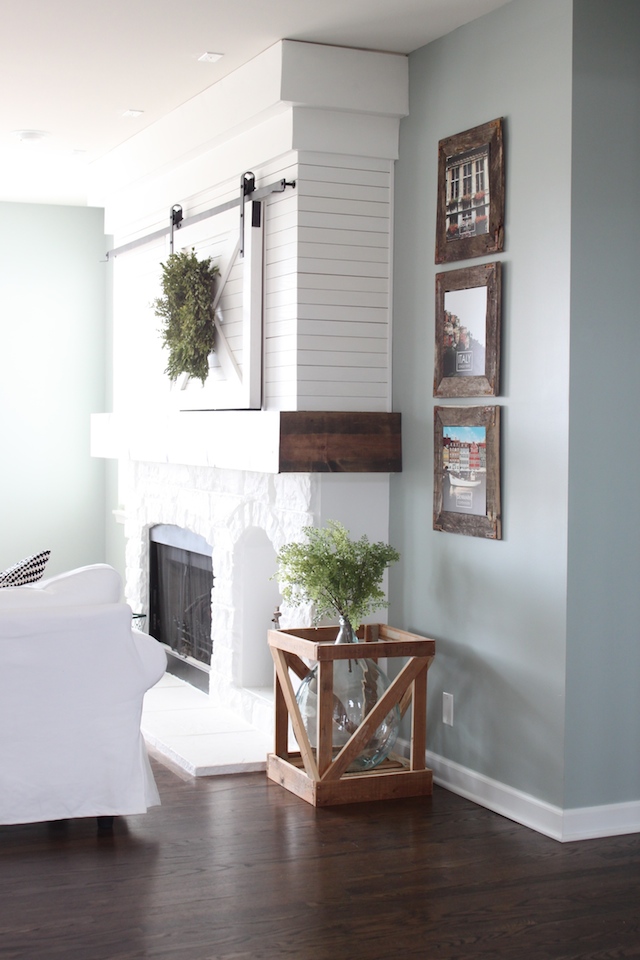
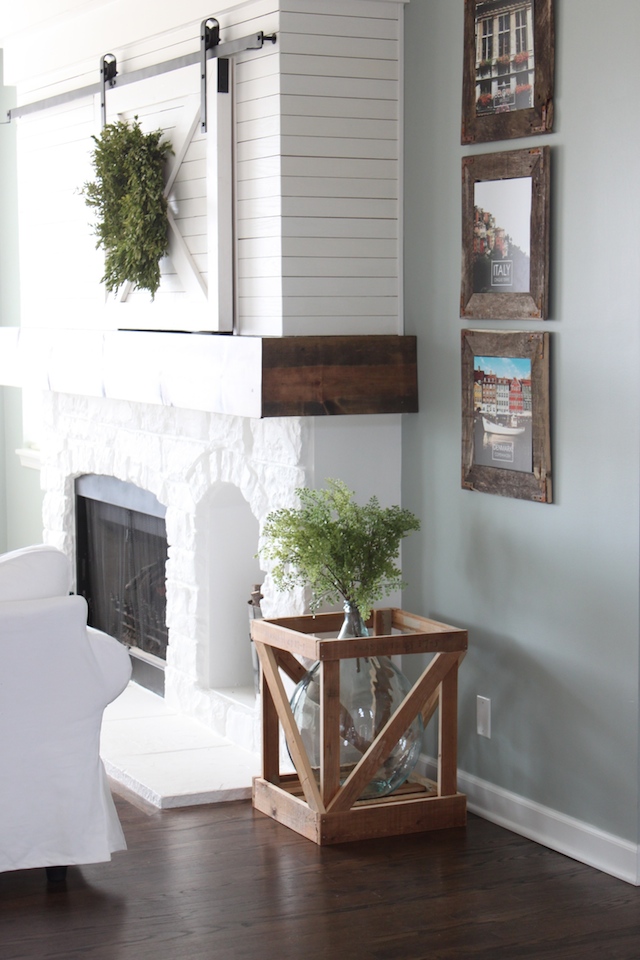
 So, you probably know that I love the show Fixer Upper and one time while watching it I saw a crate like this in the corner of one of her room reveals. I remembered seeing a large vase exactly like that at Gordmans-which is always the first place I go when looking for farmhouse style decor and baskets. I knew I could recreate it with the vase, some fake greenery and some reclaimed wood I had in the garage. So I went and picked up this vase and greenery and got to work.
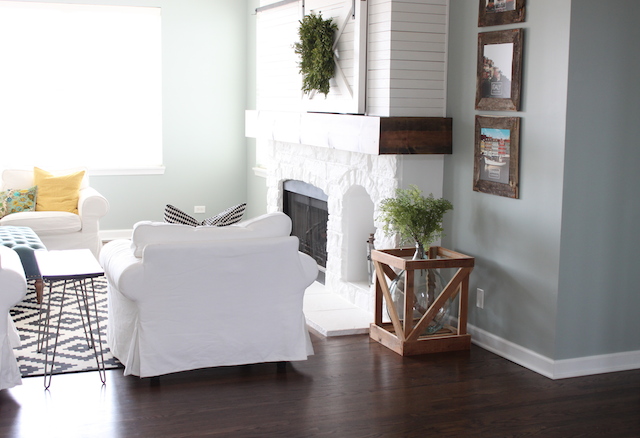
D I Y W O O D E N C R A T E
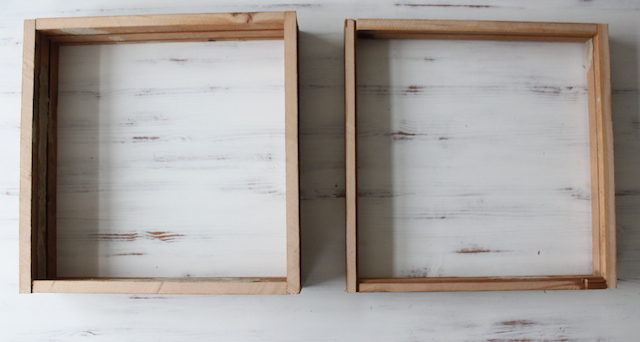
1. Make two square boxes. I cut the boards for the base sightly wider, you can see that in the second picture below. I simply nailed them together.
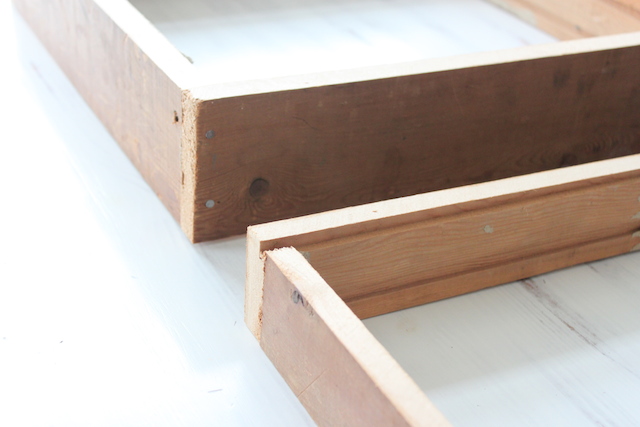
2. Add your corner pieces. These were the same width as the top box. Nail them in to the top box.
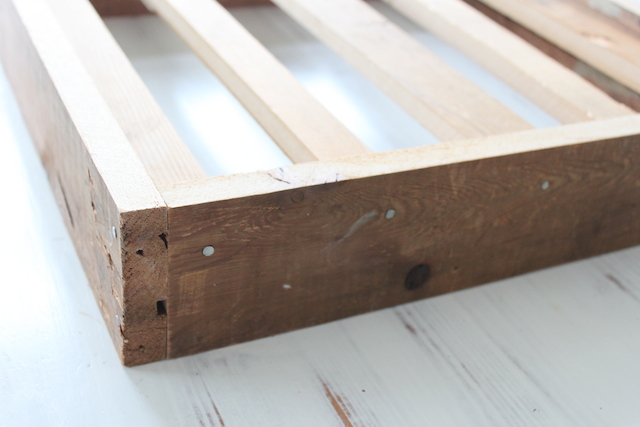 3. Add slats to the base of the crate. On the bottom box, add some skinny scraps of wood to act as wood slats. Again, just nailing them in about a half an inch down from the top of the base.
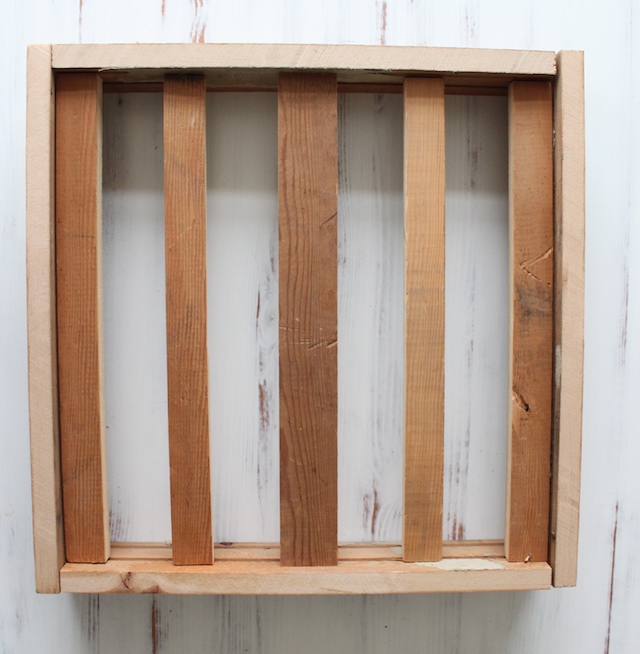 4. Nail the four corner pieces to the bottom base, resting on the slats.
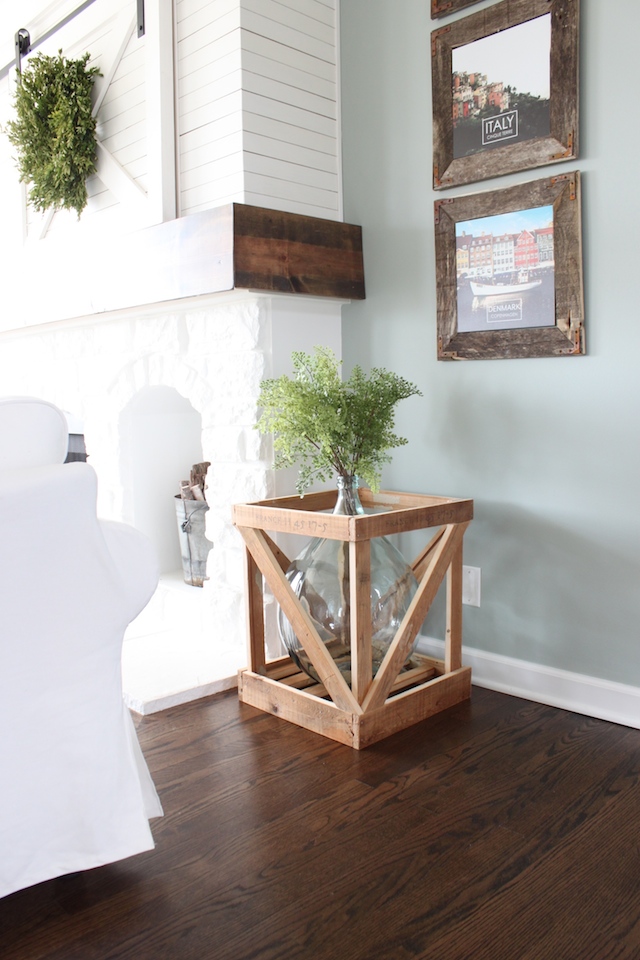
  5. Cut four diagonal pieces and glue them to the sides using wood glue. When the glue dries, sand down the wood.
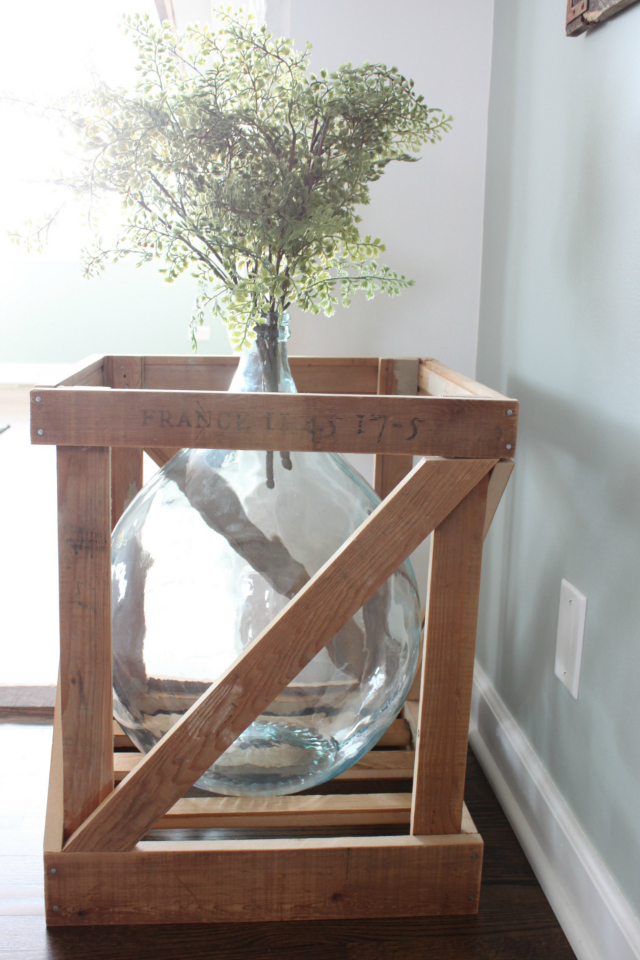
 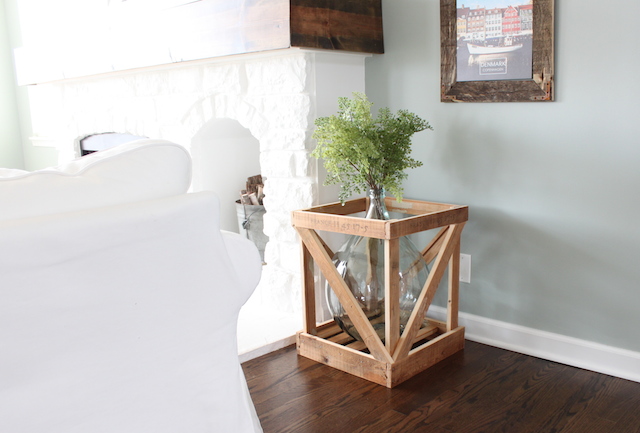 To get the stamp on there, I use this method all the time: create an image with the words you want, flip it so that it’s backwards, then print it on to freezer paper or the shiny side of label paper-you know when all the labels are off the paper it’s super shiny underneath. Just print it on there and then immediately press it on to the wood. So easy and it gives the perfect vintage feel.

 Gordmans is offering a $25 gift card to one of you! Head to my instagram account for the details on how to enter!