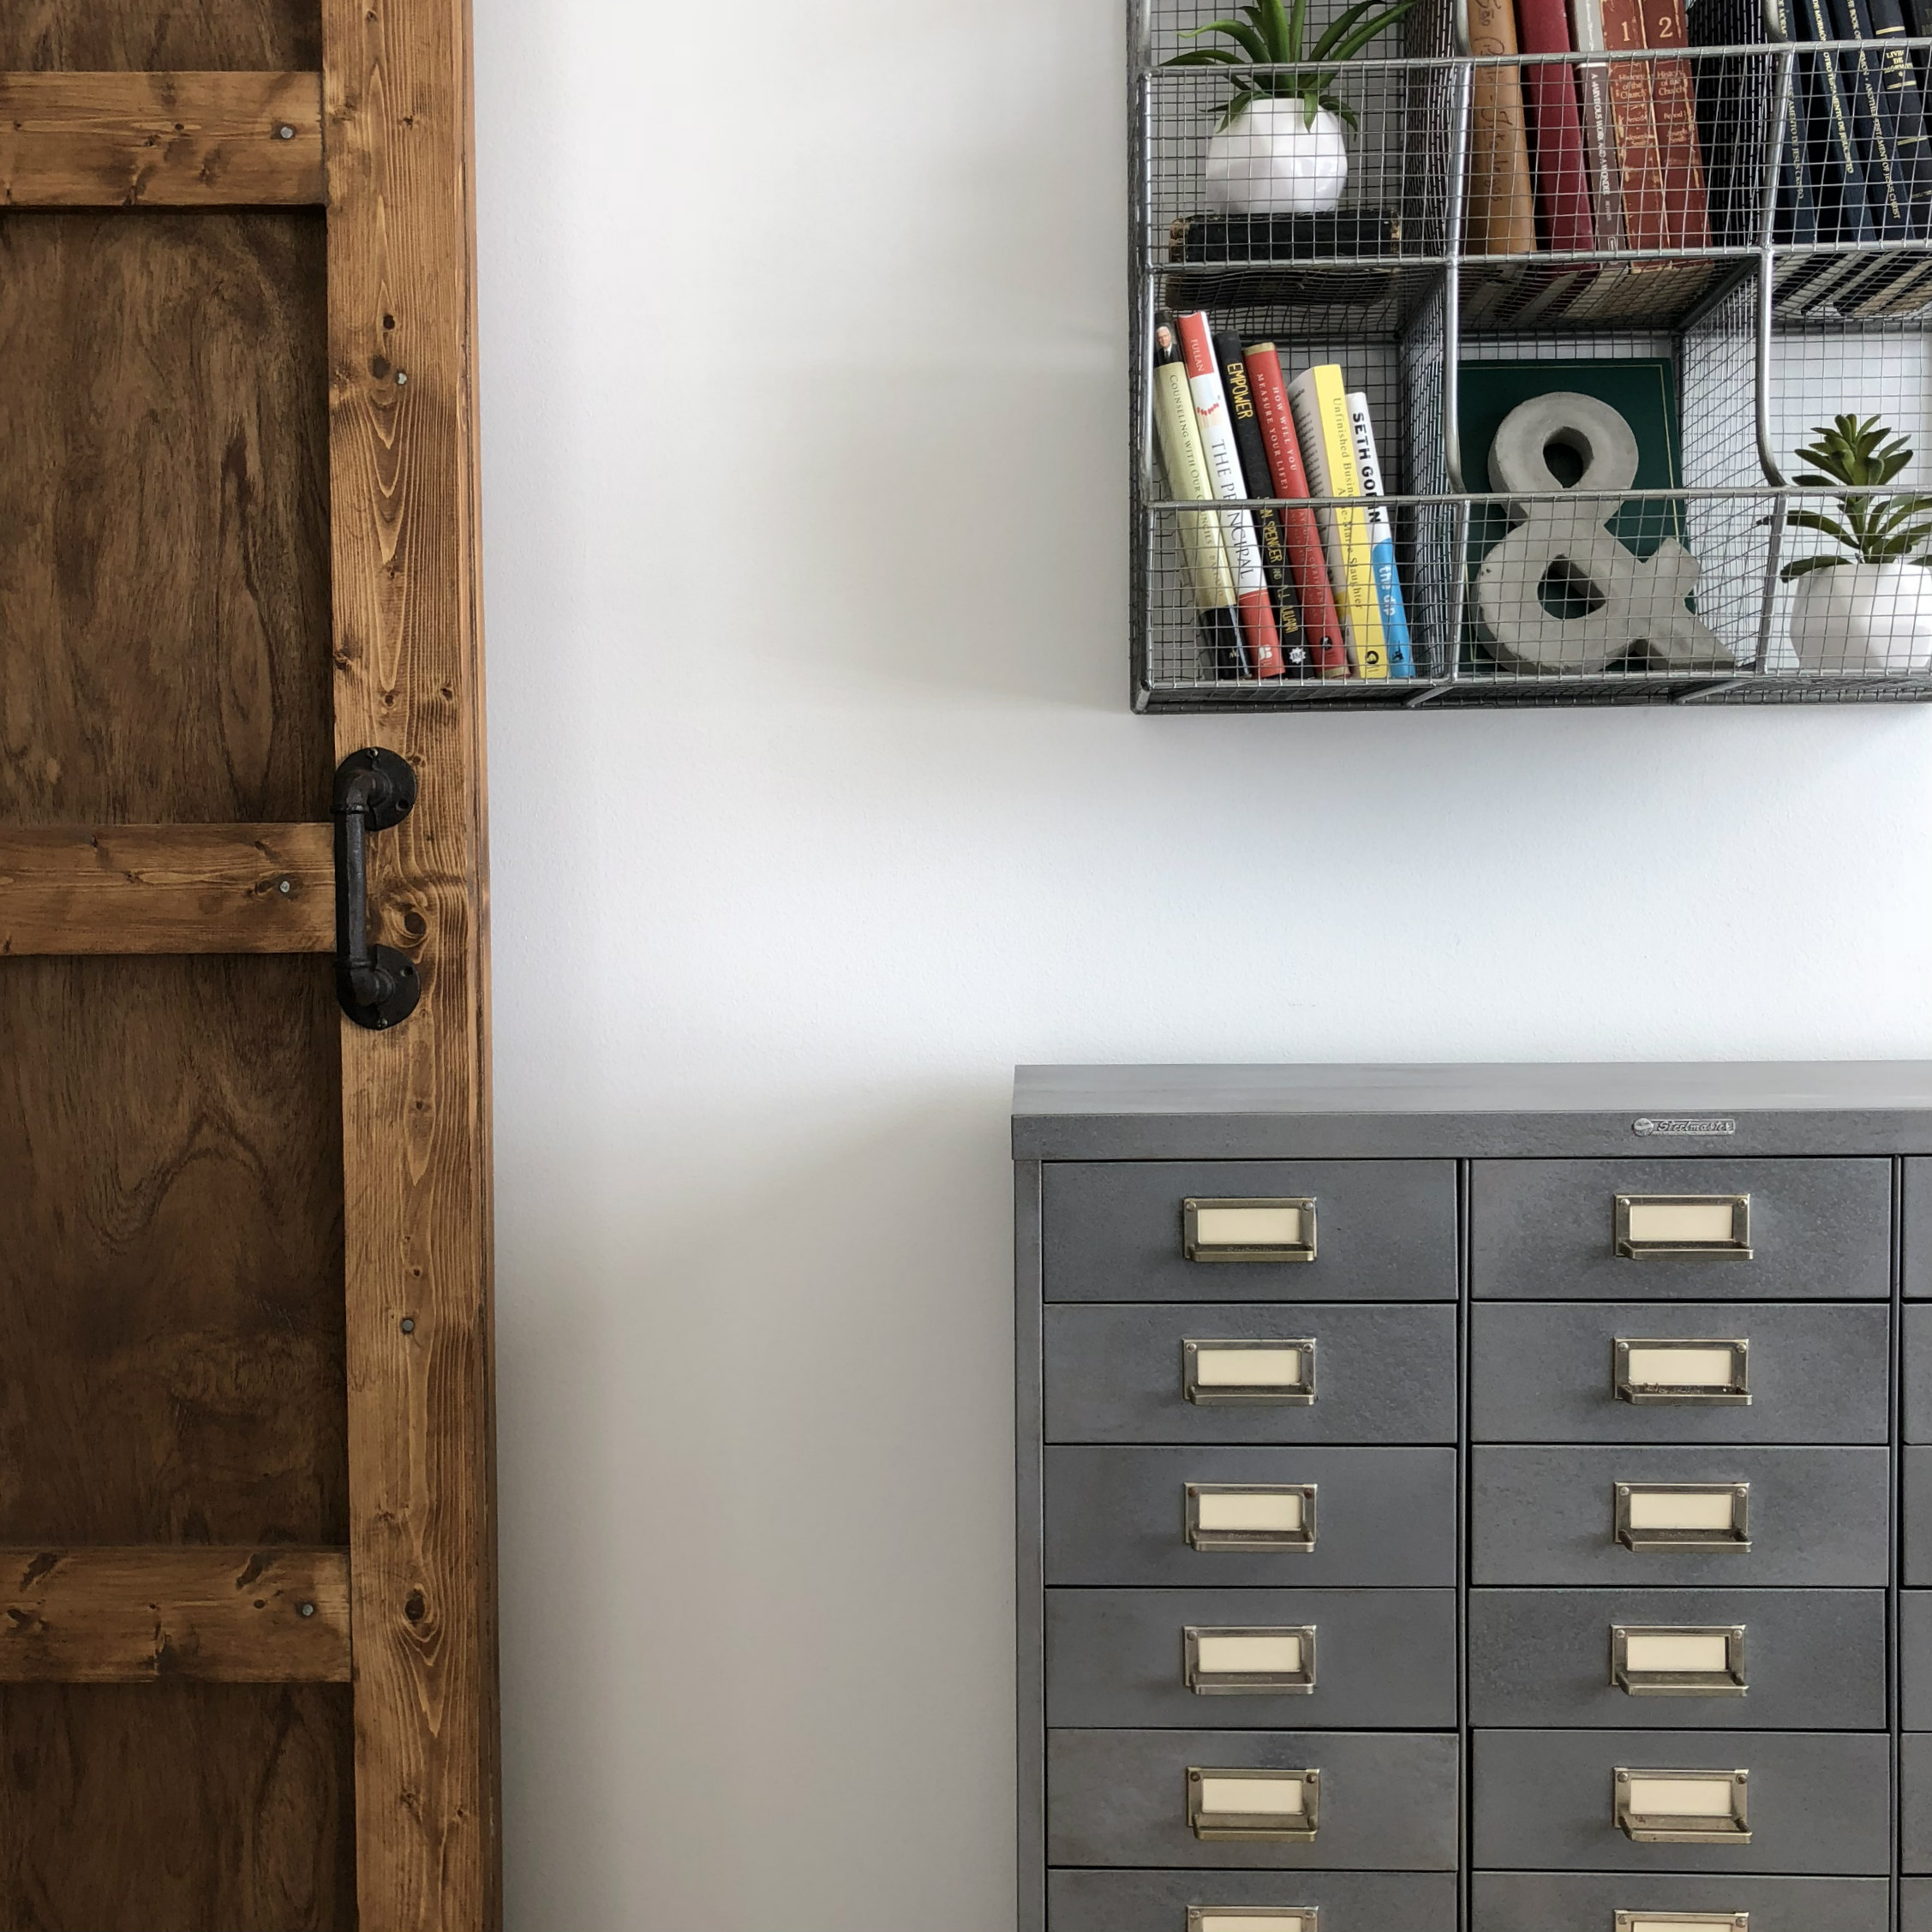
When finding pieces of furniture for our newly modified “family office” I wanted to make sure that we were using the space efficiently. It’s a small room on our main floor so there isn’t a lot of room for things. We decided to use my craft room table as the desk so that it would be a large working space for the kids. But because of that, we didn’t have much room to put other pieces of furniture. So on the opposite wall of the desk I was searching for a piece of furniture that had closed storage (I was thinking of building a floor to ceiling bookshelf and then just putting baskets on it). I worried the baskets would just look messy because you could see all the junk inside.
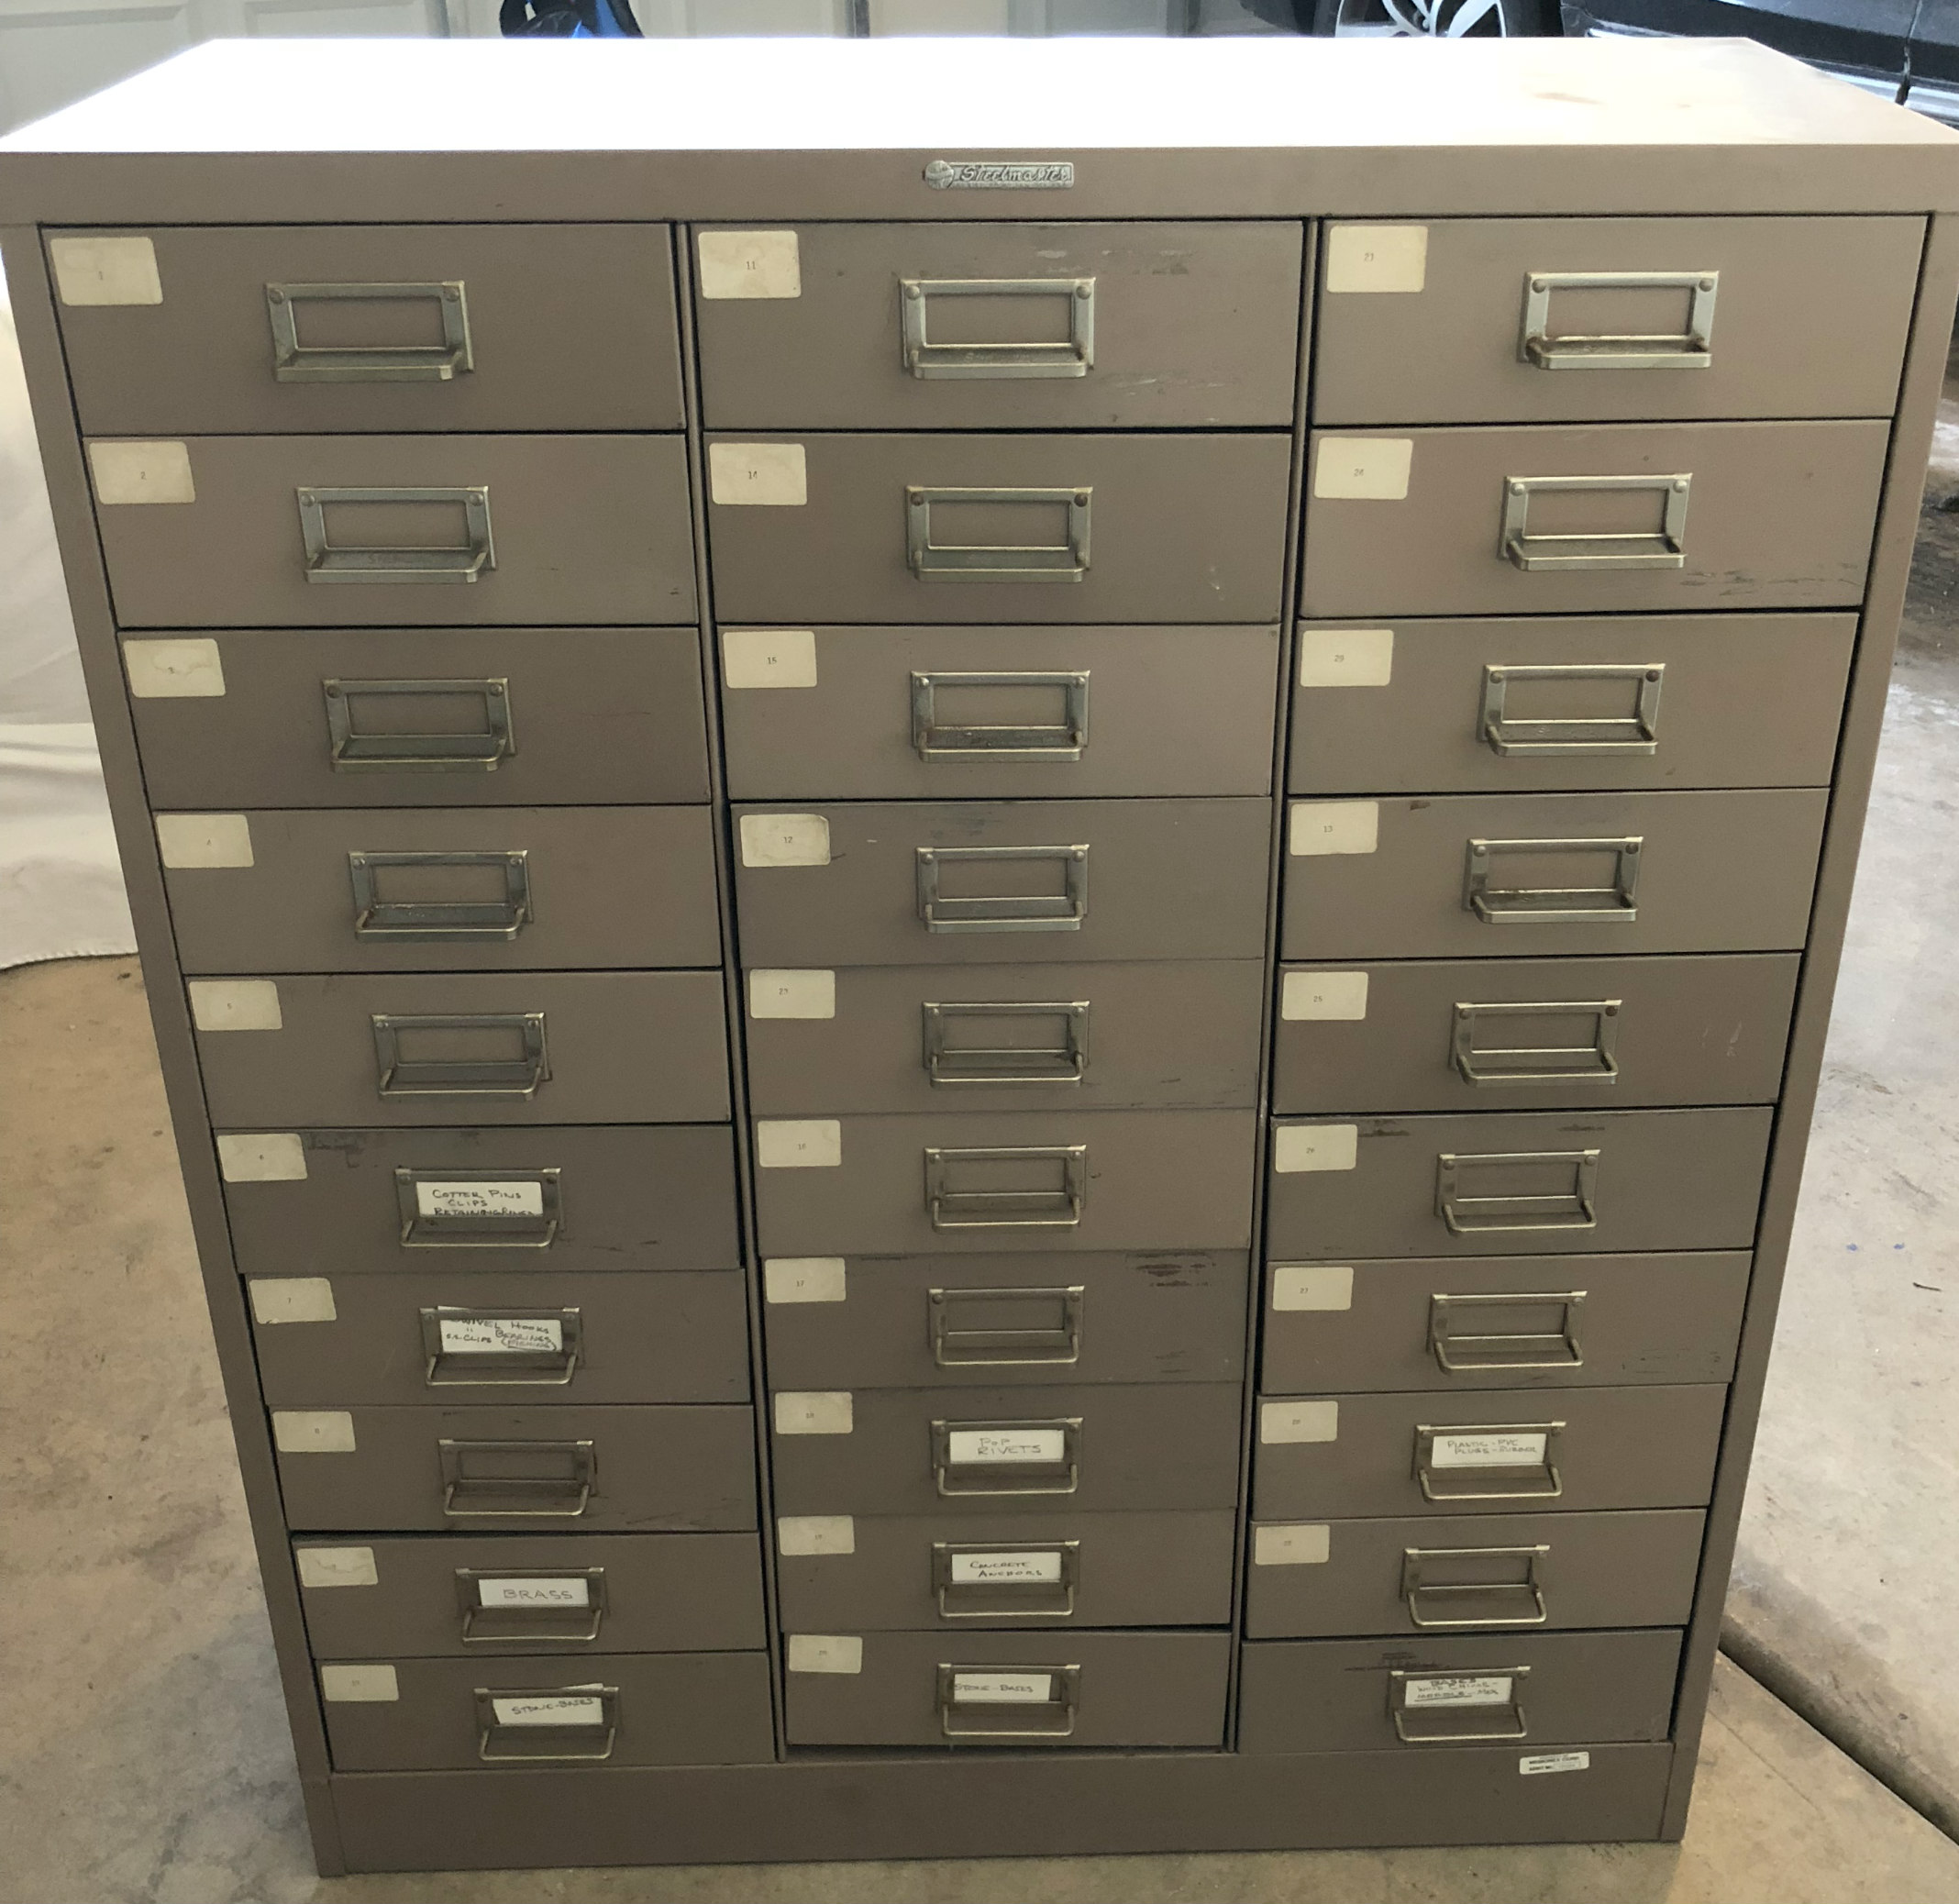
I went back to the thought of closed storage but needed something that wasn’t very deep because I didn’t want it to take up much floor space. And I needed the drawers to be large enough to hold a ream of printer paper. I also didn’t want it to be wood because it’s right between a wood door and wood chair. It had to be metal-but a grey metal because that’s what the rest of the room had. See how specific I was being?! I was at an antique mall type store and told the lady what I was looking for and I got about halfway through my specifications before she interrupted and was like no, no, no, we don’t have that, good luck! Finally, I found something on craigslist that I thought just might work! It was a tan, shallow, metal file cabinet with 30 drawers. It was listed for $250. I offered $150 and got it!
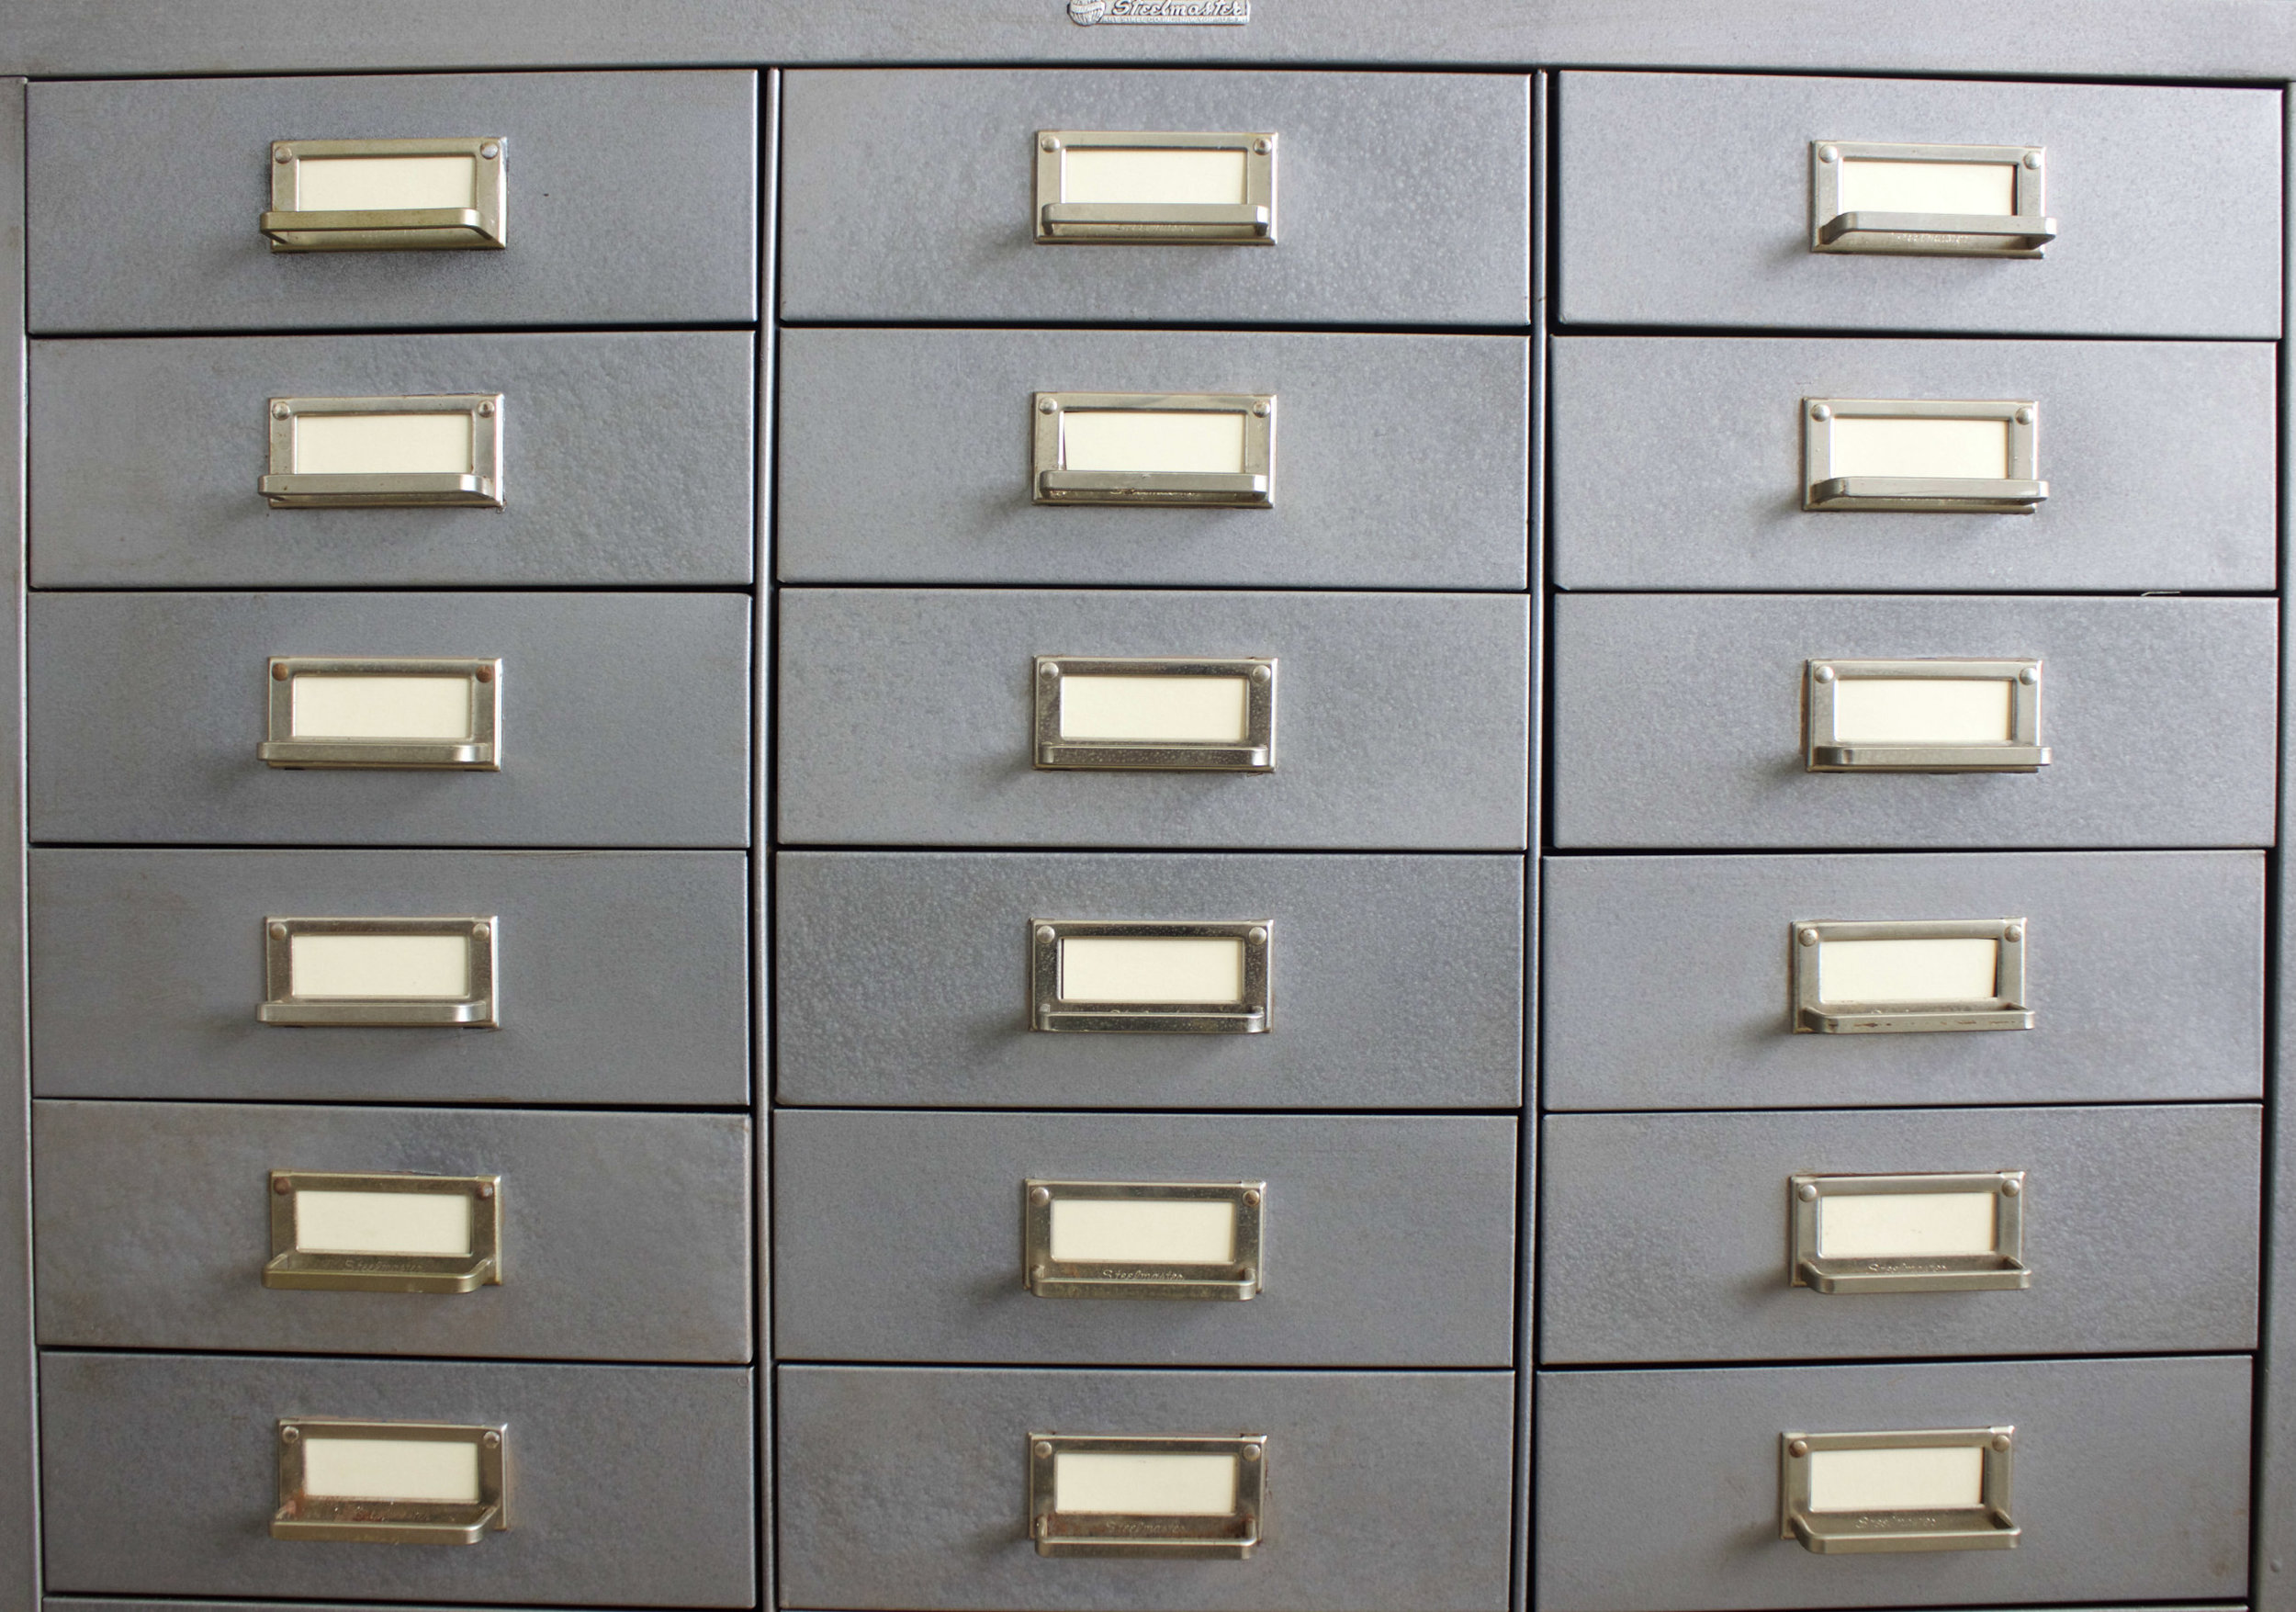
Below is the before picture. It wasn’t in too bad of shape and luckily only like 20 minutes away 🙂
H O W T O P A I N T A M E T A L F I L E C A B I N E T
SUPPLIES:
Metal file cabinet (search on craigslist you might be surprised what you find)
Sandpaper or electric sander
Painters tape
Spray paint for metal surfaces (I used this spray paint Weathered Steel by Rustoleum)
Clear matte spray paint (I used this one)
Brown cream wax (I used this one)
Rag to apply the furniture cream
1. Prep the surface of the file cabinet. I had to use a razor blade to get the stickers off the drawers. Then I used a sander to lightly sand everything. Wipe it down with a damp cloth to get all the sawdust off.
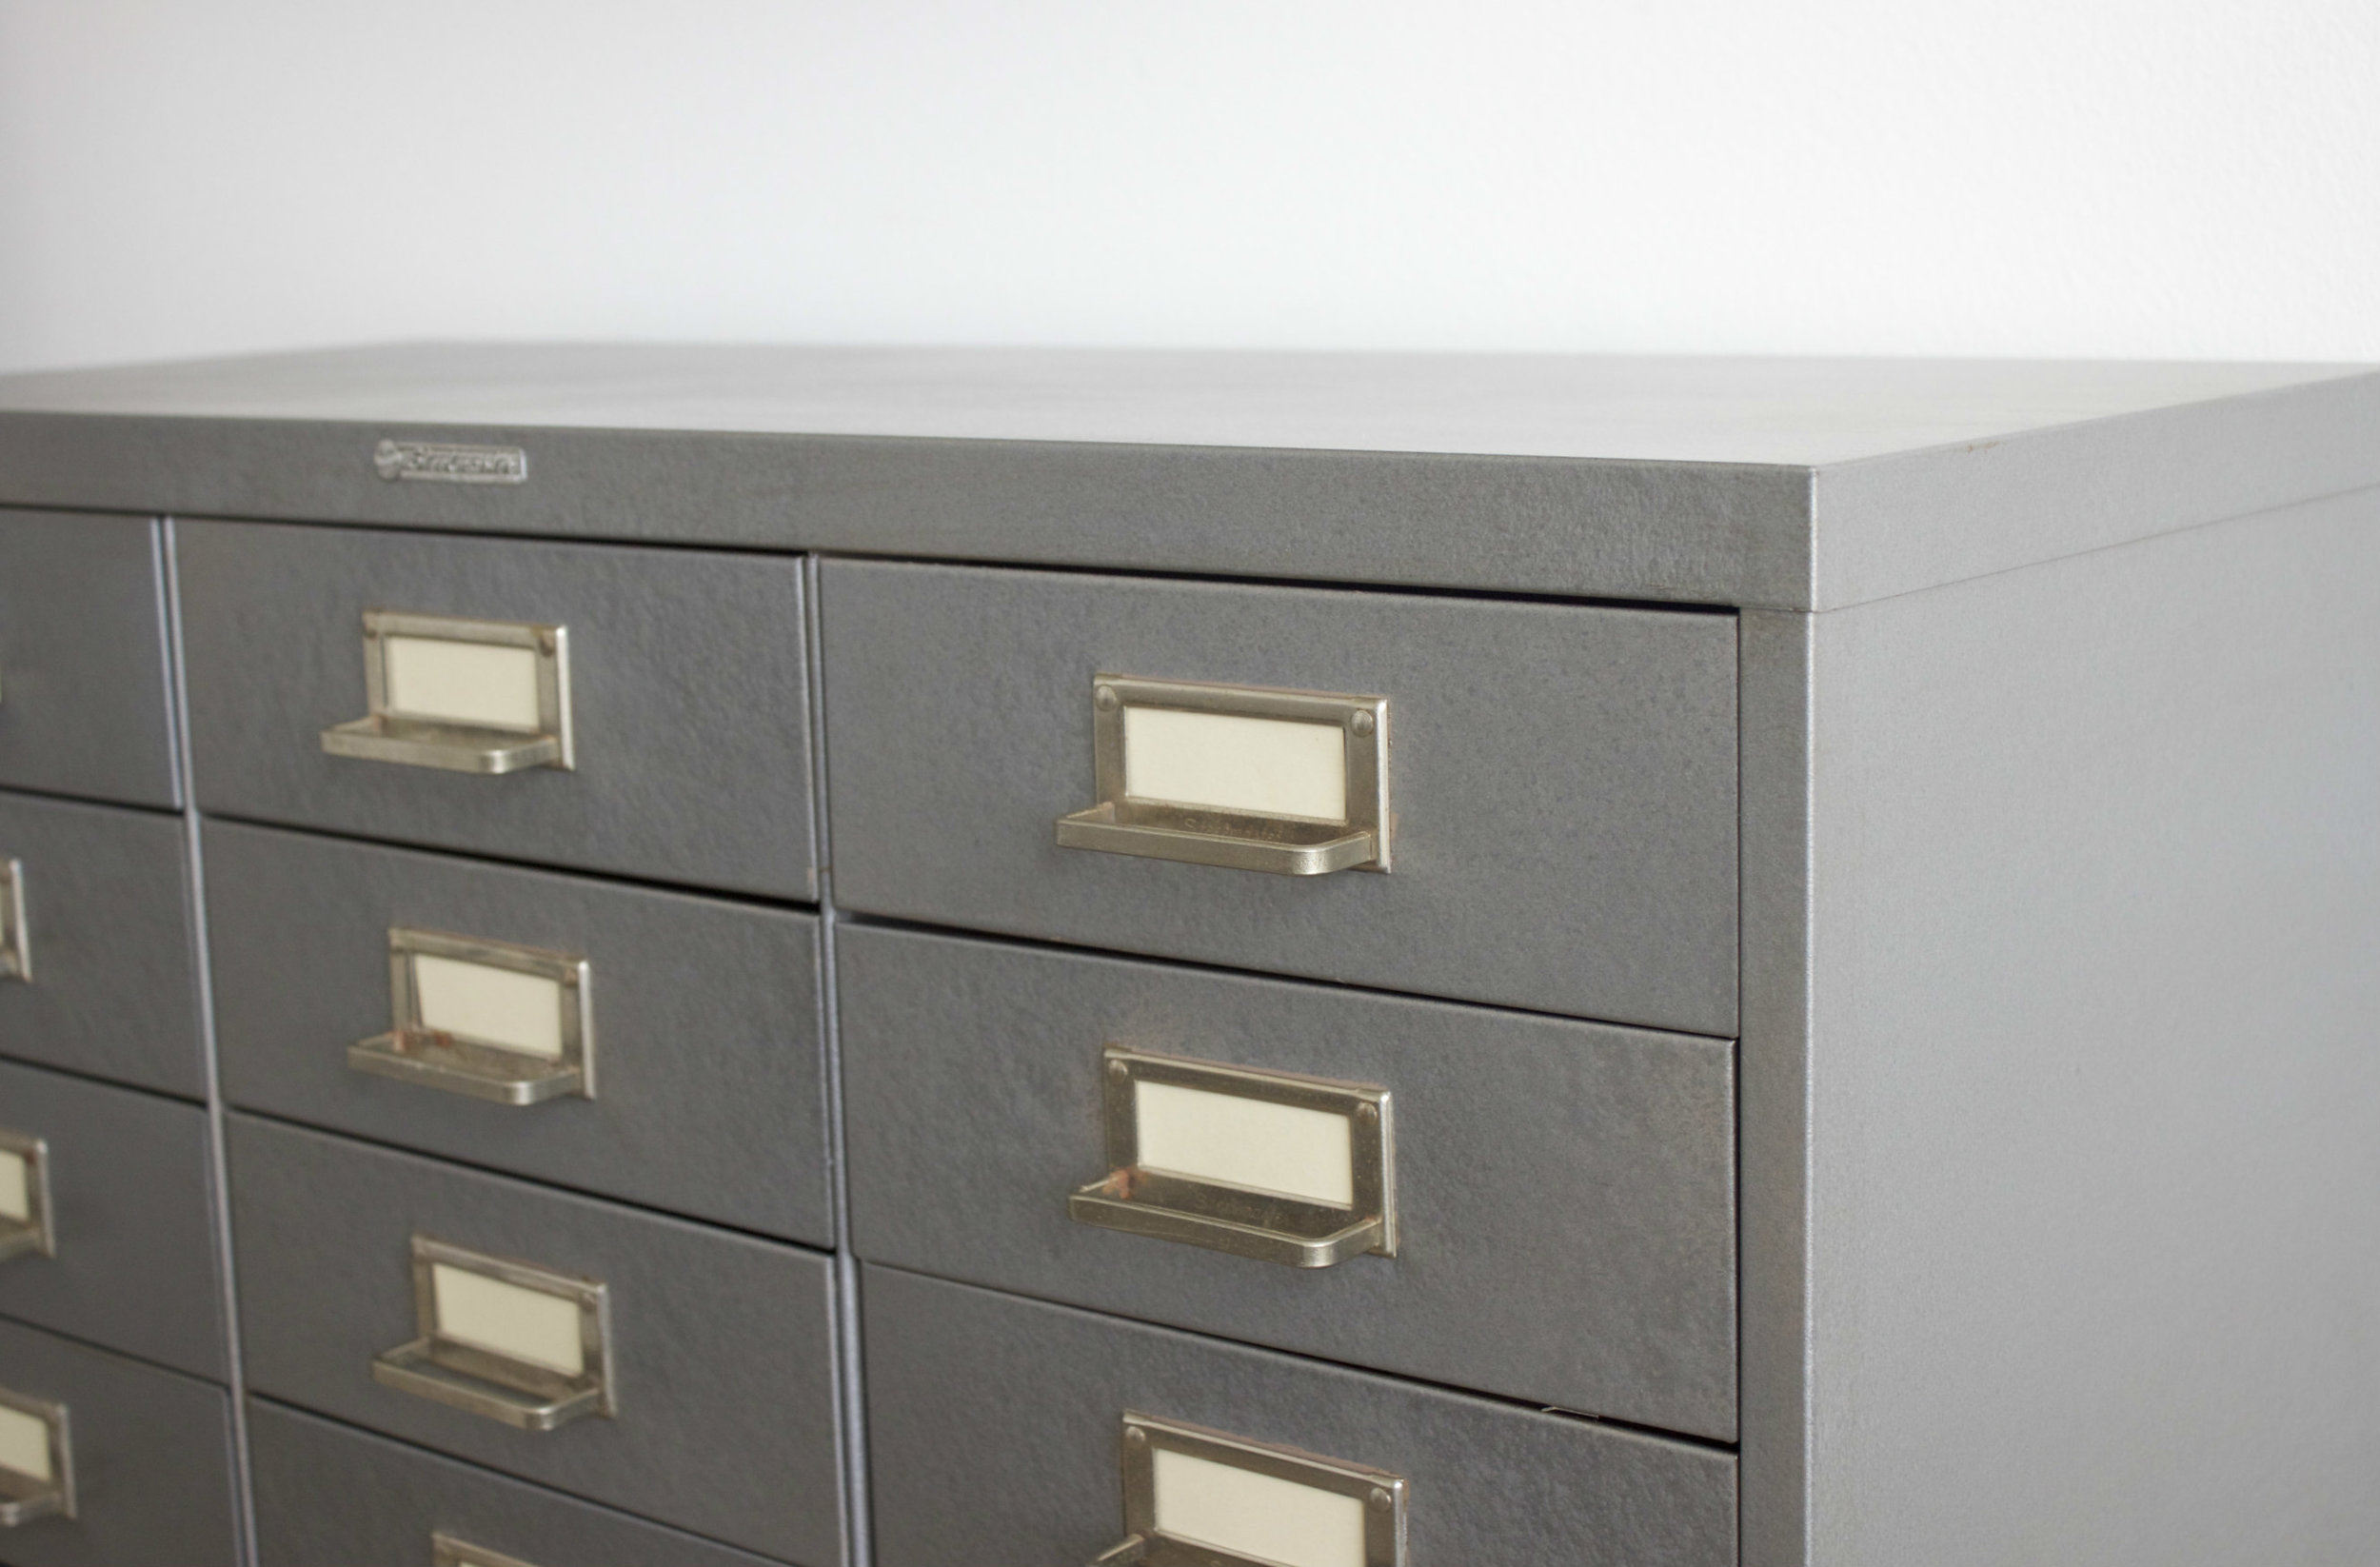
2. Tape off the handles (they don’t come off or would be crazy hard to get off so I left them on and the original color)
3. Remove the drawers and spray them separately from the cabinet. Use three or four light coats of the weathered steel spray paint. I used three.
4. Apply a thin coat of the matte spray paint. This is totally optional. I didn’t want the cabinet to look too shiny. But you could skip this step.
5. When the spray paint dries, and with a dry rag, apply the brown wax creme. This is also an optional step. You could also use a dark colored paint, you just have to work fast because the paint may dry faster than the cream wax. I did this to add a little bit more dimension to the cabinet and make it look a bit more aged. I just dabbed on some of the cream wax and then somewhat quickly wiped it off, making sure to get in all the grooves.
6. Just an FYI make sure to let the spray paint cure before using the cabinet. I spray painted it and then like an hour later tried to put the drawer in and it scratched some of the spray paint off. But now that it’s been over a week, I tried to scratch it and it’s hardened right up.
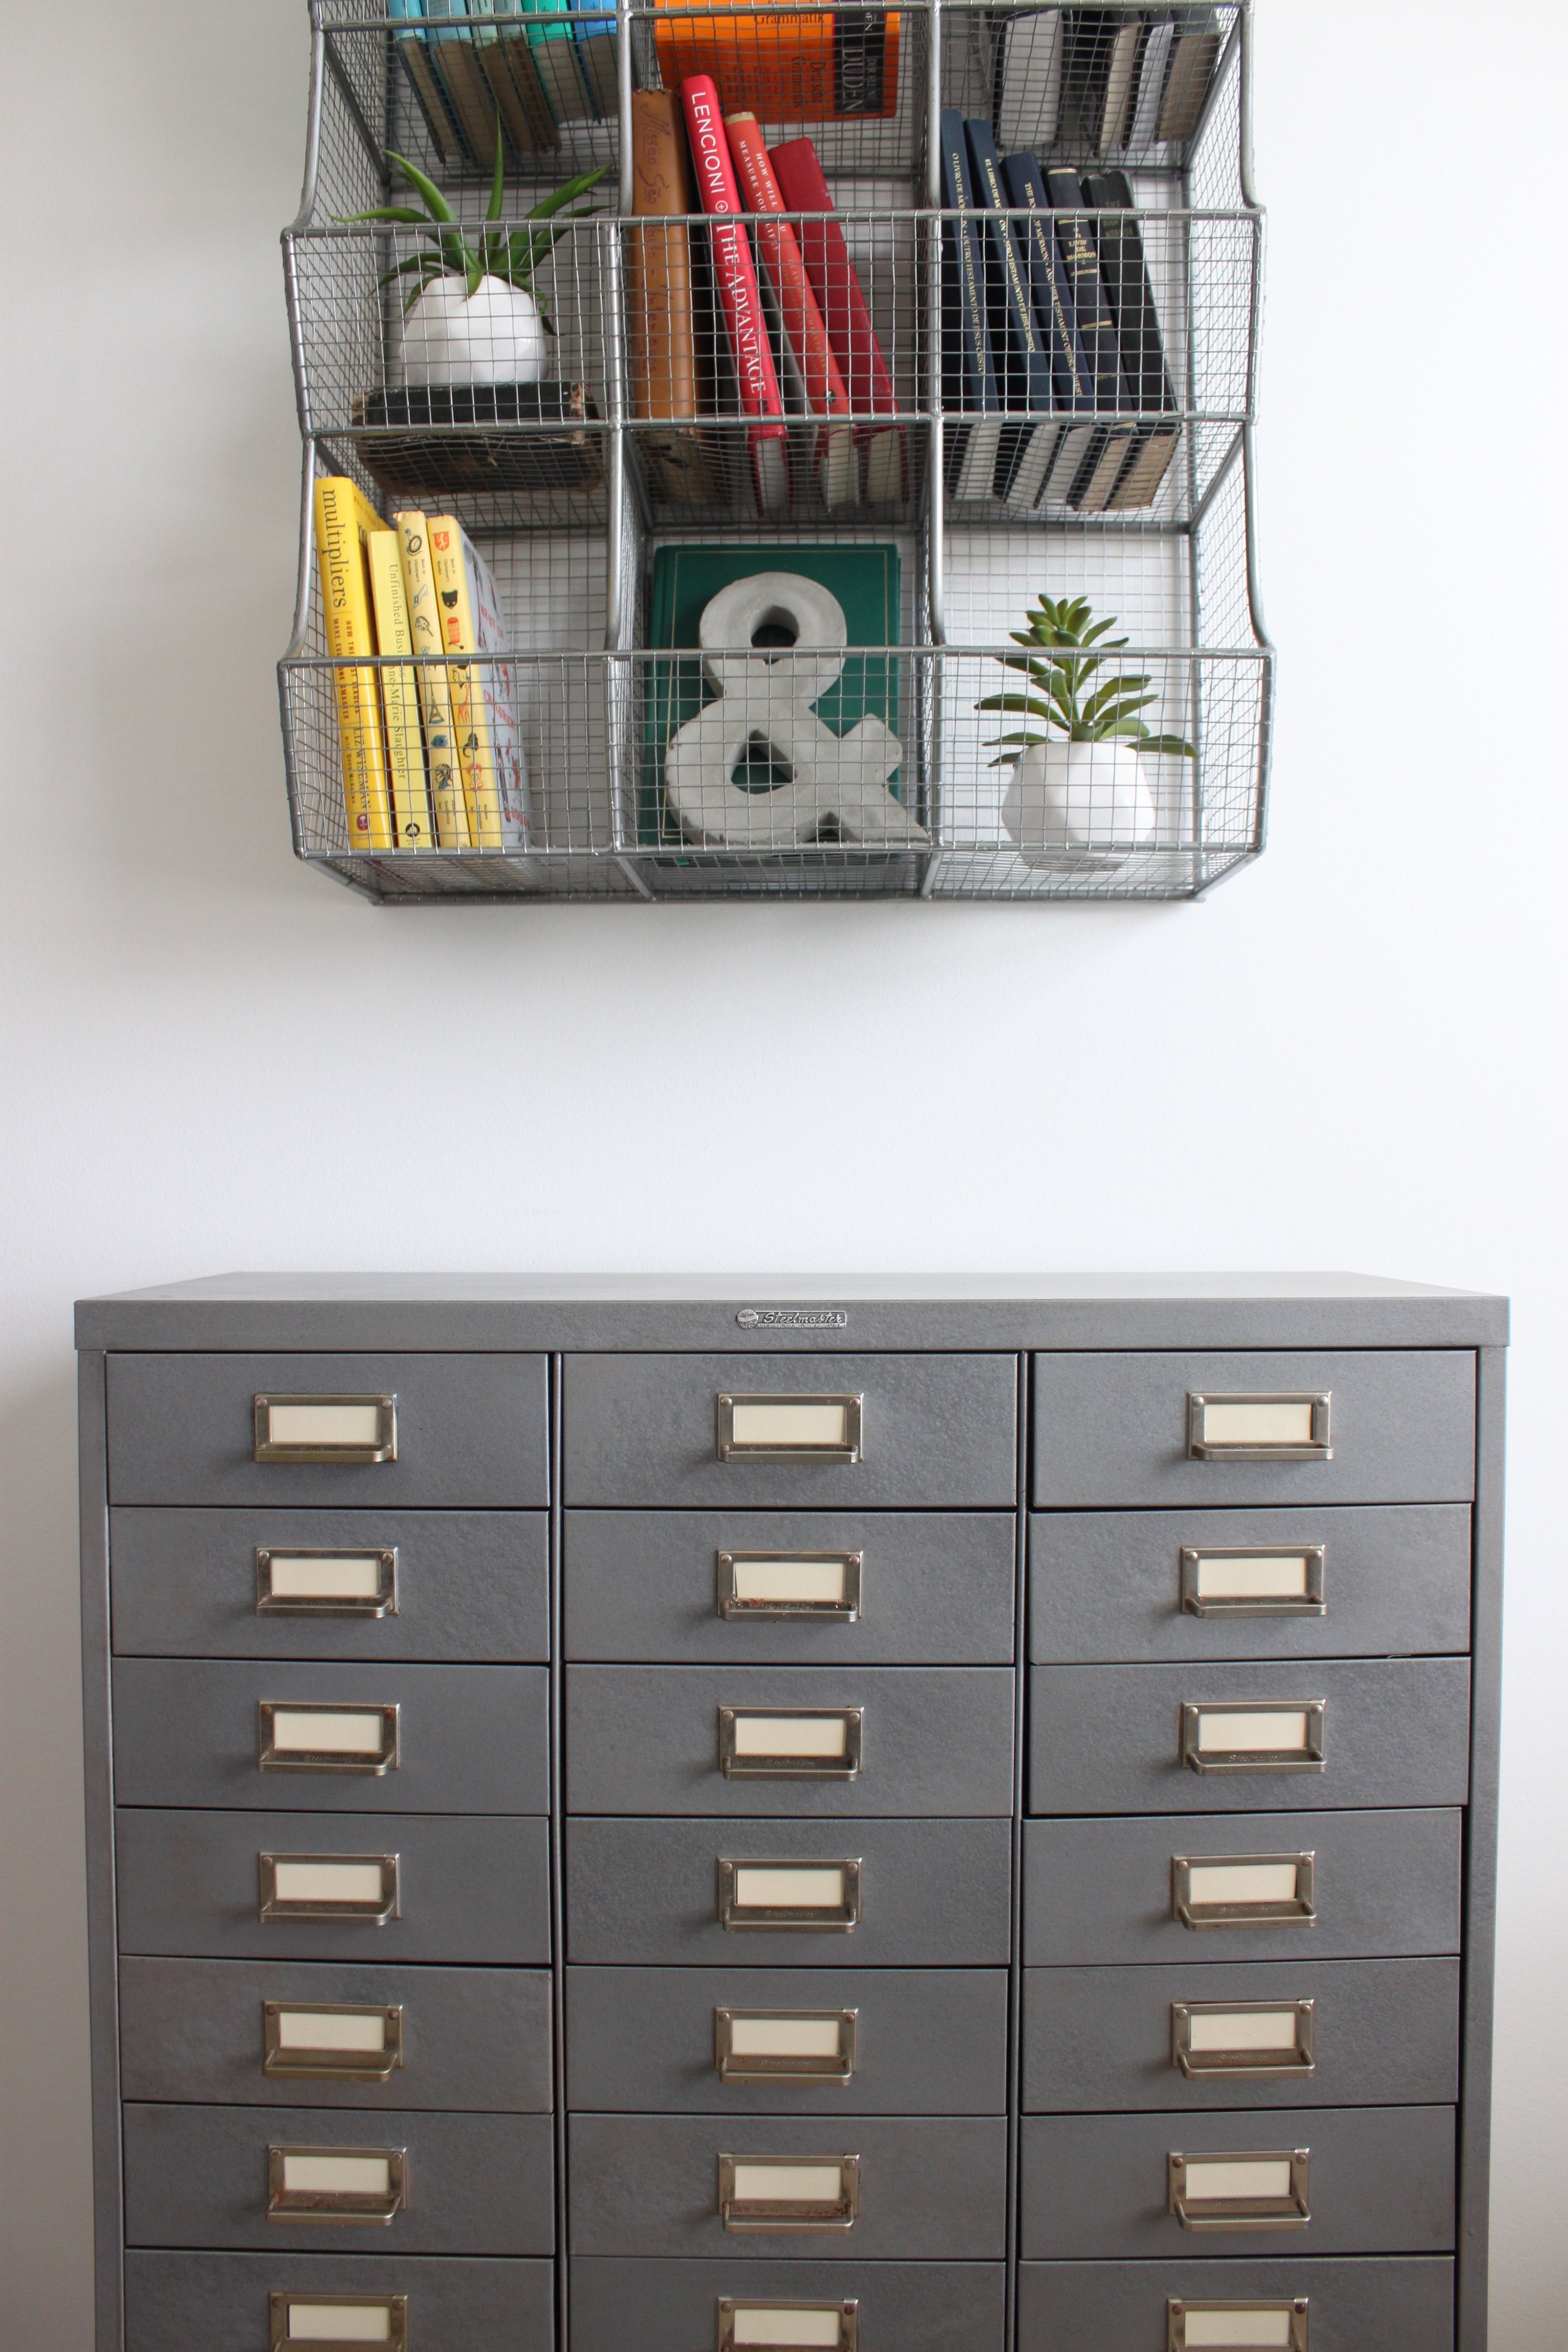
7. I cut some pieces of off white card stock to put as the labels in the handles. I thought at first I would leave them blank but with 30 drawers.. I’m going kind of crazy every time I need to find something. I always open at least four drawers before I find the drawer I’m looking for.
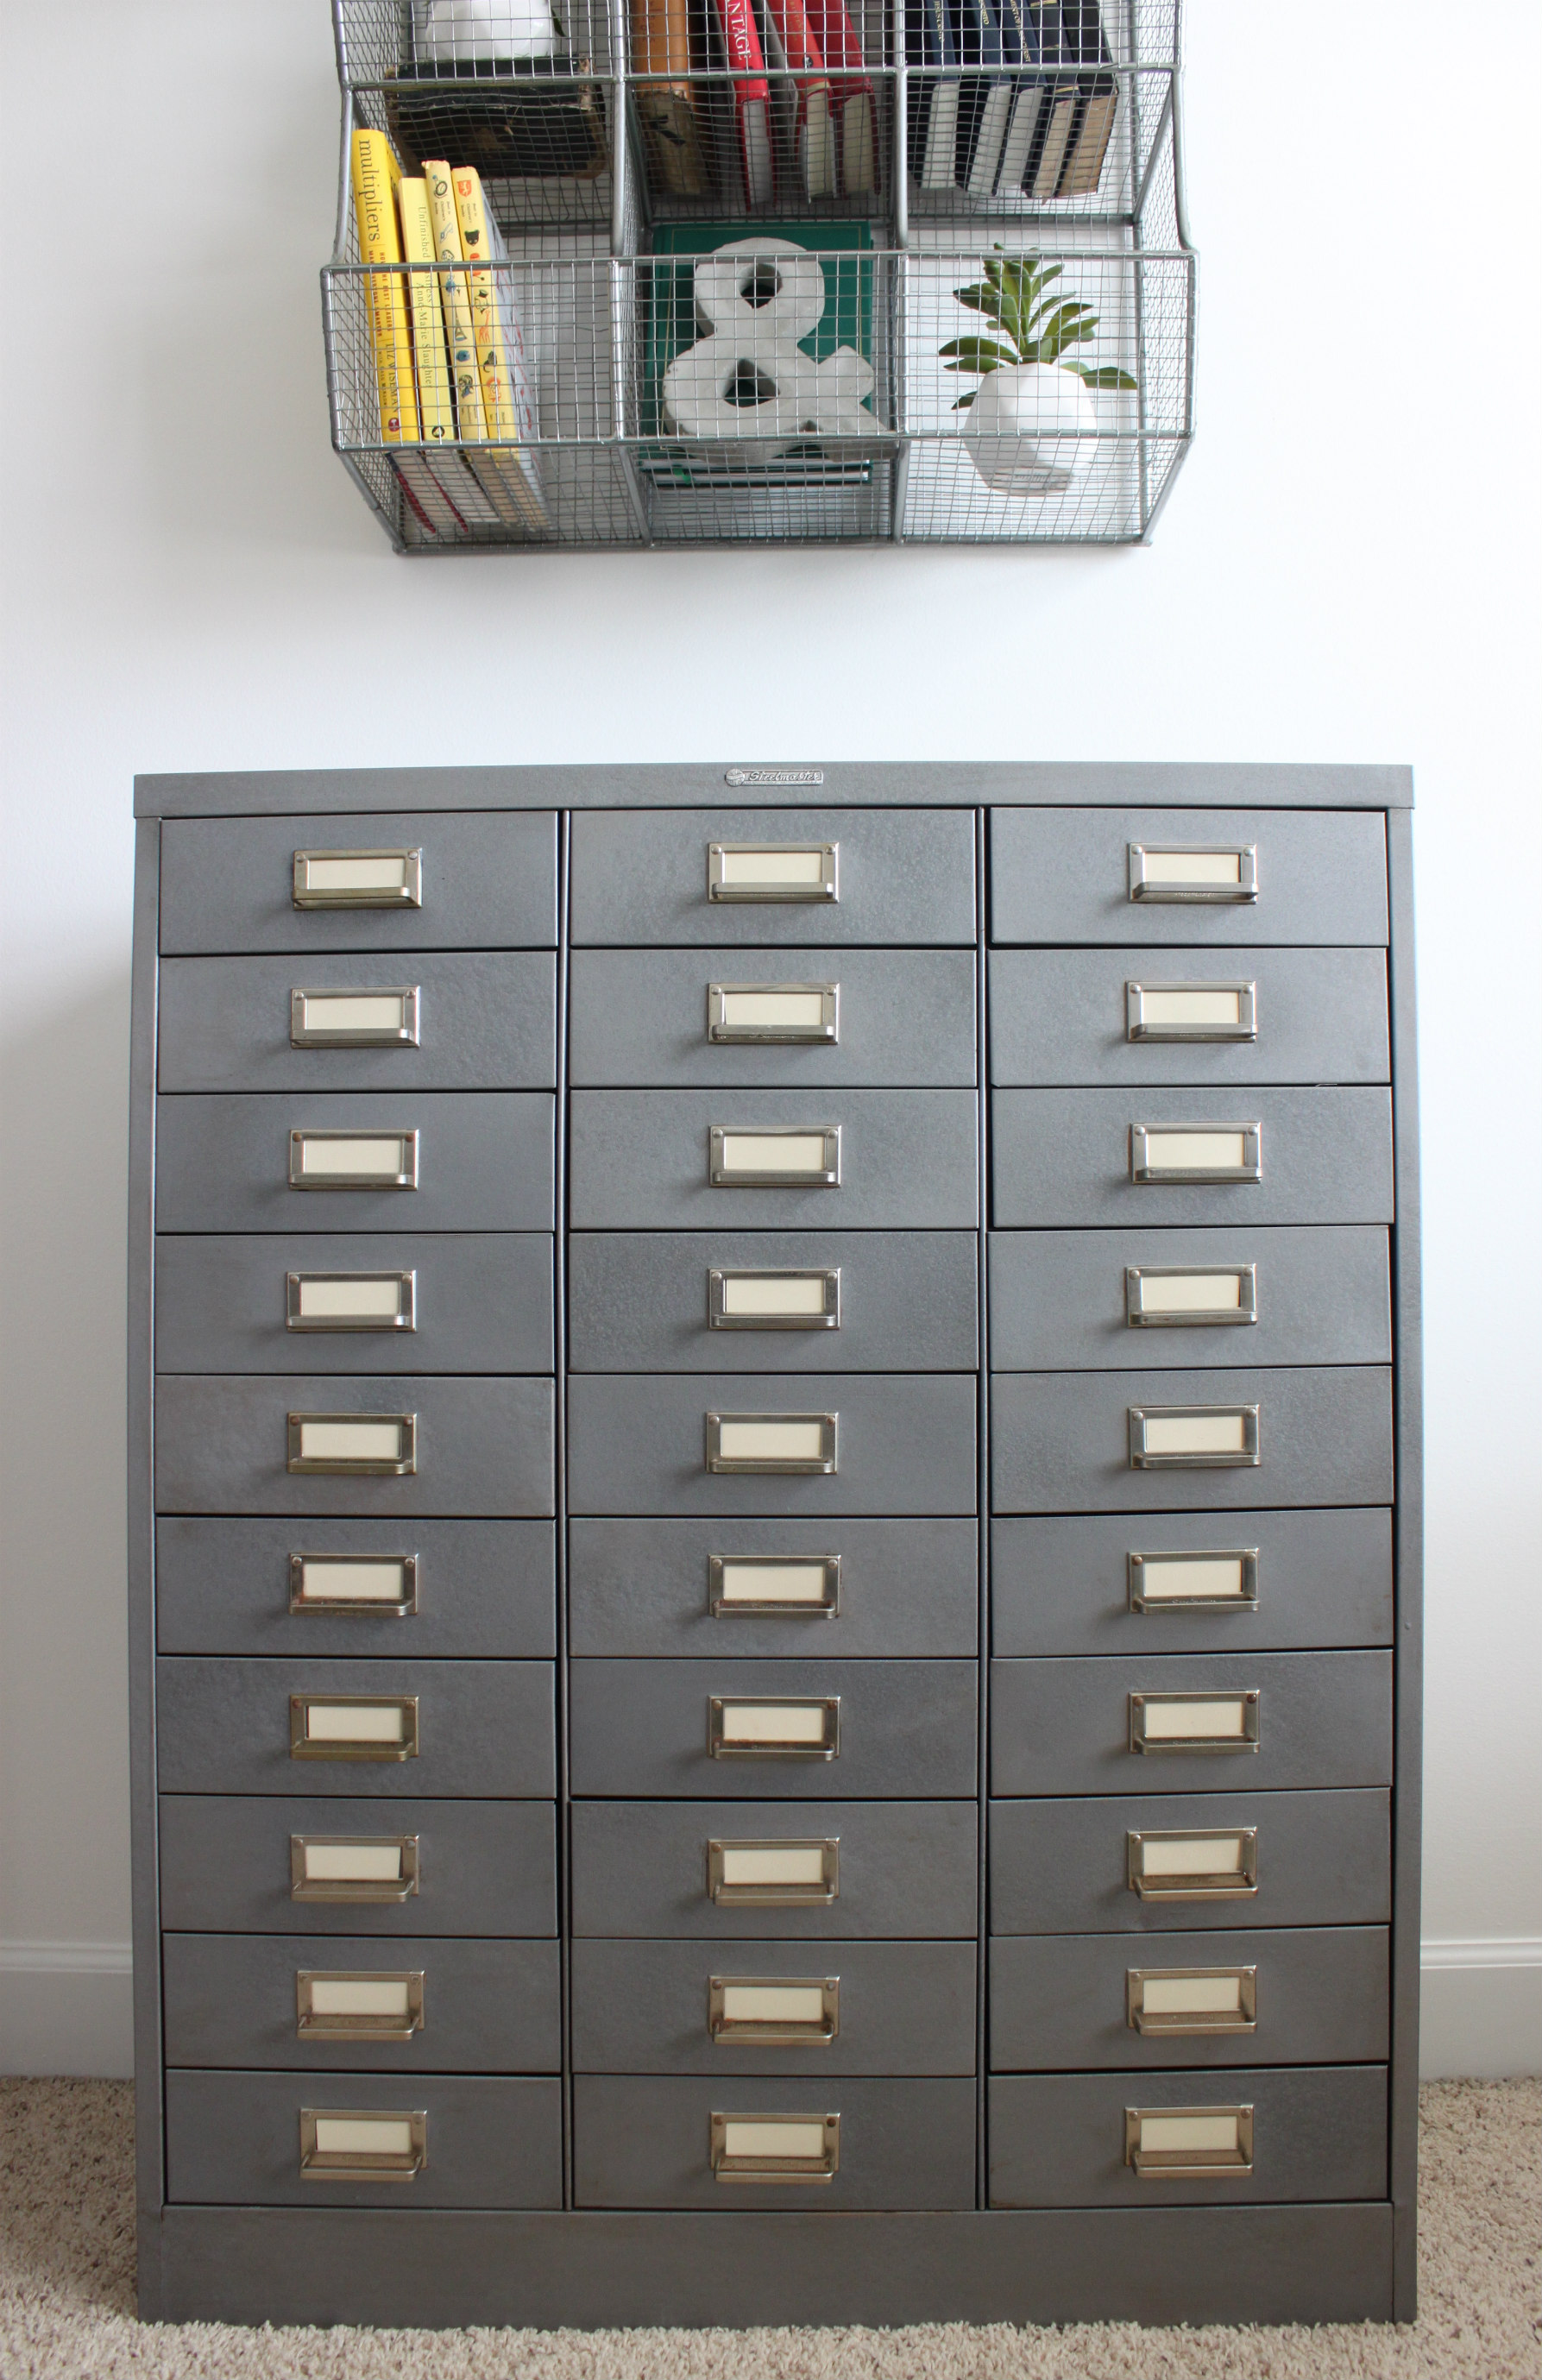
It ended up being the perfect piece for this room. If you aren’t wanting to DIY this project, Hobby Lobby has some great options that I was seriously considering, here, here and here.